Home Blog Page 96

5 Spice Kumquat Chutney

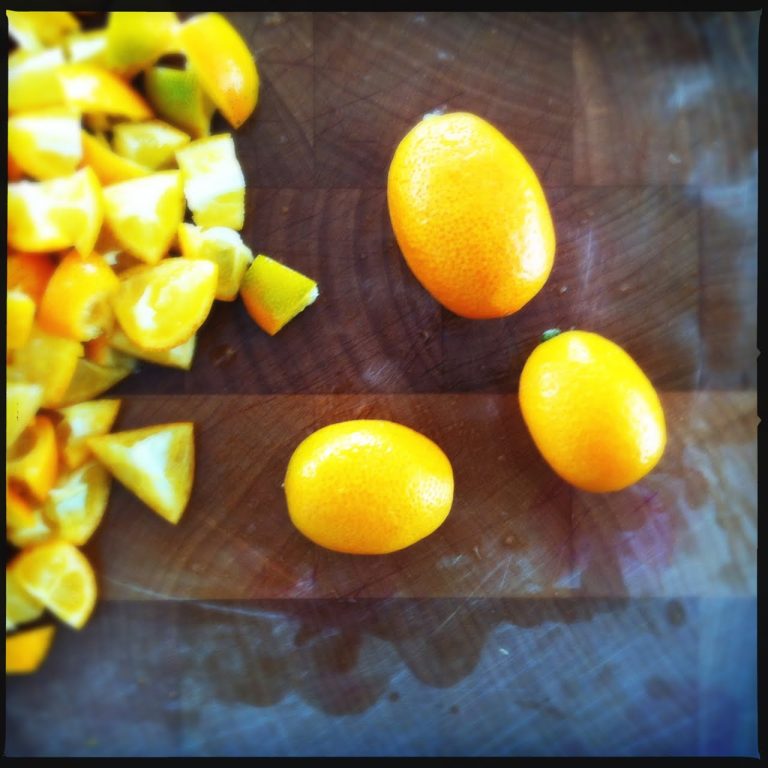
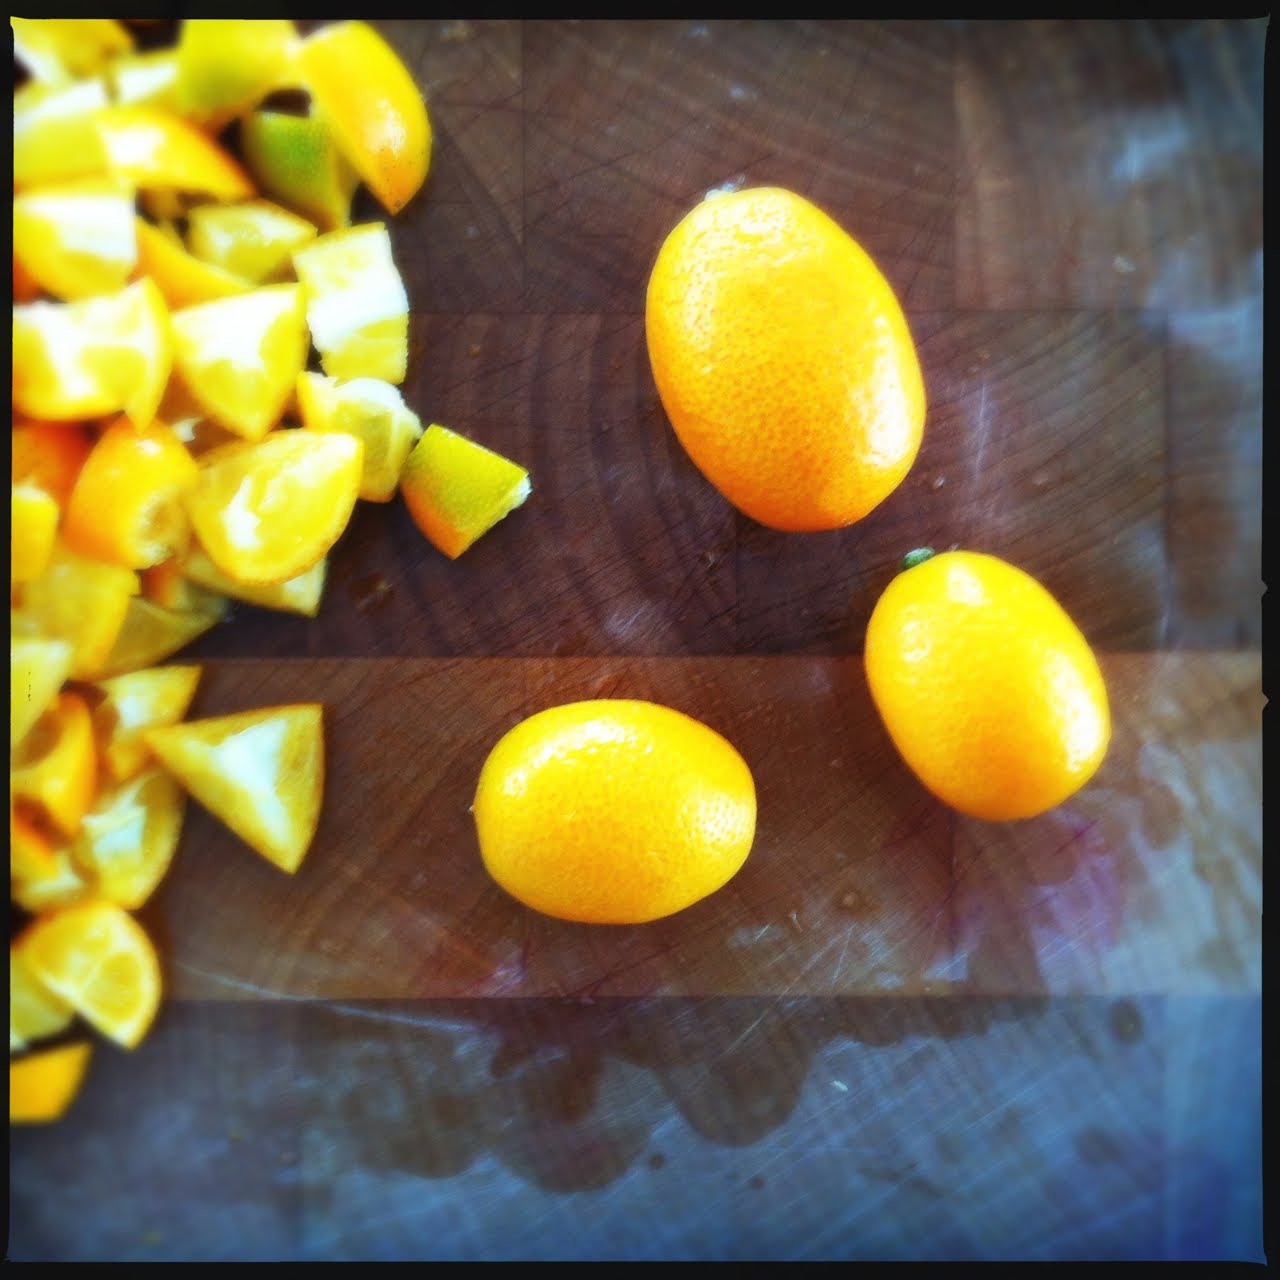
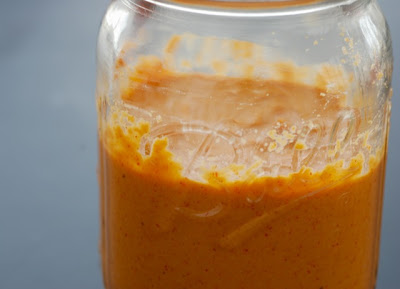
Kumquats always make me think of places far, far, east – places I’ve never been. Chinese 5 spice powder, or some variation of it, is ubiquitous in that part of the world. Using that as a jumping off point, this is what I did:

Well actually, hold on, let’s back up. First, I climbed to the top of my larder, reached behind the skull and crossbones sign, careful not to disturb the trap, and pulled out my secret chile basket.

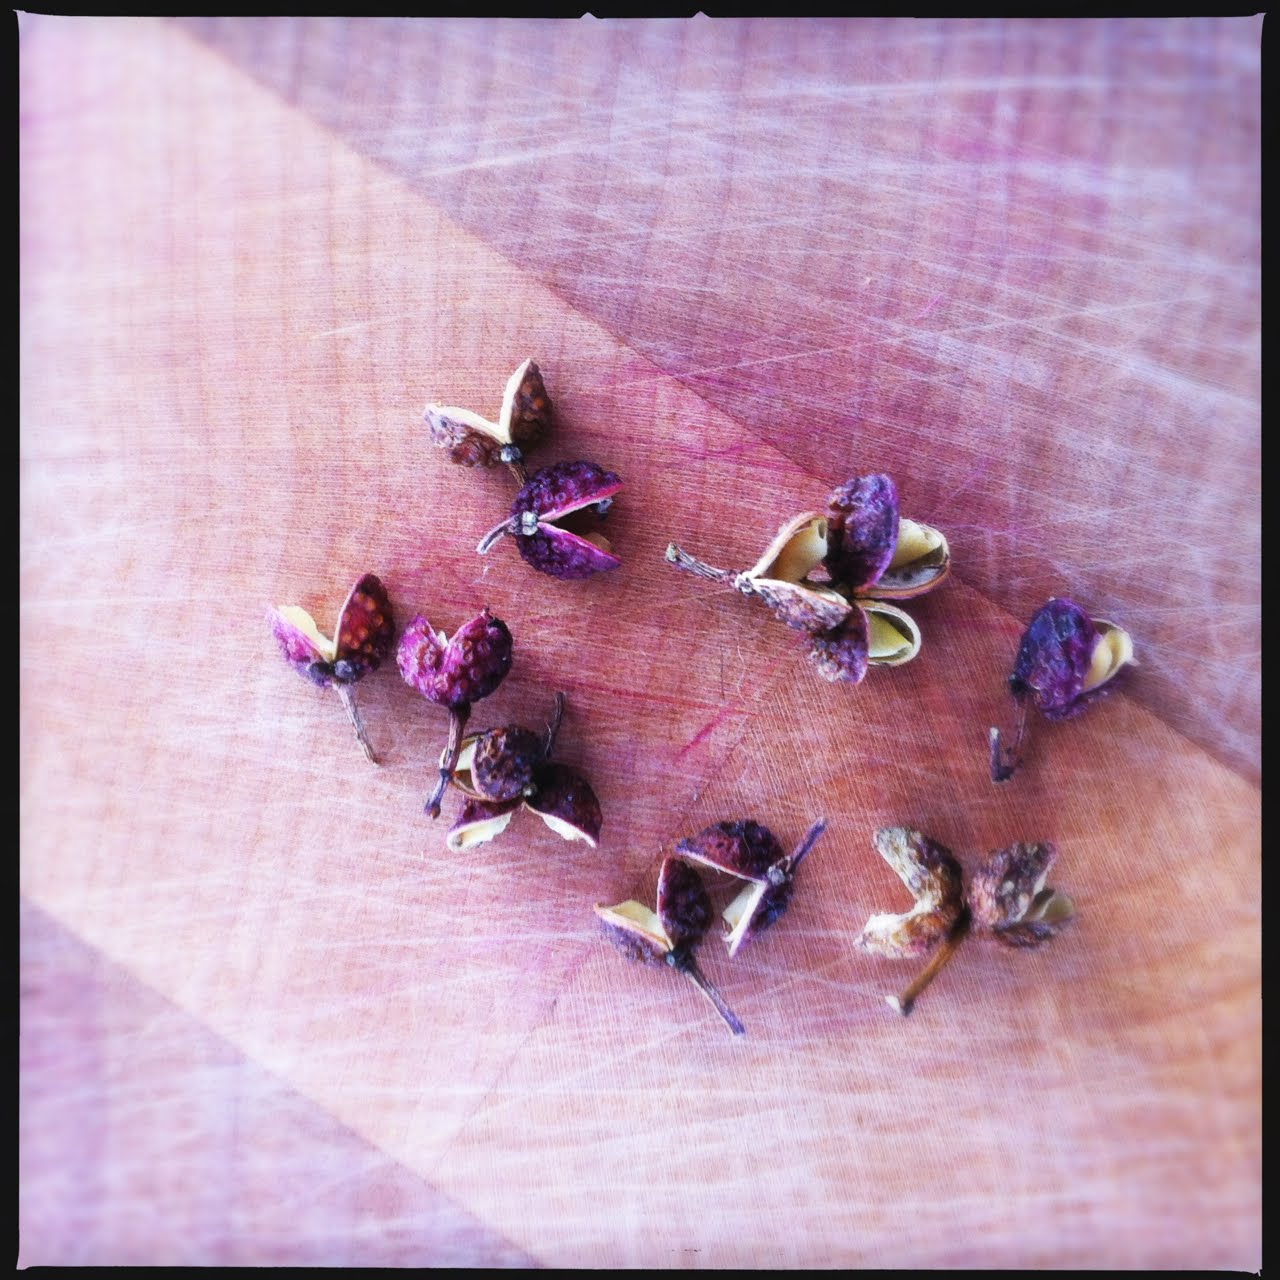
Yes peeps, this is my basket full-o’-hot-gold gathered from around the globe. There’s more underneath, but what you can see is Aleppo-style pepper from Turkey, white peppercorns from Kerala, New Mexican chile powder, the whole red chiles are from a particularly succulent bush from thine own garden, and, ok, there’s some real cinnamon from Sri Lanka on the side there. But, what you really want to know about is the two bags in the front, brought back by yours truly from Bhutan, where it’s called local pepper, but what’s otherwise known as Szechuan pepper.

Or you can omit it all together and you will still have a very lovely tasting chutney. You can just call it 4 Spice Kumquat Chutney and no one will be the wiser.

Carrot Spears with Chervil

Let me start by saying these are refrigerator pickles, otherwise known as quick pickles, which means there is no canning or water boiling involved. Time saver!

Since they go straight in the fridge, I use Ball plastic lids but whatever lids you use, make sure they are non-reactive, meaning if they are metal they should be coated on the inside, like the regular mason flat lids.

My chervil exploded this year and I love it’s punchy anise flavor. Fennel fronds either from bronze fennel or from the top of finocchio would be equally as good. And of course you can never do a pickle wrong with dill.


Carrot Spears with Chervil

adapted from The Joy of Pickling by Linda Ziedrich

Ingredients

4 lbs. fresh carrots (no more than 4 to 5 inches long)
2 bunches chervil
8 garlic cloves (cut in half)
8 green chili peppers
2 teaspoons black peppercorns (lightly crushed)
2 tablespoons sea salt
4 cups white wine vinegar
4 cups water
1 cup sugar
4 quart jars (washed in hot soapy water)

Instructions

1. Trim and wash carrots. If they are thin, slice them in half lengthwise. If they are rather thick carrots, you my need to slice them in thirds lengthwise. Each slice should be less than 1/4 of an inch.

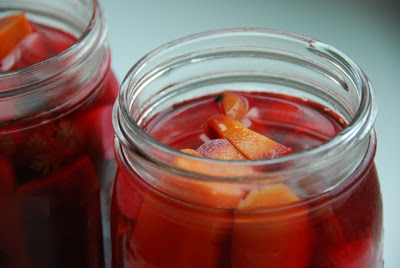
I used a mixture of orange and purple carrots, so my pickle turned a lovely shade of pink. Use any color carrots you choose.

2. Bring a large pot of water to the boil. Drop carrots in and blanch for 2 minutes (carrots should still be firm, but should pack slightly less of a crunch). Immerse carrots into ice cold water to cool.

3. Divide and pack carrots tightly into four quart jars. Add chervil equally to jars.

4. Place remaining ingredients into a saucepan and bring to the boil.

5. Take off heat and divide garlic and chili peppers equally into jars. Pour liquid over carrots and cap jars.

6. Let cool then place in fridge.

You should let them hang out for a couple of days before you indulge to let the flavors settle and mingle. These pickles will last in the fridge up to 3 months.

They are so good that eating them right out of the jar is pretty much how they are consumed around our place. But I imagine chopping a few up and adding to a salad would add the perfect amount of punch and crunch. The same goes for a bowl of steamed rice.

Plum Hot Jelly!

This weekend went by very fast! Up here in the southern Berkshires we had our first frost. The leaves have been whipping around and their colors… Oh my, their colors! I’m talking b-e-a-u-t-y folks.

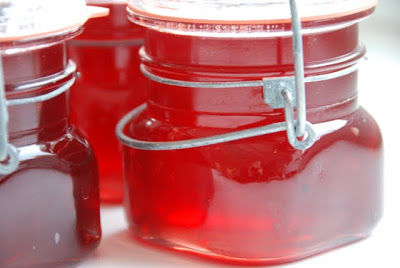
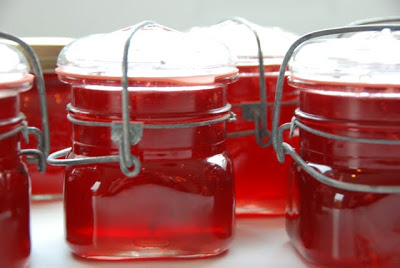
And since we are talking about beautiful colors, this jelly holds one of the most beautiful colors I’ve yet witnessed in a jar.

Ruby red to be exact. But it’s not because of its color that I am writing to you about this, or because of its tingling flame-like heat (that pairs superbly with any cheese).

What I really love about this jelly is it tastes like October in a jar. That is if your October has that one farmer at last Saturday’s market with a table full of heirloom tomatoes spread out like an antiques collector displaying his wares.

That is if your October has your local farm stand or organic market with a last wooden barrel, or possibly two, whittled down to the bottom of this year’s plums and all the rest of them bulging to the brim with just picked apples. All types.

That is if your October’s garden not only has a bunch of root veggies waiting to be pulled from the ground quite expectantly, but also has in one corner a bevy of little hot chile plants that finally pulled through and have some red, purple & green orbs and trinkets hanging in its leaves just ready to be plucked.

You see, I’m not quite ready for the cinnamony, clove-scented stuff that winter is made of. I want more of this mixed up beautiful month. I want to make it last… and this my friends, is it.

Plum Hot Jelly!

Adapted from In Season: Cooking with Vegetables and Fruits by Sarah Raven

There are a couple of things that need to be said before we get on with this recipe. One is that In Season: Cooking with Vegetables and Fruits is a beauty of a book. Sarah is a master gardener and a masterful cook. It is a treasure of simple, delicious recipes organized by season. I know that is nothing new at the moment but this book is most definitely a cut above.

Second is that you need one of these: trust me. All that gorgeous fruit needs to be strained. There are other ways to drain jelly – if you have butter muslin or really good, tight weaved cheese-cloth and can devise a way to hang the filled pouch over a large bowl, then you are in business.

Ingredients:

2 lbs. tart or crab apples
2 lbs. any variety plums (I used a damson variety)
3/4 cup cider vinegar
approximately 8 cups sugar (I use raw)
chiles (I used 6 one-inch long hot firebird chiles, you can use 3 two-inch long Thai or cayenne, or even 3 jalapeno if you don’t like the bite too hot)
6 1/2-pint canning jars, or more smaller jars

yield: approximately 3 pints

Directions:

Day 1

1. Pit plums and coarsely chop unpeeled apples. Place them in a large non-reactive (no iron) preserving pan and 7 cups water. Bring to a boil, cover and simmer for 1 hour. Add the cider vinegar and boil uncovered for 5 minutes.

2. While this is happening, take your jelly bag and boil for 10 minutes in a little pot all on its own.

3. Place the jelly bag on its holder set over a bowl and use a ladle to transfer the apple/plum mixture to the jelly bag.

4. Let the fruit drain on its own for 8 hours or overnight. Important: do not press the bag or you will have cloudy jelly. Depending on how large a bowl you used, you may need to do some transferring, so keep an eye on it.

gap

Day 2

1. Place 8 cups of sugar in a large bowl in a very low oven (about 120 degrees) for 30 minutes.

2. Place water-filled jars in your canning pot and bring to a boil. Boil for 10 minutes to sterilize. Place 3 or even 4 small plates in the freezer to test set later on.

3. Cut chiles in half and slice very fine. You can leave the seeds in or out, depending on how hot you like your jelly.

4. Measure the jelly juice and for every 2 1/2 cups of juice, you’ll need 2 1/2 cups of sugar.

5. Pour juice and warmed sugar in preserving pot over low heat. Continue stirring until all the sugar has dissolved. Once the sugar has completely dissolved, add the chiles and turn the heat up to a vigorous boil.

gap

Important: do not stir. The key to successful jelly making is to get to the jelling point as quickly as possible to save as much of the fruity flavor. Over-cooking means lack of flavor. If you stir, you will most likely need to cook longer to get to the jelling point. Of course adjust the heat if you need to, but keep it at a strong boil.

6. You should come to the jelling point after 15-20 minutes of boiling. Check the set by placing 1 teaspoon of jelly on a frozen plate and placing plate back in freezer for one minute. Then slide your finger through jelly and it should wrinkle underneath your finger. You may need to try a couple of times. If you think you are getting close, turn the burner off while you do your testing.

7. Let jelly stand for 15 minutes and then give it a stir to distribute chiles evenly.

8. Place jelly in jars and process in a hot water bath for 5 minutes.

There you have it – October – all year long!
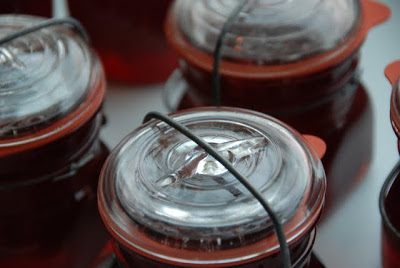
One last thing, cause I know you’ll all be askin’ about these very cute old fashion jars. Yes they are vintage jars, yes I used weck rubber rings, yes I am now addicted to eBay and… I owe it all to Marisa at food in jars and her fateful post.

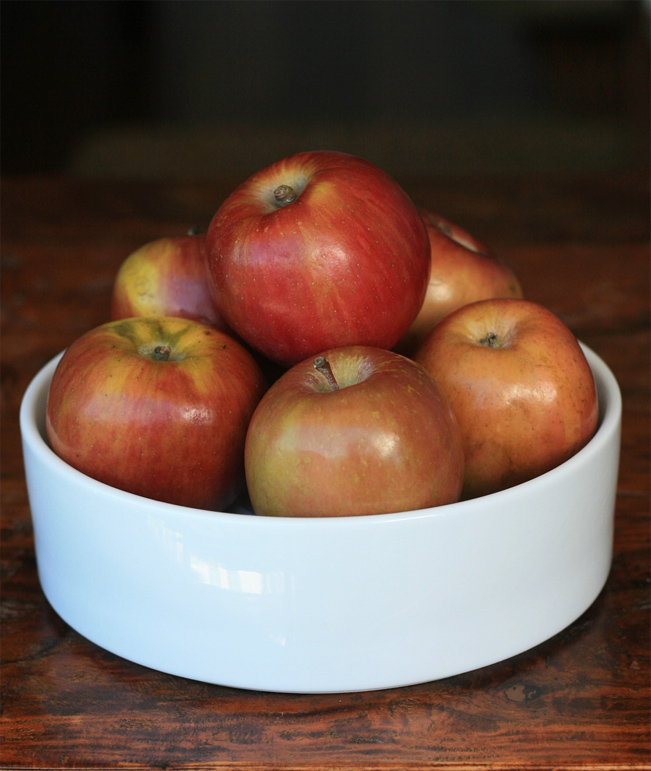
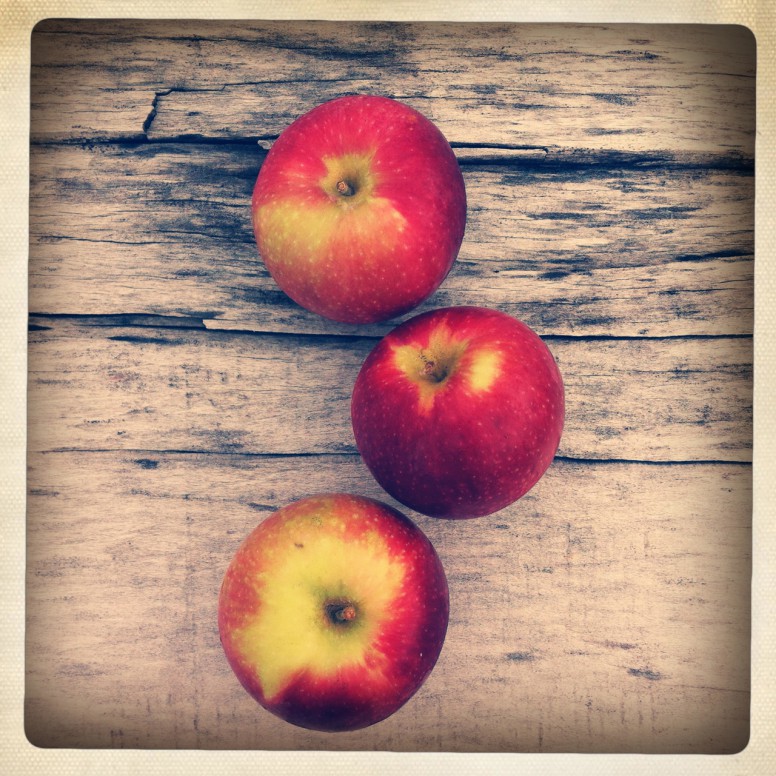
Blue Apple Jam With Fennel & Bay

I wanted to title this post ‘Fall!’ but as any good blogger knows if there’s a recipe in the post you gotta name the recipe in the title or your peeps will never know it’s there after the post disappears from your homepage, their feed, your Facebook timeline, etc.

Basically, I just want to say, fall is here!!! I really, really hope you can get out there and enjoy it. If it’s not fall where you live, then get out there and enjoy whatever season you’re in. And make something with whatever you gotz growing on in your neck of the earth, will ya? …Here let me try this again:

Fall

Shallot Pie

The holiday season is in full swing and I’ve been feeling kinda generous. (Have you noticed?) I mean, perfect pie crust over there, fried shallots over here. I’ve been giving away some of my most prized secrets. Why stop now I say!

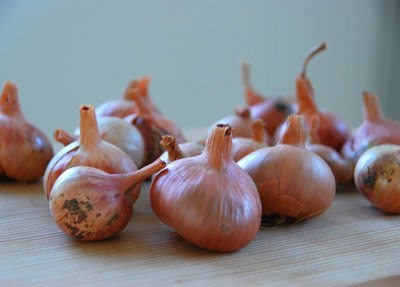
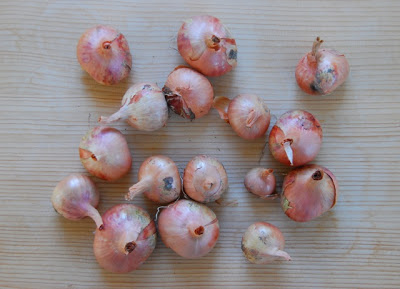
Look at these instigators. They always look like they’re ready to rock and roll, don’t they? Or is it just me? 🙂

I love shallots. They are the pièce de résistance of my allium bed each summer (not that I’d kick the onions, leeks or garlic out of it for eating crackers) and it’s not only because of the above mentioned fried shallots, oh no! It’s because I love shallot pie!

I learned a little trick a while back from Sarah Raven and her lovely cookbook In Season. Basically, she slathers mustard all over her tart crusts. It’s a wonderful way to add flavor, and to use lotz of your homemade mustard.

Please, do not be deterred from making shallot pie if you don’t have homemade mustard at the ready. Just make it with the best Dijon you can get your hands on this time. And next time when you find yourself in your kitchen with your right (or left if you’re left handed) index finger resting politely on your bottom lip, saying to yourself, “hmmm, should I make me some homemade mustard?” I bet I know what your answer will be.

Shallot Pie

Your favorite pie crust
3 cups sliced shallots*
3 tablespoons olive oil
3 tablespoons Dijon mustard
4 large eggs plus 2 yokes
1 & 1/4 cup cream or half and half
6 ounces chévre (fresh, soft & crumbly goat cheese)
salt & pepper

yield: makes one 10 inch pie

Directions:

1. Roll out crust and place in 10 inch pie-dish. Put in the fridge for 30 minutes. Preheat oven to 350 degrees.

2. Warm the oil in a frying pan on medium heat. Add shallots and fry until they just begin to color, about 8 minutes.

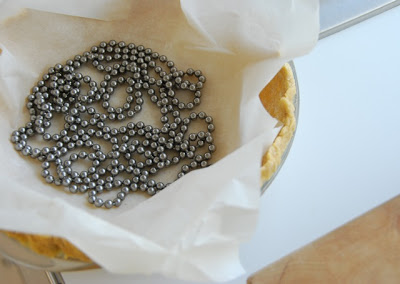
3. After 30 minutes, take pie out of fridge and prick the bottom in several places with a fork. Place a sheet of parchment paper over the crust and spread pie beads or dry beans over it to weight down the crust. Bake for 20 minutes or just until lightly golden. Remove parchment and beads or beans and let cool a bit. Keep the oven heated at 350 degrees.

4. While pie shell is cooling, whisk together eggs, yolks and cream, and add salt and pepper to taste.

5. Spread mustard over the bottom of the cooled crust. I like to use a pastry brush. Add the shallots first, then crumble the goat cheese over top of them. Pour the egg mixture gently over the whole lot.

6. Bake for 25 minutes, or until the center of pie is set (which means just firm).

Eat warm or at room temperature.

Oh and BTW, this is the perfect pie to have around if you happen to have a hangover (not that I’m sayin’ you’re planning to have one anytime soon). …So there, you get another one of my tricks.

HAPPY NEW YEAR!

Note: I love shallots so I often use them in this pie, but you can do an onion pie – with a gutsy brown or beer based mustard, leeks with a honeyed Dijon, or ramps with something spicy. I have! There’s a kazillion ways to mix and match your favorite allium with your favorite mustard in this pie.

Cultured Butter (and Créme Fraîche)

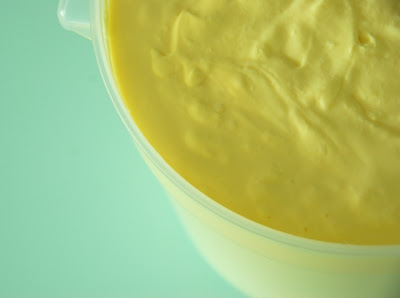
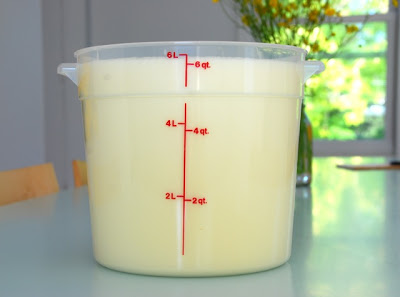
I am happy to report that sore shoulders (me) churner’s elbow (M) and one broken lehman’s best butter churn later, M and I have buttered our way through 8 gallons of cream! See this?It’s a vat o’ créme fraîche. Do you know how hard it is not to just stick your face into a vat o’ créme fraîche when it is sitting on your kitchen table? I do.

You get créme fraîche by mixing in half the amount of cultured buttermilk to cream. Cultured buttermilk is the kind you can typically find at the market or farm stand – or directly from the farmer.

gap

For each gallon of cream I used to make cultured butter, I added a half gallon of cultured buttermilk.

Stir it to make sure the buttermilk is distributed evenly throughout the cream. Let it sit for 12 to 24 hours – depending on the temperature of your kitchen – until it gets thick and tastes deliciously sour.

You might want to stop right here and reserve some of this luscious soured cream for an ulterior plan. I did. (And remember this technique the next time you want créme fraîche – D.I.Y!) With the rest of it, you need to get it in those jars and get shakin’!

After the cream is cultured by adding the buttermilk, all is pretty much the same when making either sweet butter or cultured butter. Though you will notice a slight difference in the way the fat globules clump together as they are a bit more delicate when making cultured butter.

gap

When it looks something like this:

You’re ready to drain the buttermilk into a bowl. Do remember to strain and save it in jars in the fridge. There is much you can do with this cultured buttermilk – more on it below.

Once you press all of the buttermilk out, you’ll be left with a deeply flavored cultured butter. This is a good time to mix in salt to taste.

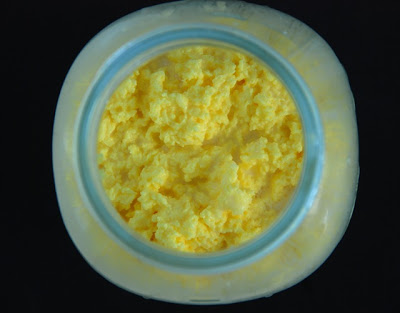
You can see the cultured butter is lighter in color than the sweet butter – that’s because of the added cultured buttermilk. It’s the buttermilk that gives it the unmistakable tang cherished in many European butters.

gap

Once salted, I packed mine into smaller jam-sized mason jars for freezing, as this is the butter I like best. Absolutely nothing is better for spreading on all manner of toast, scones, pancakes, and biscuits! And my favorite of all, nestled snugly under a tart and sweet marmalade. Oh!

In general cultured products last longer than non-cultured. This means that the butter will last for 2-3 weeks in the fridge as long as you’ve pressed the buttermilk out completely.

Now, back to the buttermilk: this buttermilk will last in the fridge for a few weeks. I won’t argue with you if you want to use it all up for the best damn pancakes you’ve ever had, but there’s so much more to it than that! First off, you don’t have to keep buying it, you can use it to sour more cream to make more créme fraîche and cultured butter. You can also use it to make more buttermilk – just add 1/4 cup to a quart jar and fill the jar with milk, seal tightly and give it a shake. Leave it at room temperature and you’ll have a quart full of buttermilk the next day – at about 24 hours.

If you are a raw milk drinker like me, the very cool thing about the buttermilk culture as opposed to the yogurt culture is that you don’t have to heat it to a higher temperature to make magic. So you can make your buttermilk for drinking exactly as above by filling the quart jar with raw milk, and enjoy raw milk ayrans and lassis!

Shell-stocked (Shellfish Stock)

Yes, I said I eat (shell) fish occasionally! So occasionally in fact at this point in my life that I’ve had exactly one lobster dinner in, oh I don’t know – about a year ago. It was in the summer, and it went something like this:

We live in New England and can order fresh New England lobsters from our local co-op. That particular day we had guests staying for the weekend. So, my *bright idea* “if we’re going to eat them, we should be able to slaughter them ourselves.” (is that the right word for a lobster?) The grill was going, the guests were outside, the cilantro chile butter was prepared. M & I were in the kitchen frantically dealing with 4 large, wiggly (and kinda cute) lobsters. Google searching, I might add, “how to humanely…” The cats were also in the kitchen, getting antsy, eyes round, ears perked, noses & tails twitching. Then, I said a prayer (or 4) before making M do it.

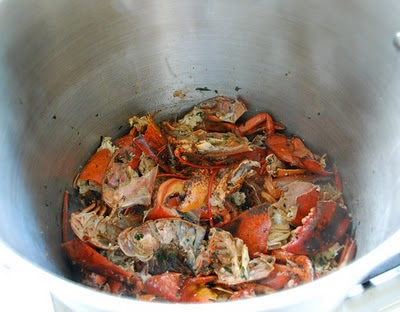
We halved them, slathered them, and put them on the grill. I tried not to think about the kitchen scene of the crime while I dug in. They were better than delicious; after dinner I put all of the shells in the freezer.

And most recently I did this:

I make this stock ideally twice a year (usually sometime around the holidays I indulge myself in another some-such scenario). It’s equally as good with crab shells, and though I haven’t tried it with shrimp shells yet I imagine it would be just as divine. It’s incredibly good and my ace in the hole when I want to make an over-the-top risotto, pasta sauce, paella, curry, soup, and even fideuá.

Shells in pot

The first step is to put all the shells of a shellfish dinner, or two or three, into the freezer. They will last this way for quite a few months. when you have enough to make at least half this recipe, proceed.

Shellfish stock

adapted from the improvisational cook all the shells from 4 approximately 1 & 1/2 pound lobsters.

Ingredients:

1/2 cup olive oil
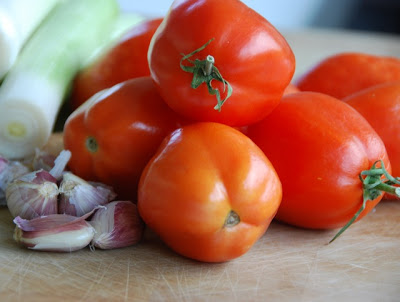
4 medium leeks (or 6 shallots, or 2 bunches scallions)
1 whole head garlic, peeled and crushed
4 cups white wine
8-10 sprigs fresh thyme sprigs (or 1 and 1/2 teaspoons dried leaves)
2-3 bay leaves
1/2 teaspoon fennel seeds
1/4 teaspoon aleppo pepper (or cayenne powder, or Spanish smoked paprika)
1/4 teaspoon saffron leaves
6-8 fresh plum tomatoes, coarsely chopped (or 1 quart canned, broken into pot with juice)
a very large stock pot. I use my canning pot.
yield: approximately 4 quarts

Directions:

1. Upon taking the shells out of the freezer, break them into roughly 2-inch pieces. Depending on how they were cooked originally you can do this with your hands or with kitchen shears. (If they were grilled, they are pretty easy to break with your hands, or at least with my paws.)

2. Heat all but 2 tablespoons of the olive oil in the pan on high heat. Once heated drop the broken shells in and toss frequently for about 8 minutes, or until you smell the most wonderful aroma and begin to see some charred spots on the shells.

3. Move the shells over to the side, turn the heat to medium and add the remaining oil. to the oil add the leeks and sauté until golden, about 8 minutes. add the garlic cloves to the leeks and sauté for 1 minute more.

4. Add the wine, thyme, bay, fennel, pepper and saffron. Add the tomatoes and give it a stir.

5. Add enough cold water to cover by about an inch, this will be approximately a gallon of water. bring to the boil, reduce the heat and simmer for 1 hour, uncovered. If the shells begin to pop out of the liquid during the simmering process, add water to cover.

6. Strain through a fine meshed strainer. Return to pot and let cool completely.

7. Once cool, pour into freezer containers. I use plastic quart containers, and I also do ice cube size for when I need and extra jolt of flavor, but I don’t need a whole quart of broth. to do this, freeze in ice cube trays, after 24 hours empty into plastic freezer bags.

This stock will last for 6 months or more in the freezer, and it’s oh so good!

An Interview with Linda Ziedrich

Interview with Linda Ziedrich

Tigress:

Hi Linda!

As you know, tigress’ can jam is a year long canning challenge in which a very large group of canners – from beginners to quite experienced – are hot-water-bath canning a chosen fruit or vegetable each month and getting on the web and shouting about it. We are halfway into the challenge and very excited that you have taken the time to speak with us!

In your seminal book, The Joy of Pickling, you say that you got started in pickling because of your son Ben – a pickle lover from 7 years old! Was pickling something that you remember your mother or grandmother doing, or did you set out on you own to learn?

Linda:

My mother made jam, from local apricots and the wild berries and plums that my little brother and I gathered, and she made gravenstein applesauce. My grandmother pickled figs, and after my parents bought a prune ranch, my mother started pickling prunes. But that’s about all the canning that went on in my family. Because after World War II, both my grandmother and mother were happy to have store bought food. It was my husband who got me interested in growing and pickling vegetables.

Tigress:

Does he come from a family of home preservers, or does he just like pickles?

Linda:

His mother has always done a little preserving. Some of her chutney and relish recipes are in The Joy of Pickling.

Tigress:

One of the things that impressed me with both The Joy of Pickling and The Joy of Jams, Jellies, and Other Sweet Preserves is the sheer amount of recipes in each. They truly are preserving bibles! Many of us who love to preserve often will have an over-abundance on our larder shelves even when the new season is arriving. Do you have a method of working through your preserves each year so that they are used in a timely manner – when they are still at their best quality?

Linda:

I keep most of my jars in boxes labeled with the contents and year, so I can see what’s getting old, and at Christmas I give away a lot of the best stuff from the current year. If I have too many dilly beans and cucumber pickles, I take them to potlucks, set them out before dinner, and give jars and jars and jars to my pickle-loving son. I always aim to preserve more than a year’s worth of tomatoes and peppers, because we can’t live without them and never know when we’ll have a crop failure, but the jars are always used up within two years. With all this care, I still end up dumping a lot of preserves that have deteriorated in color, flavor, and texture. When you’re developing recipes, as I’ve been doing continuously since the late 1980s, it’s hard to eat everything.

Tigress:

You include so many diverse recipes in your books. Can you tell us a bit about your recipe developing process?

Linda:

The process has varied from book to book, but I’ll focus on The Joy of Pickling. Once I started making cucumber pickles in vinegar, I wanted to learn about fermented pickles. And all I had to go on was Andrea Chesman’s little book Pickles and Relishes and the second edition of Putting Food By. These books were both limited to the English-German-American tradition, and my collection of ethnic cookbooks had taught me that people all over the world eat pickles of various kinds.

So I searched my own library and the public library for more information. I found several out-of-print books on pickling, and one, from the 1950s, even took an international approach. I sought recipes and stories from foreign-born friends and acquaintances. And I re-created pickles I bought at Asian food markets, tasted at ethnic restaurants, or discovered in my (limited) travels abroad. One recipe in the first edition of The Joy of Pickling–only one–was based on a discussion I found on the internet. Since then the internet has become more useful, especially when I search in foreign languages. But books and friends are generally more reliable guides to understanding culinary traditions.

GAP

If I want to prepare some traditional preserve or other food I’ve never tasted before, I collect and compare various recipes. It’s best to follow each one before judging it, but often faults are obvious from a careful reading. After a couple of test batches, I’m usually well on my way to developing a recipe that’s clear and unique but still within the bounds of tradition.

It’s often more fun and easy to develop recipes from scratch. I might create a pickle, for example, by using the seasonings of my choice and the vinegar of my choice. I might even use a vegetable that I’ve never seen pickled before. Or I might make jam from a fruit for which I can’t find any published recipe. I’ll weigh it, cook it until it’s soft, and then try adding a pound and a half of sugar for two pounds of fruit. The resulting taste and texture will tell me whether I should try adding a little lemon juice, adjusting the amount of sugar, or combining the fruit with a different one.

Tigress:

The idea of botulism scares a lot of just-starting home canners. The USDA has some very strict guidelines on acid and hot-water bath canning, and they’ve even extended boiling times in recent years. The one that sticks out in my mind is whole tomatoes at 85 minutes for quarts. In Europe it seems as if the traditions are much less strict with acidity level and boiling times and yet we don’t hear of many deaths by botulism from say France or England. What is your take on this?

Linda:

I think the USDA is still reacting to the results of its home-canning propaganda during World War II–exploding pressure canners and an epidemic of botulism. Today the emphasis is entirely on safety. Most of us aren’t going to perform our own lab tests on canned tomatoes, so it’s probably best to follow the USDA processing times. But I remind people that adding acid to tomatoes is only a recommendation. There’s no reason to do it if your tomatoes are tart.

Boiling your jars of pickles isn’t necessary, either; the low-temperature pasteurization method was developed by a USDA scientist. USDA recipes for fermented pickles have high salt levels, but these recipes are for pickles that are canned. If you don’t want to use quite so much salt, check the pH before canning them, or don’t can them at all.

As for jams and jellies, you can skip the boiling-water bath if the syrup is very hot when you fill the jars and you’re not finding your lids failing to seal or coming loose later. If you fill the jars well and store them in a dry place, it’s very unlikely that mold will grow in them.

Most important, remember that you can’t get botulism from acidic foods, including fruit preserves and pickles. The only canned foods that could cause botulism are the kinds that must be pressure-canned. Remember, too, that extension agents aren’t either professional cooks or microbiologists; they’re just consumer safety educators in a country obsessed with safety. When I have a serious question, I go over their heads, to the state-university scientists.

Tigress:

We have a lot of new canners in our group, which means a lot of learning. Knowledge and community support can minimize mishaps – but there’s always something! The first summer I tried to hot-water-bath can cucumber pickles, I canned something like 12 quarts. Every last one of those jars contained mushy, even hollow pickles. Can you let us in on one of those mishaps in your kitchen?

Linda:

One summer when I was without a kitchen I tried to do the canning on a Coleman camp stove. There wasn’t nearly enough heat–or surface area to support the pot. Another time, before I understood that high heat softens cucumbers, I tried to hurry the processing by pressure-canning a batch of pickle jars. Those pickles truly were mushy!

Tigress:

I’ve witnessed a sort of divide between jammers: those who will use boxed pectin and those who will not. Falling into the latter category, I appreciate that none of the recipes in The Joy of Jams, Jellies, and Other Sweet Preserves require boxed pectin. Can you expand on your choice not to work with added pectin?

Linda:

My mother always used boxed pectin, and her jams were often too firm for my taste. So were mine, in my early years of jam making. When low-methoxyl pectin, the kind that gels with calcium rather than sugar, came on the market, I tried it and liked the results better. But I wondered about how people made jam and jelly before any packaged pectin was available. I started reading old preserving books, such as Martha Washington’s Booke of Cookery. My publisher wanted me to write a book on fruit preserves, so I decided to make the book an exploration of traditional methods. (I wanted to use the word traditional or old-fashioned in the title, but my publisher likes things new and improved.) I didn’t know that other people were interested in the topic of old-fashioned preserves until after the book was published.

Tigress:

Sometimes new isn’t always better – many of us are eager to learn the old food ways! Another common topic of conversation in jamming circles is the fruit to sugar ratio. I’ve made recipes where the jam is too sweet for my taste. Yet sugar acts as a preserver, and jam needs the proper amount in combo with pectin and heat for it to gel correctly. You mentioned earlier that when you are developing a recipe you’ll start with a pound and a half of sugar to two pounds fruit. that would be approximately 43% sugar to 57% fruit – do you find this ratio to be the one that most of your jams fall under?

Linda:

The ratio is a traditional one: three parts sugar to four parts fruit. This worked, and still works, for most fruits. With fruits high in pectin, a one-to-one ratio was preferred, because the extra sugar keeps the gel from being too firm (this is the same reason that the recipes for jams and jellies made with packaged pectin call for high levels of sugar). With fruits low in pectin, you can use less sugar. Small batches and a wide pan also allow you to use less sugar, because they promote evaporation, thus concentrating the sugar in the fruit.

Keep in mind, too, that some fruits are naturally high in sugar; I sometimes make Italian plum jam with no added sugar at all, though I have to cook the jam for quite a while. Finally, the non-soluble fiber in fruit can sometimes provide adequate thickening despite a lack of pectin. That’s the main reason that jam is easier to make than jelly.

Tigress:

Jars, jars, jars. Many of us have in common a love of all those cute little preserving jars! Recently in the press, we’ve read about BPA on the inside of the flat lids on the commonly used ball jars. As far as I can tell, all of the metal screw top jars contain BPA regardless of what company manufactures it. As you discuss in The Joy of Pickling, feeding your children food that was good for them was a motivating factor in your initial exploration of pickling. I think that resonates with all of us. Is this something that concerns you? Have you taken steps to avoid BPA in your home canning, and if so can you tell us about them?

Linda:

I haven’t taken any special steps to avoid BPA in canning. I store my jars upright, so the food isn’t in contact with the lid. And after a jar has been opened, I cover it with a plastic lid, which doesn’t contain BPA. I’m guessing that before long Jarden (the company that makes ball and other canning jars and lids) will come out with a BPA-free lid. In the meantime, let’s keep the pressure on.

Tigress:

Another common topic of discussion amongst canners is jar etiquette. It can get expensive keeping a steady supply of canning jars around, particularly when giving home preserves away. But asking for jars back, or crossing people off your ‘give-to’ list if they don’t return it takes the fun out of it! How do you manage this?

Linda:

If I send my jars far away, I don’t expect them back. If I give them to people who can, I expect the jars will get used. If I give them to local friends and relatives who won’t use them, I ask for the jars back. And I think they usually are returned–though sometimes not for a year or so.

Tigress:

Can you give us your top 3 tips on home canning?

Linda:

1. If you’re just getting started, you don’t need to acquire much equipment. If you have a freezer and don’t like mushy beans, you’ll probably never need a pressure canner. (Though one is essential for canning tuna). You can use a large stockpot in place of a boiling-water canner. Just get a round rack to fit inside, or even substitute a dish towel. The only essential purchase, besides jars and lids, is a jar lifter, which costs only two to three dollars.

2. Again, you don’t have to worry about botulism if you’re making fruit preserves or pickles or even canning tomatoes. The botulinum bacteria grow only in a low-acid environment.

3. Grow and can what your family likes to eat. Don’t waste your time on food you’ll end up throwing out.

Tigress:

It feels as if we are witnessing a resurgence in home-preserving. For me, pickling and jamming were natural progressions stemming from my efforts to eat locally and in-season. And it does seem to be catching on in a big way around the country and to a new generation. Do you see a noticeable difference in the 12 years since The Joy of Pickling was first published? How do you view this renaissance?

Linda:

The change is enormous. The economy has something to do with it, and so do Alice Waters, Michael Pollan, et al. But we also have the children of baby boomers coming of age. They’re carrying on the do-it-yourself, socially conscious spirit of their parents’ generation. Because they are less rebellious and more studious, they tend to take a scientific approach to preserving and other topics, but they are also very creative. They are my hope for the future.

Tigress:

Thanks so much for speaking with us Linda, it’s been a joy!

Rajisthani Kumquat Pickle

Ever notice how Koons-like kumquats are?


Or is it just me?  Look, I’m up here in the Berkshires for the week…I’m happier than a pig in snow (about it).

And I have a date with a couple of bunches of carrots I need to tell you all about in the next few days. That said, I’ve been waiting to get my paws on some organic kumquats since this year’s citrus season began, and this is why:

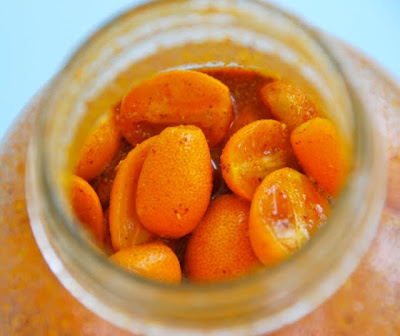
Rajisthani Kumquat Pickle

2 pounds organic kumquats
4 Meyer lemons (other kinds of lemons can be used, or limes)
1/2 cup sea salt
heaping 1/4 cup sugar (I use raw)
1/4 cup cayenne powder
1 teaspoon turmeric
d1 teaspoon fenugreek seeds
1 teaspoon black or brown mustard seeds
2 teaspoons fennel seeds
1/4 teaspoon asafetida
1/2 gallon jar, or 2 quart jars (wash and dried thoroughly)

(btw you can find a nice explanation of Indian spices here)

1. Rinse the kumquats off and dry completely – this is very important to avoid spoilage. Slice off the little navel end of the very dry kumquats then slice in half lengthwise, discard seeds.

2. Place kumquats in jar and pour salt, sugar, cayenne powder, and turmeric into jar. Close top and shake.

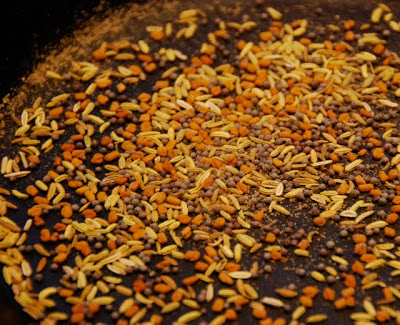
3. Place whole fenugreek, mustard and fennel seeds in a dry heated frying pan, along with the asafetida. Roast until they just start to darken, about 3-5 minutes on medium heat.

They’ll look something like this:

gap

4. Take off of heat and let cool. Then grind to a powder in a coffee grinder or mortar and pestle.

5. Pour ground spices in jar and shake well again.

6. Squeeze all four lemons and add strained juice to jar giving it a shake once again.

7. Normally this would be placed in the sun for 2-3 weeks, shaken once a day. If you have good sun this time of year, then by all means place it on a sunny windowsill and shake once a day. If sun is scarce for you, then place it not far from the heater, just so you can feel the glass getting warm but not hot. Shake and rotate it once a day.

8. At about the 2 week point, the liquid will thicken and gel slightly, the flavors will meld and mellow (don’t worry 1/4 cup cayenne powder is not too much!) and the kumquat skins will soften. You still want them to be rather toothsome, don’t dare let it ferment to mush.

9. When you deem it to reach the point of perfection, place it in the fridge where it can last rather indefinitely.

Of course it won’t do that because you will be eating it with everything from flatbreads to rice to curry and everything in between.