Home Blog Page 98

Spicy and Sweet Ginger Lemonade

0

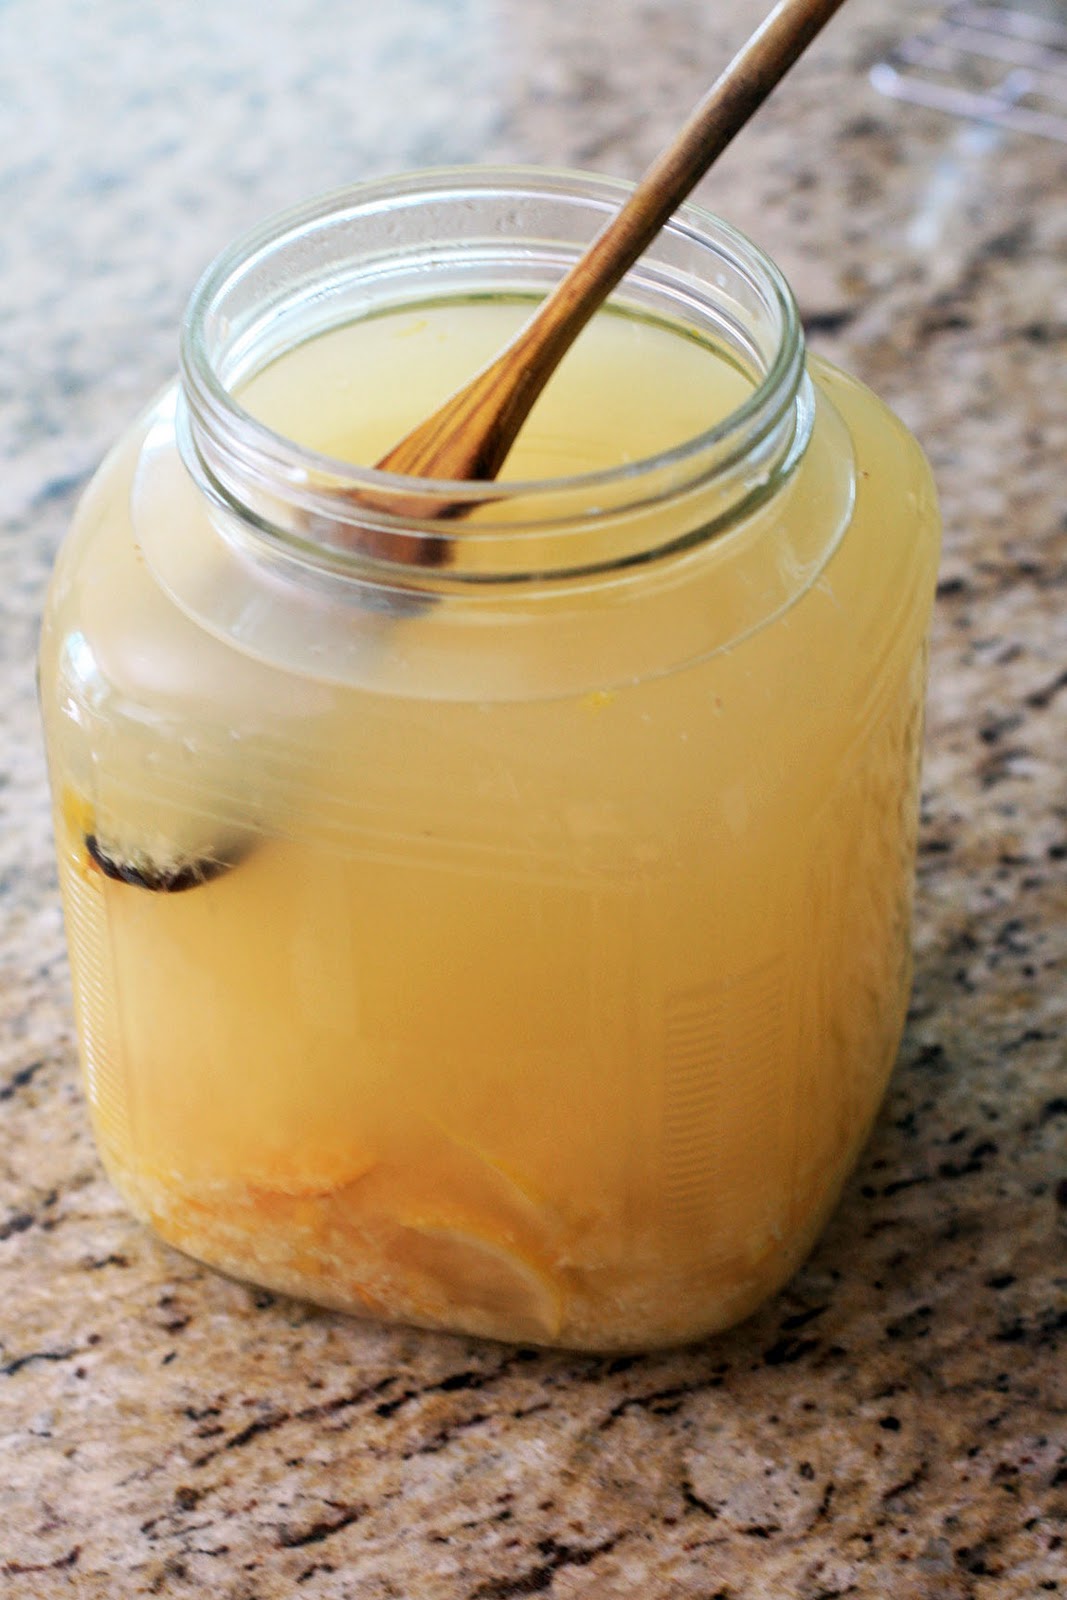
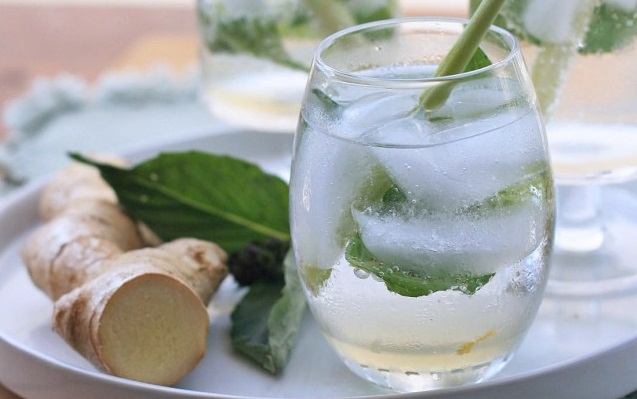
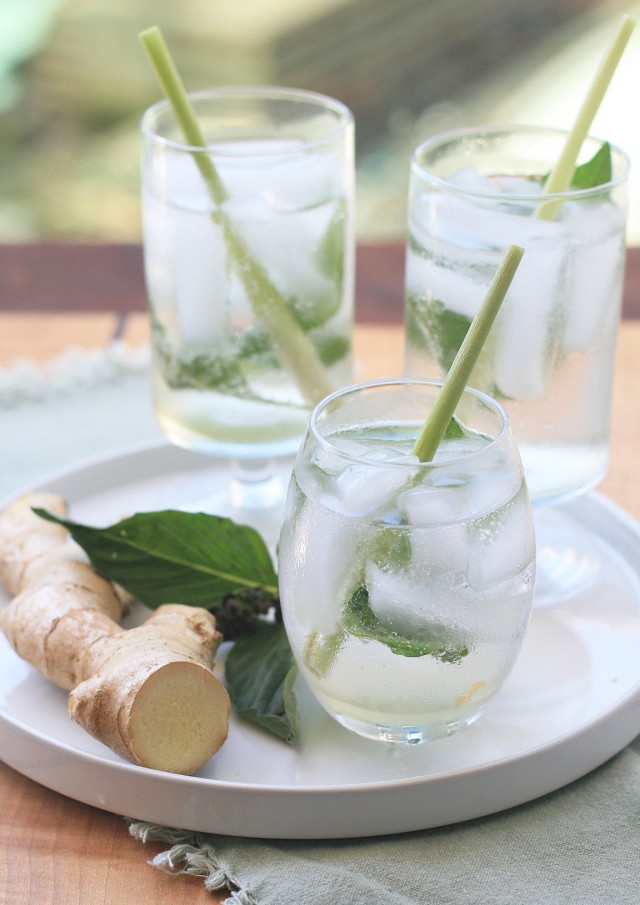
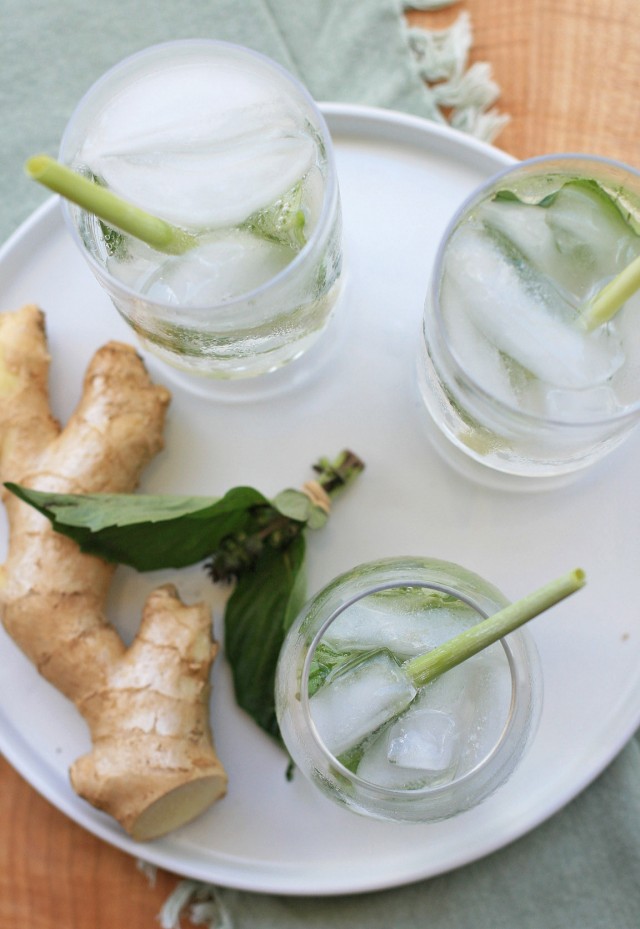
It’s been a little while since I’ve been on a ginger bender and I thought with the holidays coming up, it was the perfect time to fall off the wagon.  In the past, whenever I’ve made ginger lemonade I’ve done so using homemade ginger syrup.  That’ll continue to be my standard, but using crystallized ginger instead is a great way to make a couple quick ginger-spiked drinks without the lengthy wait or if you want a sugar-free drink.

I have the Neely’s to thank for this little trick.  Although I didn’t actually make anything from their cookbook, I was definitely inspired by the use of crystallized ginger in their Pucker-Up Lemon-Limeade.  I used stevia in this drink, since I’ve been burning through sugar like a madwoman the past couple weeks, but feel free to use whatever sweetener you like.  And if you’re feeling naughty, this would also make a great boozy lemonade.

Spicy and Sweet Ginger Lemonade

Yield: 3-4 servings

Ingredients:

 1/2 cup lemon juice
3 1/2 cups cold water
1/4 cup crystallized ginger
stevia or sugar to taste
lemon slices for garnish, optional

Directions:

Combine the lemon, water and crystallized ginger in a blender and process until smooth. Add stevia or sugar to taste. Serve over ice.

Gluten-Free Mississippi Mud Brownies

0

I think it’s safe to say that I saved the best for last.  Perhaps it’s just nostalgia… my grandmother used to make a mean Mississippi Mud Cake and this brownie version brings back a lot of good memories of summers at grandma and grandpa’s.

Those were the days… wake up, eat breakfast, go to the beach for the day, come home, swim in the lake to rinse the salt from our skin, eat dinner and then play outside until dark.  Sleep and repeat again the next day.  Not a bad life.  While Flavor Ices (Otter Pops for you West Coasters?) or popsicles were our go-to dessert, every once in awhile my grandmother would  pull out a showstopper like this and we’d all go crazy (especially after we consumed all that sugar!).

I tried to do a couple quality upgrades without straying too far from the original that I know and loved.  Instead of a cake made from a mix, rich, fudgy gluten-free brownies serve as the base layer.  Pecans are toasted for extra flavor and the frosting is a little bit darker and more intense than some other versions.

It all adds up to a über rich and very addicting dessert … you’ll want to cut the pieces small and have a tall glass of milk ready.

Gluten-Free Mississippi Mud Brownies

Ingredients:

Brownies:
1/2 cup (8 Tablespoons) butter
4 ounces unsweetened chocolate
2 ounces semi or bittersweet chocolate (1/3 cup, if using chocolate chips)
1/3 cup rice flour
1/3 cup sorghum flour
1/3 cup sweet rice flour
3/4 xanthan gum
3/4 teaspoon baking powder
1/2 teaspoon salt
1-1/4 cups sugar
3 large eggs
1 teaspoon vanilla
2 cups marshmallows
1-1/4 cups chopped pecans, divided (preferably toasted)

frosting:
1/4 cup (4 Tablespoons) butter, softened
1/4 cup cocoa
1-3/4 cup confectioner’s sugar
1/4 cup evaporated milk
1/2 teaspoon vanilla
pinch salt

Directions:

Preheat oven to 325 degrees. Grease a 9-inch square baking pan and dust generously with rice flour.

Combine the butter and chocolates in a large bowl and and microwave at 50-percent power for one minute. Stir until the chocolate is entirely melted and the chocolate is smooth. If necessary, put the mixture back in the microwave in 20 second intervals. Set aside.

Combine the rice flour, sorghum flour, sweet rice flour, salt, baking powder and xanthan gum in a small bowl and set aside.

Add the sugar and vanilla to the chocolate mixture and stir to combine. Add the eggs, one at a time, and mix until completely smooth. Add the flour mixture and stir until thoroughly combined. Pour into prepared pan and bake for 30 minutes.

Remove from oven and sprinkle with marshmallows and 1 cup of the chopped pecans. Place back in the oven for an additional 10 minutes. Remove from oven and let cool completely.

When the brownies are almost entirely cooled, make the frosting by combining the butter, cocoa, confectioner’s sugar, evaporated milk, vanilla and pinch of salt. Mix until smooth. Carefully spread on top of the marshmallow and pecan layer. Sprinkle with the reserved pecans.

Gluten-Free Jalapeno Cheddar Cornbread

0

In my childhood home, on the top shelf of the cupboard just to the left of the stove you could always find several blue and white boxes of Jiffy Corn Muffin mix.  Actually, it’s a good bet that my mom has a couple boxes stashed away in there now.  It wasn’t until college when a roommate told me that she always added in drained, canned corn that it even occurred to me that you could spruce up cornbread.  Clearly, any sort of culinary creativity I now possess is a recent development.

Looking for even more of an upgrade?  How about taking things up a notch or two and making some cheesy, spicy Jalapeno cheddar cornbread?  Any leftover bread is just fine at room temperature, but heat it a bit in the oven or microwave to really let it shine.  The incorporated cheese will melt and keep things super moist.  If you’re a glutton like me, spread it with a hefty pat of butter.  Yum.

One Jalapeno gives the bread a good, medium-level heat.  If you want some real fire, up the number of Jalapenos or use a hotter pepper.  Or if you prefer things mild, use only half a Jalapeno.

Gluten-Free Jalapeno Cheddar Cornbread

Ingredients:

* 1 cup white or yellow cornmeal
* 1/2 cup rice flour
* 1/4 cup sorghum flour
* 1/4 cup potato starch
* 1/2 teaspoon xanthan gum
* 2 Tablespoons sugar
* 1-1/2 teaspoons baking powder
* 1-1/2 teaspoons baking soda
* 3/4 teaspoon salt
* 1-1/4 cup shredded cheddar cheese, divided
* 1/4 cup melted butter
* 1 cup buttermilk
* 2 large eggs
* 1 Jalapeno pepper, seeded and minced

Directions:

Preheat oven to 400 degrees and grease a 9-inch by 9-inch pan.

In a large bowl, combine the cornmeal, rice flour, sorghum flour, potato starch, xanthan gum, sugar, baking powder, baking soda, salt, and 1 cup of the cheddar cheese. Pour the melted butter on top of the mixture.Add the buttermilk and eggs and stir to combine. Mix in the minced Jalapenos.

Bake in the preheated oven until the top begins to turn golden brown and a toothpick inserted in the center comes out clean, about 20 minutes. Remove the bread from the oven and sprinkle with the reserved cheddar. Return to oven and bake for a couple additional minutes, until the cheese is melted.

Let cool slightly before cutting into squares. Serve warm.

Ethiopian Spicy Red Lentils


This is exactly the kind of dish that I was hoping I’d find when I chose Ethiopia as my next culinary destination.  It’s healthy, quick, spicy, and vegan-friendly.  Another bonus: it’s made with common, easy to find (in a health food store anyways) ingredients.

I’m a huge fan of lentils but I tend to use the green/brown or black beluga variety.  Red lentils cook up even faster, making them perfect for a quick weeknight meal.

I gave the same word of caution when I posted the berbere recipe, but berbere mixes can vary widely in terms of heat.  If you’re using a pre-made mix, you might have to adjust the amount of seasoning to taste, or even add some cayenne to spice things up.  I found 1 1/2 Tablespoons of berbere to be just right when the lentils were mixed with an equal amount of rice to help temper the heat, but it’s probably better to start with less… you can always add more at the end.

Ethiopian Spicy Red Lentils

Yield: 4 servings

Ingredients:

2 Tablespoons nit’ir qibe (can substitute vegetable oil)
1 large red onion, chopped
4 garlic cloves, minced
1-inch piece fresh, peeled ginger, minced
1 Tablespoon berbere (can use up to 1 1/2 Tablespoons if you like a lot of spice and heat)
15-ounce can diced tomatoes, pureed with the juice

4 cups chicken or vegetable broth
1 cup dried red lentils
salt and pepper to taste
chopped cilantro

Directions:

Heat the nit’ir qibe or oil in a large saucepan over medium heat. Add the onion and cook, stirring, until softened. Next, add the garlic and ginger and cook for two minutes. Add the berbere and stir to coat.

Add the pureed tomatoes and broth and bring the mixture to a simmer. Rinse the lentils under cold water and then add to the broth mixture. Stir to combine. Simmer, partially covered, until the lentils are tender. Taste and add salt, if necessary, and pepper to taste. Top with plenty of chopped cilantro.

Serve hot over rice.

Ayib- Fresh Ethiopian Cheese

I never would have thought my introduction to cheese-making would happen when I was cooking African cuisine.  Italy or France… maybe.  Ethiopia… not so much.  But almost all the spicy recipes call for a side of cottage cheese or yogurt to help temper the heat.  Turns out, that’s a just a Western substitution for ayib, a fresh cheese that’s something of a cottage cheese-ricotta hybrid.

I’d always heard making soft cheeses was easy and I’m happy to report that the rumors are true.  All you do is boil up some milk, add lemon juice and strain the mixture and let it sit overnight.  Season with salt and pepper and you’re dunzo.  Slather it on some injera, sprinkle it on top of a spicy stew, or just sneak a bite or two.  I won’t judge.

Ayib- Fresh Ethiopian Cheese

Yield: Approximately 1-1/2 cups

Ingredients:

1/2 gallon milk (8 cups or 2 quarts)
2/3 cup lemon juice
salt and pepper
chopped chives or green onion for garnish (optional)

Directions:

Bring the milk to a boil over high heat. Reduce the heat to medium and pour in the lemon juice. Reduce heat to low and cook, stirring constantly, until curds begin to form. Remove from heat.

Line a sieve or colander with cheesecloth (or use a very fine sieve). Spoon the curdled milk into the sieve or colander and rinse with cold, running water to remove any lingering lemon flavor from the curds. Place over a bowl, cover with plastic wrap, refrigerate and let drain for 8 hours or overnight.

Discard the liquid. Place the cheese in a bowl and season with salt and pepper. Top with chives or green onion, if desired.

Watergate Salad a.k.a. Pistachio Pineapple Delight

0
Although I generally strive to eat healthy, minimally processed foods, I’m happy to take a breather now and then to enjoy something like this Watergate salad.  Considering I’d never heard of Watergate Salad before seeing the recipe in Christy Jordan’s cookbook, I was surprised to flip over a bag of marshmallows and see another recipe for it there.  I must be living under a rock or something. Or at the very least not in the habit of reading the back of marshmallow bags.

In this dish an instant pistachio pudding packet gets combined with crushed pineapple, whipped topping, mini marshmallows and chopped pecans.  It’s the kind of pleasantly retro and weirdly addicting dessert that you might find at all-you-can eat buffets.  Supposedly the recipe, originally called Pistachio Pineapple Delight, was created in 1975 by Kraft, but renamed after the political scandal by an unknown journalist trying to drum up interest in the recipe.  Note to self: start coming up with more interesting recipe names.

Watergate Salad

Yield: 6-8 servings

Ingredients:

 1 small box instant pistachio pudding (4 serving size)
 One 20-ounce can crushed pineapple
 1 cup mini marshmallows
 1 cup chopped pecans, divided
 8-ounce container whipped topping, divided

Directions:

In a large bowl, combine the pudding mix, canned pineapple (juice and all), marshmallows, 3/4 cup of the chopped pecans, and half of the container of whipped topping.  Stir well to combine and chill before serving.  Spoon into individual dessert bowls or glasses and top with a dollop of the remaining whipped topping and some chopped pecans.
After you try this one, you may also like our Peanut Butter Cheesecake Mousse Cups!

Lemon and Blueberry Greek Yogurt Parfait

If you’ve ever had lemon-blueberry scones, bread or cheesecake before, then you know that lemon and blueberries are a combination right up there with chocolate and vanilla or peanut butter and jelly.  This pretty (and super simple!) layered concoction brings the two flavors together in a dish that’s appropriate for breakfast, dessert, or anytime in between.

If you’re the kind of guy or gal who’d like to make your own lemon curd, a recipe is forthcoming.  Normally I’d hammer it out right away, but I’m feeling a bit loopy at the moment.  I spent most of the Sunday on a boat out in some pretty choppy water.  Good times, but I feel like I’ve still got my sea legs and a case of mal de debarquement.  God I love the French language, everything sounds so pretty… even land sickness.  But I’ll get the recipe up just as soon as the room and laptop stop moving…

Blueberry and Lemon Greek Yogurt Parfait

Yield: 1 serving

Ingredients:

* 7 to 12 ounces plain Greek yogurt
* several Tablespoons lemon curd
* handful fresh blueberries

Directions:

In a clear glass or dessert bowl, alternate layers of Greek yogurt, lemon curd, and blueberries. Serve immediately.

Note: I wrote out some really basic proportions, but feel free to just eyeball it or adjust the amounts to meet your specific preferences.

Khmer Pork with Yard-Long Beans

With the exception of bacon, I really don’t cook with pork very often.  It’s a shame because it’s so versatile… just like that other white meat (i.e., chicken).  I guess I have the blog to thank for making me be more adventurous with pork.  There were some great curried jerk pork chops with mango salsa when I was cooking my way through Jamaica and some incredible pork tenderloin from my time in the Basque Country.  I still dream about that pan sauce… so so good.

And once again, pork doesn’t disappoint in this Khmer dish that combines thin slices of pork with yard-long beans.  The recipe is quite mild and easy to prepare, but it still packs a whole lot of flavor due to the addition of fish sauce.  Never cooked with fish sauce before?  It’s smelly, it’s funky, it’s wonderful.  Although I lived twenty-something years of my life without it, it’s become an absolute staple in my kitchen.  I think you’ll love it too.

Khmer Pork with Yard-Long Beans

Yield: 2-3 servings

Ingredients:

* 2 Tablespoons vegetable oil
* 6 cloves garlic, minced
* 1 red chile pepper, seeded and minced (I used a seeded red Jalapeno)
* 1/2 pound lean, boneless pork, thinly sliced across the grain
* 1 teaspoon palm sugar (can substitute brown or white sugar)
* 1/2 teaspoon salt
* 1 Tablespoon fish sauce
* 1/2 pound yard-long beans, ends trimmed and cut into 1 1/2-inch pieces
* 1/4 cup water
* chopped cilantro

Directions:

In a large skillet or wok heat the oil over medium-high heat. Add the garlic and cook, stirring constantly, until the garlic begins to brown. Add the minced chile pepper and cook another minute.

Next, add the pork, palm sugar, and salt and stir fry until all of the pork has turned from pink to white. Add the fish sauce and the beans and cook for another two minutes. Add the water, bring to a simmer and let cook until the beans are tender crisp and the pork is cooked through, about 3-5 minutes.

Remove from heat, and sprinkle with cilantro. Serve with rice.

Garlic and Parmesan Kale Chips

0

This past week I’ve been slowly transitioning back to my normal eating.  Although it’s not easy, I’m doing my best to not go overboard on previously restricted foods (although a package of mochi from Maui Specialty Chocolates is making this a particularly difficult task).  So rather than dive into a bowl full of cheesy, gluten-free mac and cheese, which I’ll admit sounds pretty awesome right about now, I sprinkled just a little bit of Parmesan sprinkled on these otherwise cleanse-appropriate kale chips.

Kale chips were quite the food blogger darling about a year or so ago.  There were subtle variations between different bloggers’ versions, but they all follow the same basic premise: kale, one of the healthiest greens out there, masquerades quite successfully as an unhealthy snack chip.  They’re like a lighter, more delicate potato chop.  If the salty crunch of the chips isn’t enough to entice a skeptic into trying a one of these, perhaps the Parmesan and garlic will…

Garlic and Parmesan Kale Chips

Yield: 4 servings

Ingredients:

* 2 bunches kale
* 2 Tablespoons olive oil
* 2 large garlic cloves, minced
* salt and pepper
* 1/4 cup freshly grated Parmesan cheese

Directions:

Preheat oven to 350 degrees.

Rinse kale and pat dry. Remove and discard the thick ribs and roughly chop the leaves. Place on a large rimmed baking sheet and toss with olive oil, garlic, salt and pepper. Sprinkle with the Parmesan cheese. Bake for approximately 15-20 minutes, stirring every five minutes or so, until the edges are crispy and slightly browned.

Note: You really want to make sure there’s no moisture on the kale prior to coating with olive oil as water will prevent the chips from getting crisp.