Although I’ve been eating kale for a long, long time (Marcella Hazan’s excellent Tuscan Peasant Soup was my “gateway drug” to this dark, leafy green), I’ve been firmly resisting the kale salad trend. And so kale always found three other eventualities: kale chips, soup, or green juice/smoothies.
While I’m usually pretty good at resisting fashion trends (high-wedge sneakers, I’m talking to you), I tend to cave to food trends pretty quickly… curiosity always seems to win out. And unlike the Luther Burger or Double Down, kale salad seems to have some serious staying power. And so I finally caved. I only wish I’d done so sooner.
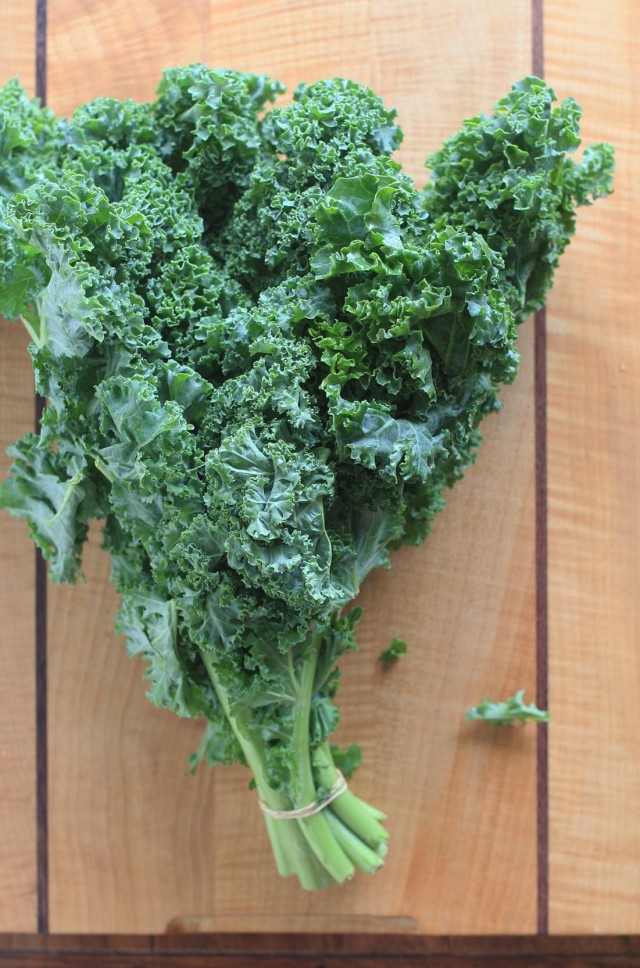
 While kale is tougher and more bitter than your average salad green, there’s a couple of tricks for making it work. First, a quick massage of the leaves will help soften and break down kale’s tough structure. And pairing the kale with something extra sweet–like mango– will help balance the flavor.
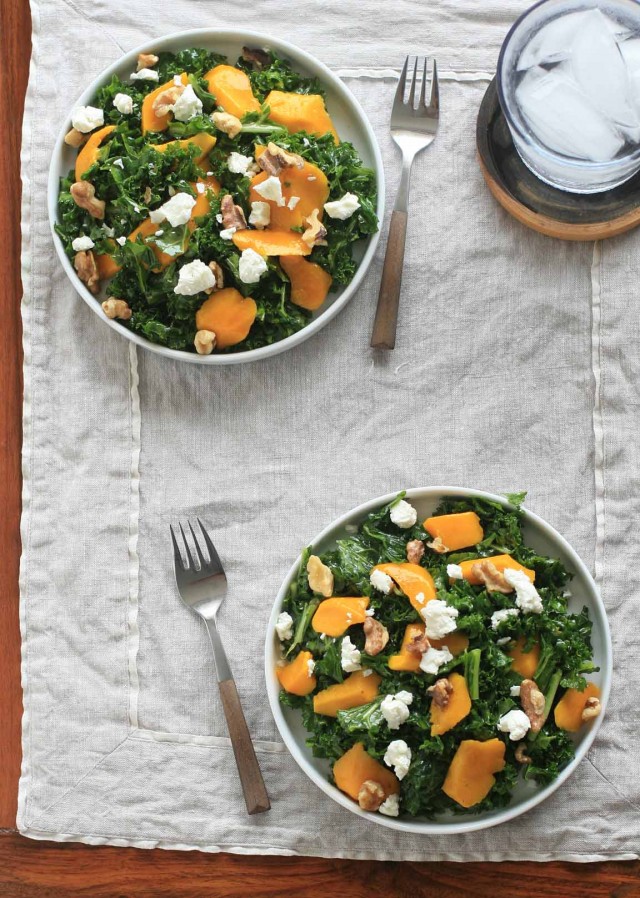
I made a couple iterations of this salad, using whatever fruit I had on hand. Peaches and mangoes were my favorite, but any sweet, ripe fruit should work well.
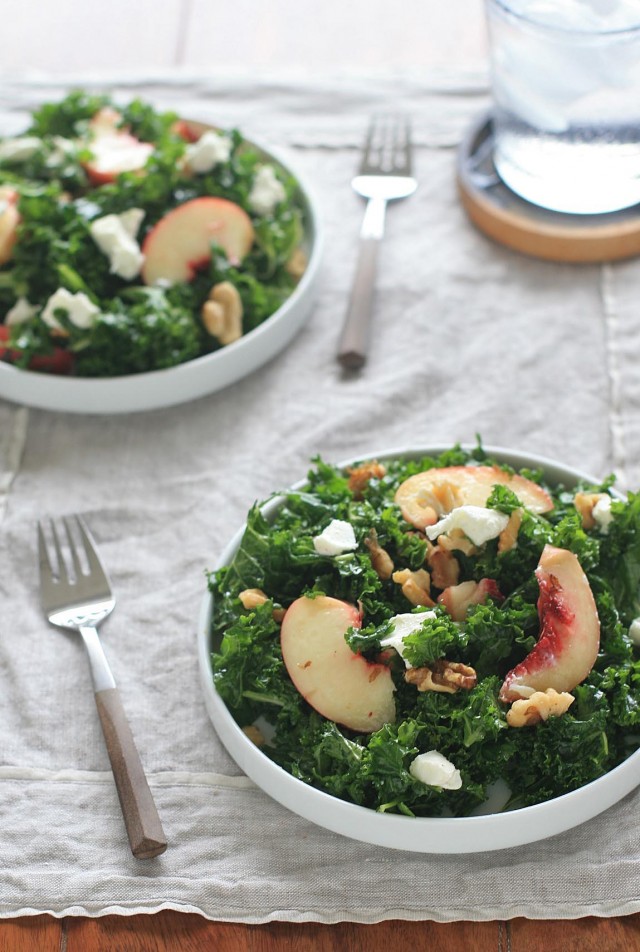
Massaged Kale Salad with Mango, Walnuts and Goat Cheese
Yield: 4 servings
Prep Time: 10-15 minutes
Total Time: 10-15 minutes
Ingredients:
1 Bunch kale, tough stalks removed and cut into thin slices
2 Tablespoons olive oil, plus a little extra for drizzling
3 Tablespoons lemon juice, divided
Sea salt
2 teaspoons honey
Black pepper
1 mango, cut into chunks
1/2 cup toasted, chopped walnuts
1/3 cup crumbled goat cheese
Directions:
In large bowl combine the kale, a drizzle of olive oil, a Tablespoon of lemon juice, and a sprinkle of salt. Use your hands to massage the leaves until the kale starts to soften and wilt, 2 to 3 minutes. Set aside.
In a small bowl, whisk together the remaining olive oil, lemon juice, honey and some freshly ground black pepper. Pour the dressing over the kale and toss to combine. Transfer the kale mixture to four individual plates and top with the mango chunks, walnuts and goat cheese.
 Living in Hawaii, it’s easy to lose track of the seasons… I suppose I’ve got something of an endless summer mentality. But while sunny beach days aren’t in danger of going away come Labor Day weekend, summer produce won’t last much longer.
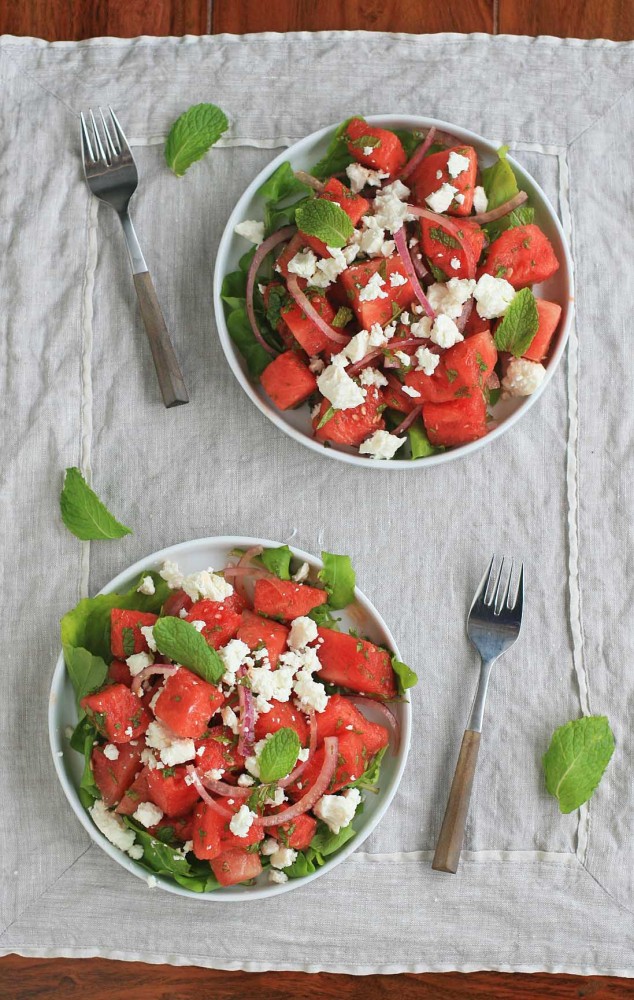 For twenty-something years it never occurred to me to enjoy watermelon any other way than plain ol’ slices or cubed in a fruit salad. Delicious? Yes. But also a bit boring. Thankfully I’ve been making up for lost time in recent years, enjoying it in
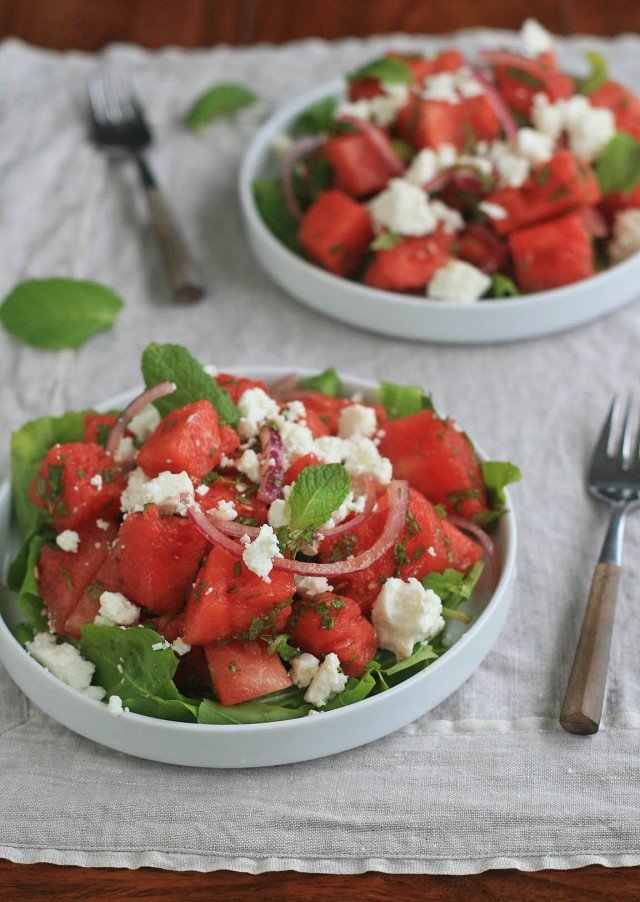
 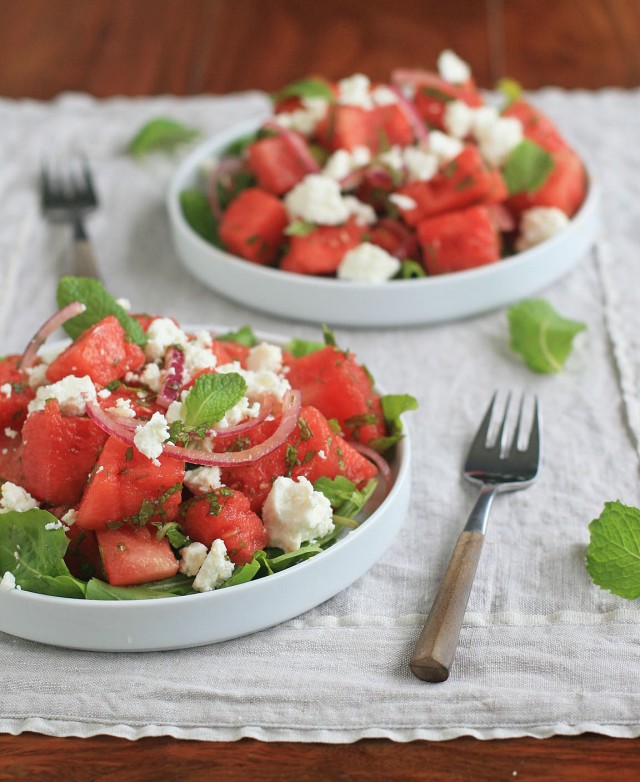 Watermelon Salad with Feta and Mint
 For somebody who loves Indian cuisine as much as I do, I’m not quite sure how I’d gone so long without trying butter chicken, one of the most popular Indian recipes outside of India.
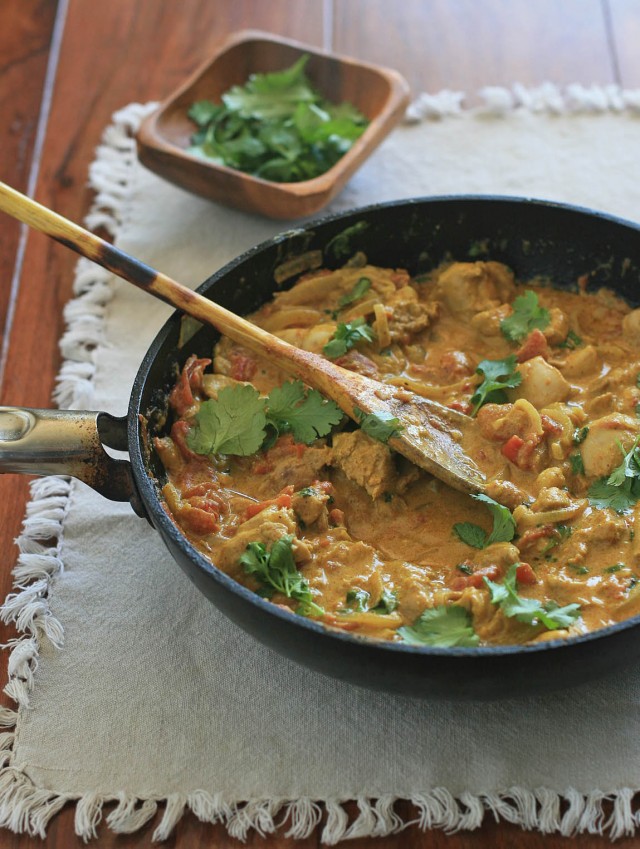
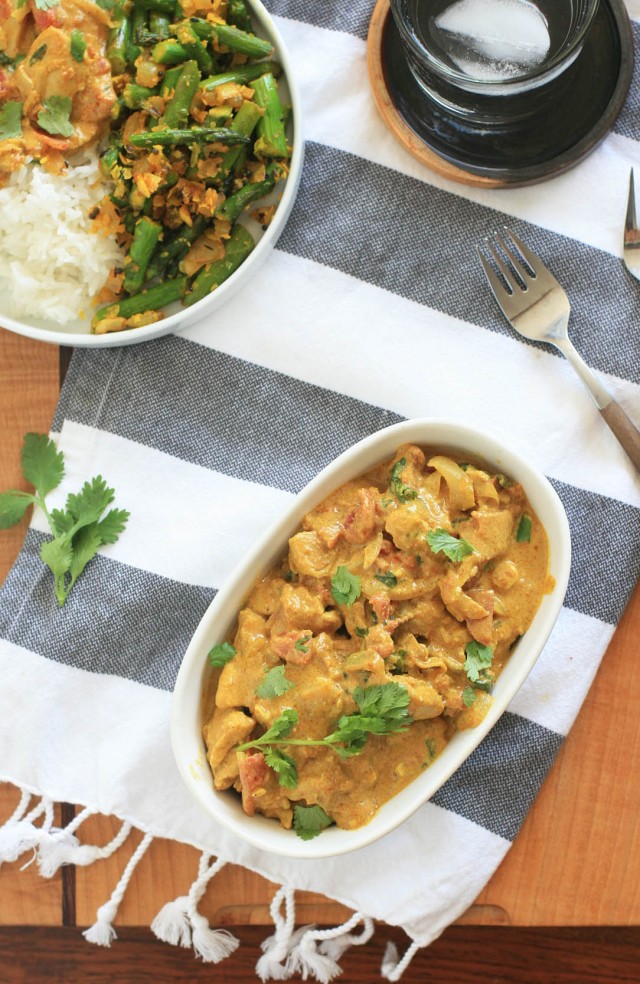 The hardest part about this recipe is rounding up and measuring out all of the different spices. Otherwise, you’re just a quick sauté and simmer away from a pretty great meal.
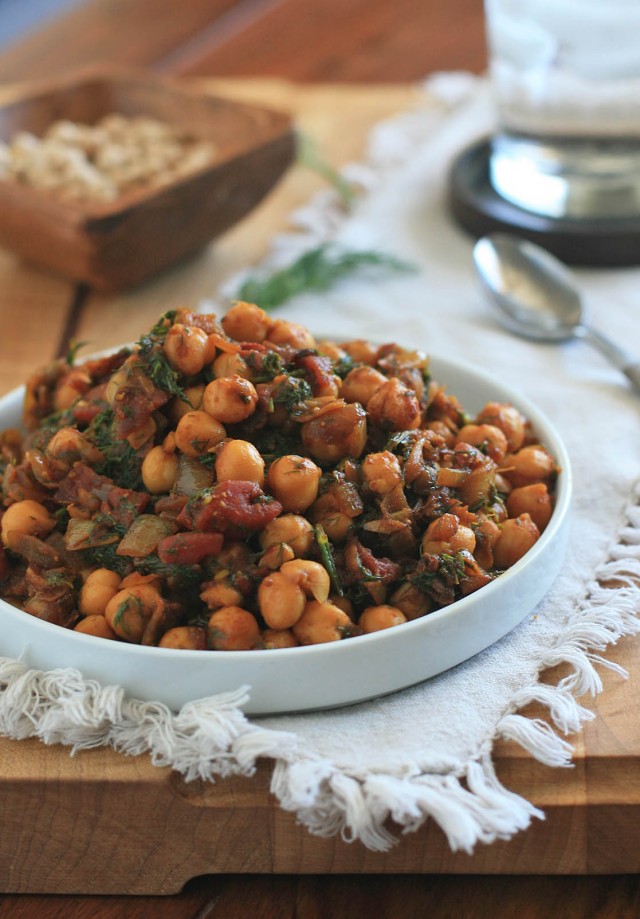 Although I most often associate dill with pickles and Scandinavian cuisine, it was Vietnamese (specifically cha ca thang long) and this Indian dish that finally turned me onto the polarizing herb.
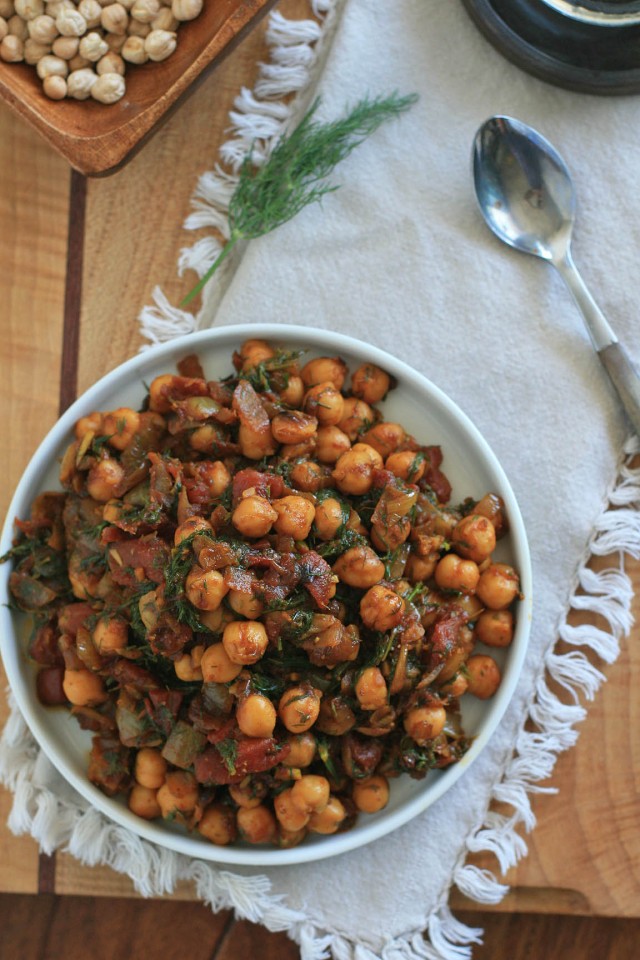 Chickpeas are simmered with garlic and onions, Indian spices, a slightly sweet tomato sauce and plenty of chopped, fresh dill in this healthy vegan dish. If you’ve got pre-cooked chickpeas on hand, the dish should only take about 20 minutes from start to finish.
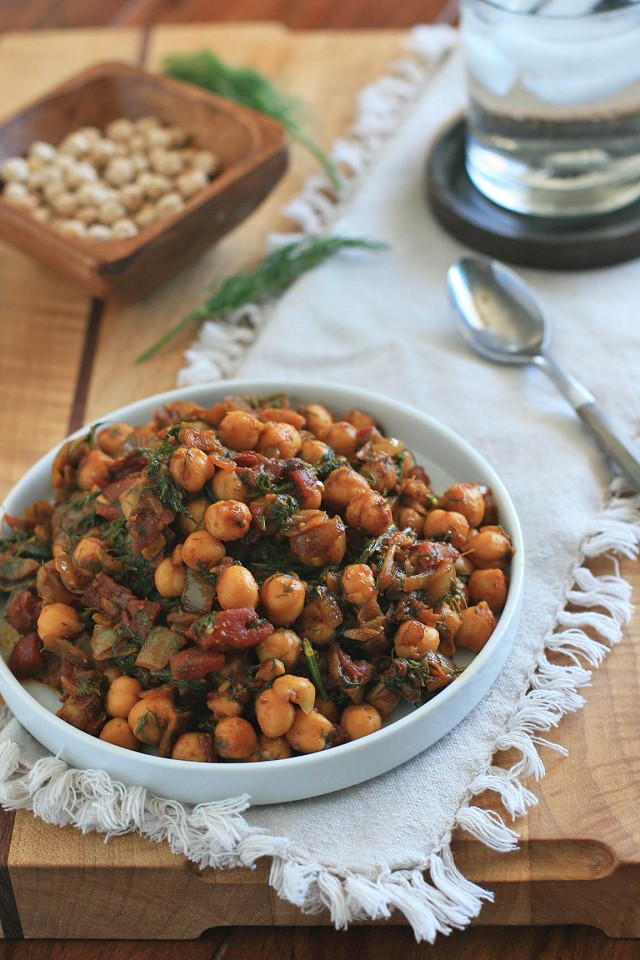
 Let’s face it. If there was such a thing as a popularity contest for vegetables, the humble cabbage probably wouldn’t have much of a chance. Not when there’s much sexier vegetables like asparagus, Brussels sprouts, and ramps out there.
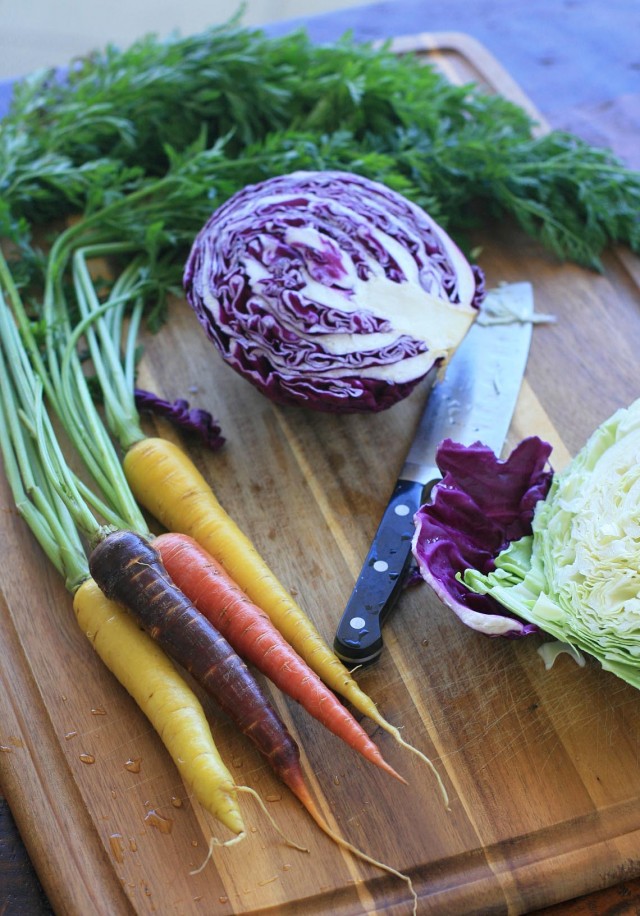 And with each new cuisine I cook, it seems like my love affair with the hardy, leafy vegetable deepens. Cabbage may be considered peasant food in many countries, but I’ll take peasant food over molecular gastronomy any day.
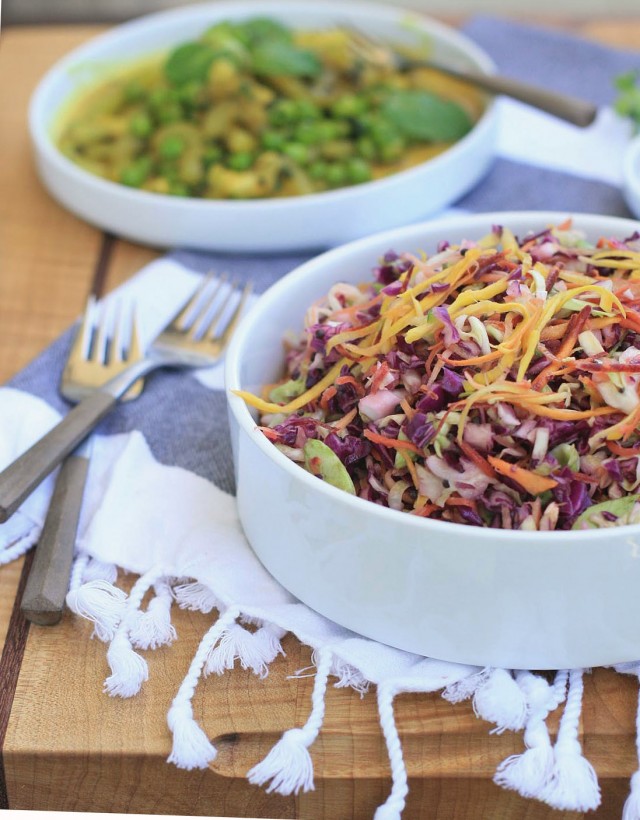
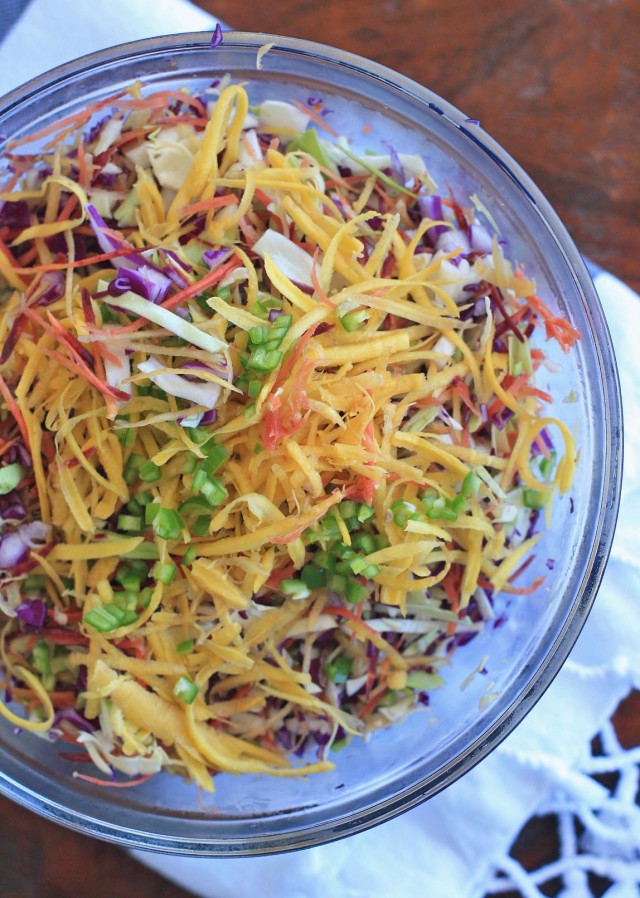 In this colorful salad, which is another one of my favorite Indian recipes, red and green shredded cabbage are combined with grated carrots and tossed in a lemon juice dressing that’s spiked with hot Serrano chiles and pungent mustard seeds. Bright tasting with plenty of crunch, it’s a great side to rich, coconut milk-based curries.
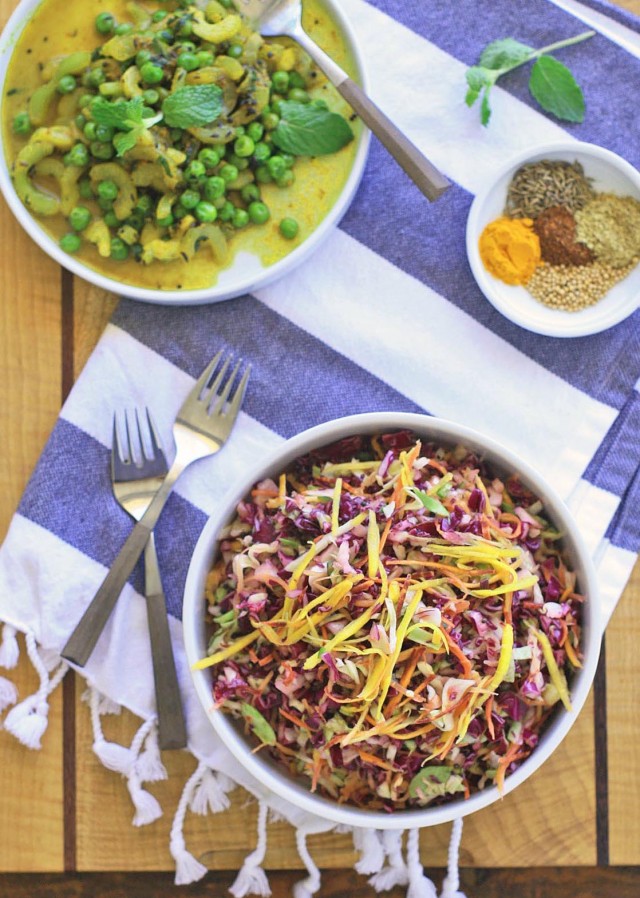

 I remember reading once. Or maybe I heard it on the radio? It was about Fergie being the only member of the Black-Eyed Peas who actually liked black-eyed peas.
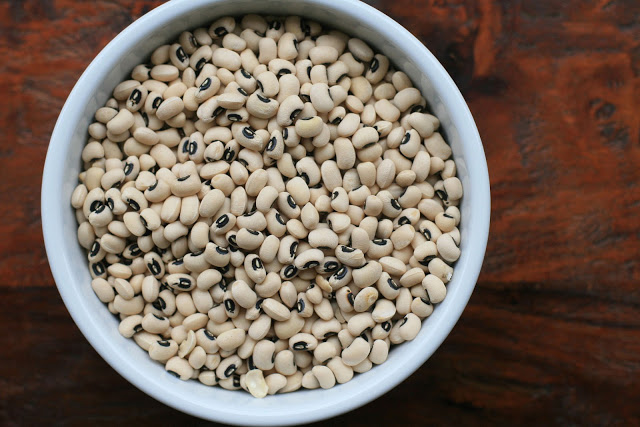
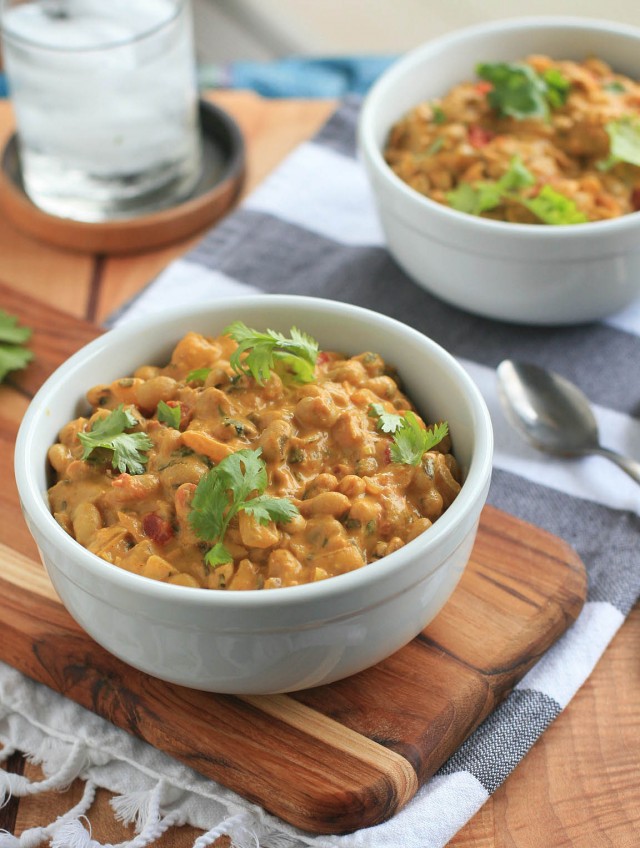
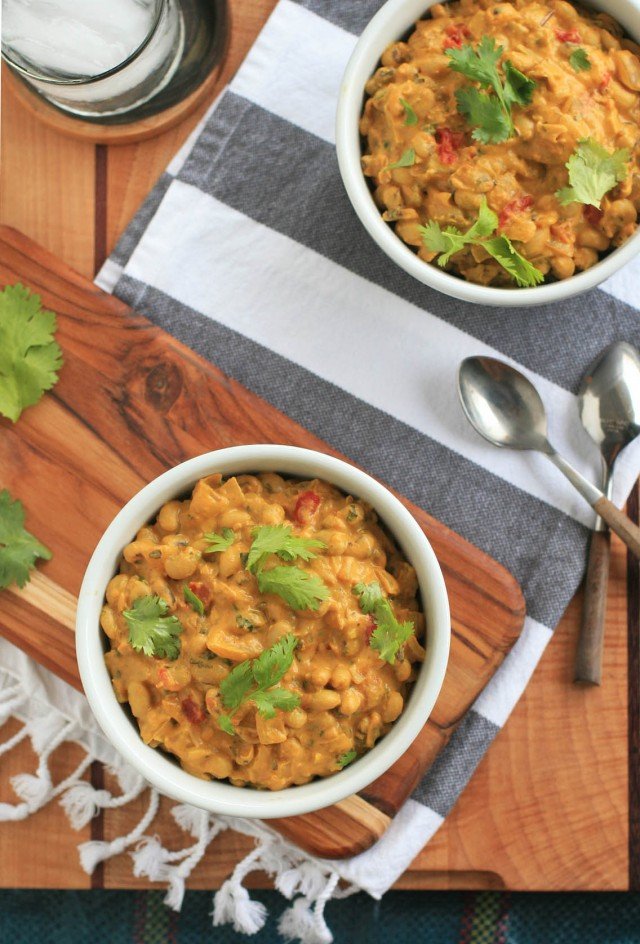 I know that Indian food can seem pretty overwhelming to make because of all the unusual and/or hard to find ingredients, but this curry primarily uses canned pantry staples and a couple Indian spices. It’s the perfect recipe to get your feet wet in Indian cooking.
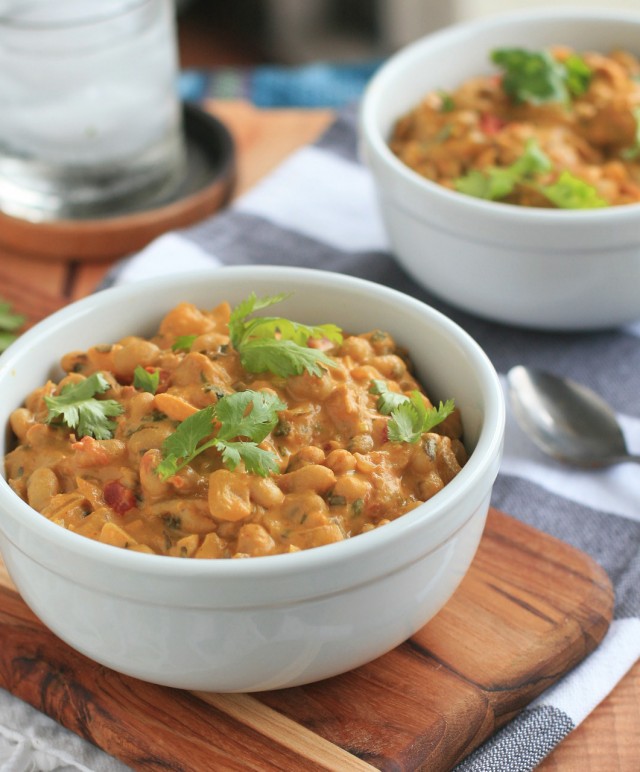

 Americans sure do love fried foods, so I’m not quite sure why we haven’t jumped on the bean/legume fritters bandwagon. Clearly the rest of the world has a leg up on us: countries in the Middle East have their chickpea Falafel, Brazil has its
  Soaked yellow split peas are processed until nearly smooth and then combined with garlic, onion, spices and fresh cilantro. Form the mixture into little discs or balls, and shallow fry them until golden and crispy. These might not qualify as health food, per se, but I’m guessing that these vegan treats are a whole lot better for you, and a whole lot tastier, than what’s coming out of the fryer at your local fast food chain.
 Spiced Yellow Split Pea Fritters
 If you were to poke around my kitchen right now, you’d see a lot of jars and bottles containing all sorts of liquids and other curiosities. There’s the large jar of vinegar that’s steeping with orange peels (for a natural, orange-scented all-purpose cleaner), a small container of vodka with zested citron peel for a test batch of limoncello, and a giant bottle that holds my first, and possibly failed, attempt at making kombucha.
 So it sure is nice to throw a simple, healthy and, most importantly, quick meal to the mix. There’s nothing quite like immediate gratification.
 It’s very much peasant food, created from very simple ingredients, but the whole is greater than the sum of its parts. If you’re looking for something excessively rich and indulgent, this isn’t the soup for you. (But I would encourage you to try this terrific