 I admit, I have a bit of a steamed bun addiction. And if truth be told, I lived off of them for years when I lived in the lower east side. Back then, I never even imagined I could make them myself. So if that is what you’re going through right this very moment,
I get it. Again, I urge you. We can do this together. Once you get the dough and technique down – and trust me I am talking e-a-s-y, you can really put just about anything inside these pillowy buns.
I started filling them with kimchi in a stroke of genius sometime in the fall. Thus, after I had the better side of the 75 pounds of cabbage I decided to ferment this past season glaring at me from behind glass jars. Kimchi, I have found, is the most convenient and tasty of steamed bun fillings! The hot salty-sourness and slight crunch are the perfect compliment to the melt-in-your-mouth casing.
So, take a deep breath and let’s do this!
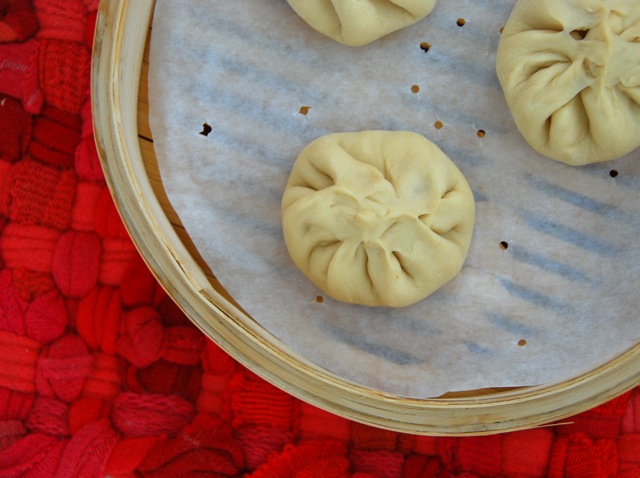
Kimchi Steamed Buns
Adapted from Asian Dumplings by Andrea Nguyen
For dough:
2 & 1/2 cups all purpose flour
2 teaspoons baking powder
2 tablespoons sugar
1 & 1/2 teaspoons instant yeast
3/4 cup lukewarm water
2 tablespoons vegetable oil
For filling:
1 & 1/2 cups kimchi, drained
You will also need:
steamer, I use bamboo, but a metal one is good too.
wok or large pan to fit steamer in
parchment paper, I use these, or you can cut regular parchment into 4 inch squares.
yield: 12 buns
Directions:
1. Add the dry ingredients to a food processor and pulse three times. If making by hand, whisk in a large bowl.
2. Add yeast to water and let sit for 1 minute. Whisk in oil. Let sit for another minute.
3. If using a food processor, add yeast mixture in a steady stream with machine running. If the dough does not clump together in about 30 seconds, add a few more teaspoons of water, just until it starts to clump. Run machine for another 60 seconds. Dough should lift from sides and form a mass, it should not be sticky.
If making dough by hand, make a hole in center of dry ingredients and pour in yeast mixture. A great eastern stirring technique is to press your fingertips and thumb together to form a point and use your hand to stir in circles, starting from the center with smaller circles and moving outwards to rim of bowl with larger and larger circles. This technique was a revelation to me.
gap
Add water, a teaspoon at a time if dough is not clumping. Once clumped, gather into a ball and knead for 5 minutes. You can do this in the bowl or transfer to a work surface. Dough should not be sticky and you should not have to add additional flour to knead.
4. Lightly oil a bowl and place dough inside, give it a spin so that the oil coats the entire ball. Cover with plastic wrap and place in the warmest place in your kitchen. Let rise for 45 minutes or until it looks as if it has doubled in size.