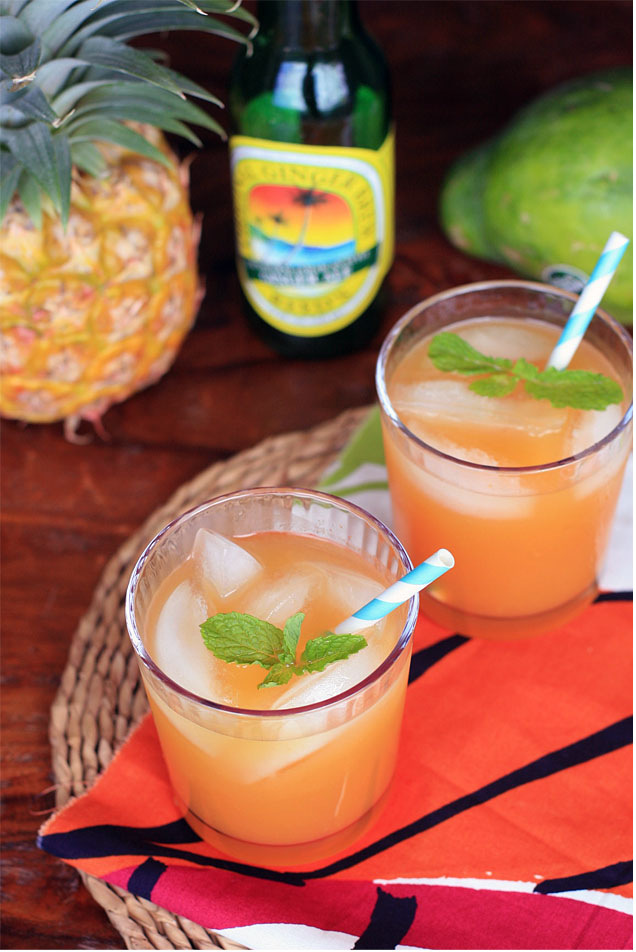
 I’d like to say that I set out to create a mocktail to balance out the boozy beverages I’ve been posting around here, but this actually was intended to be a Chilled Minted Papaya Soup. It didn’t quite work for me as a soup, but a tweak or two made it into one stellar drink.
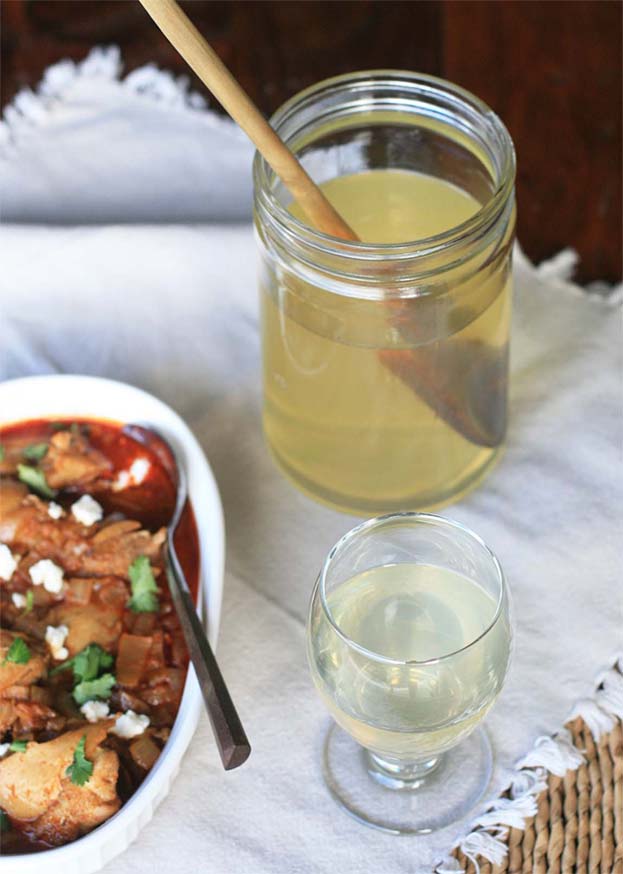
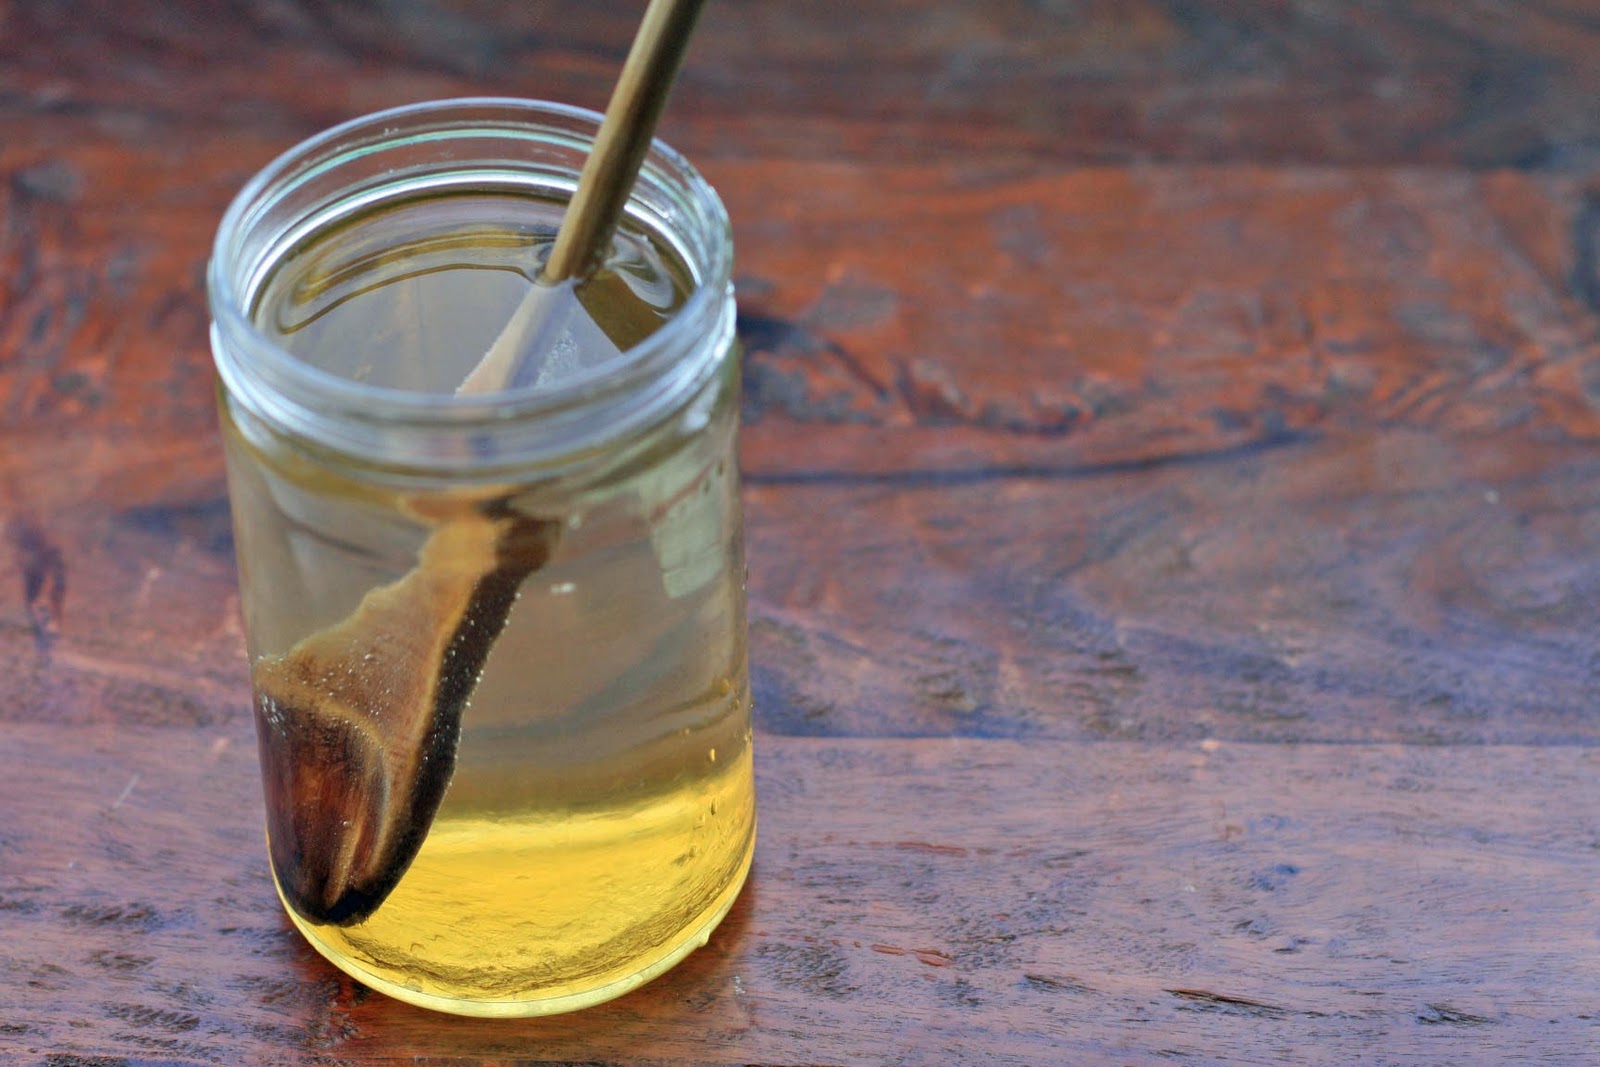
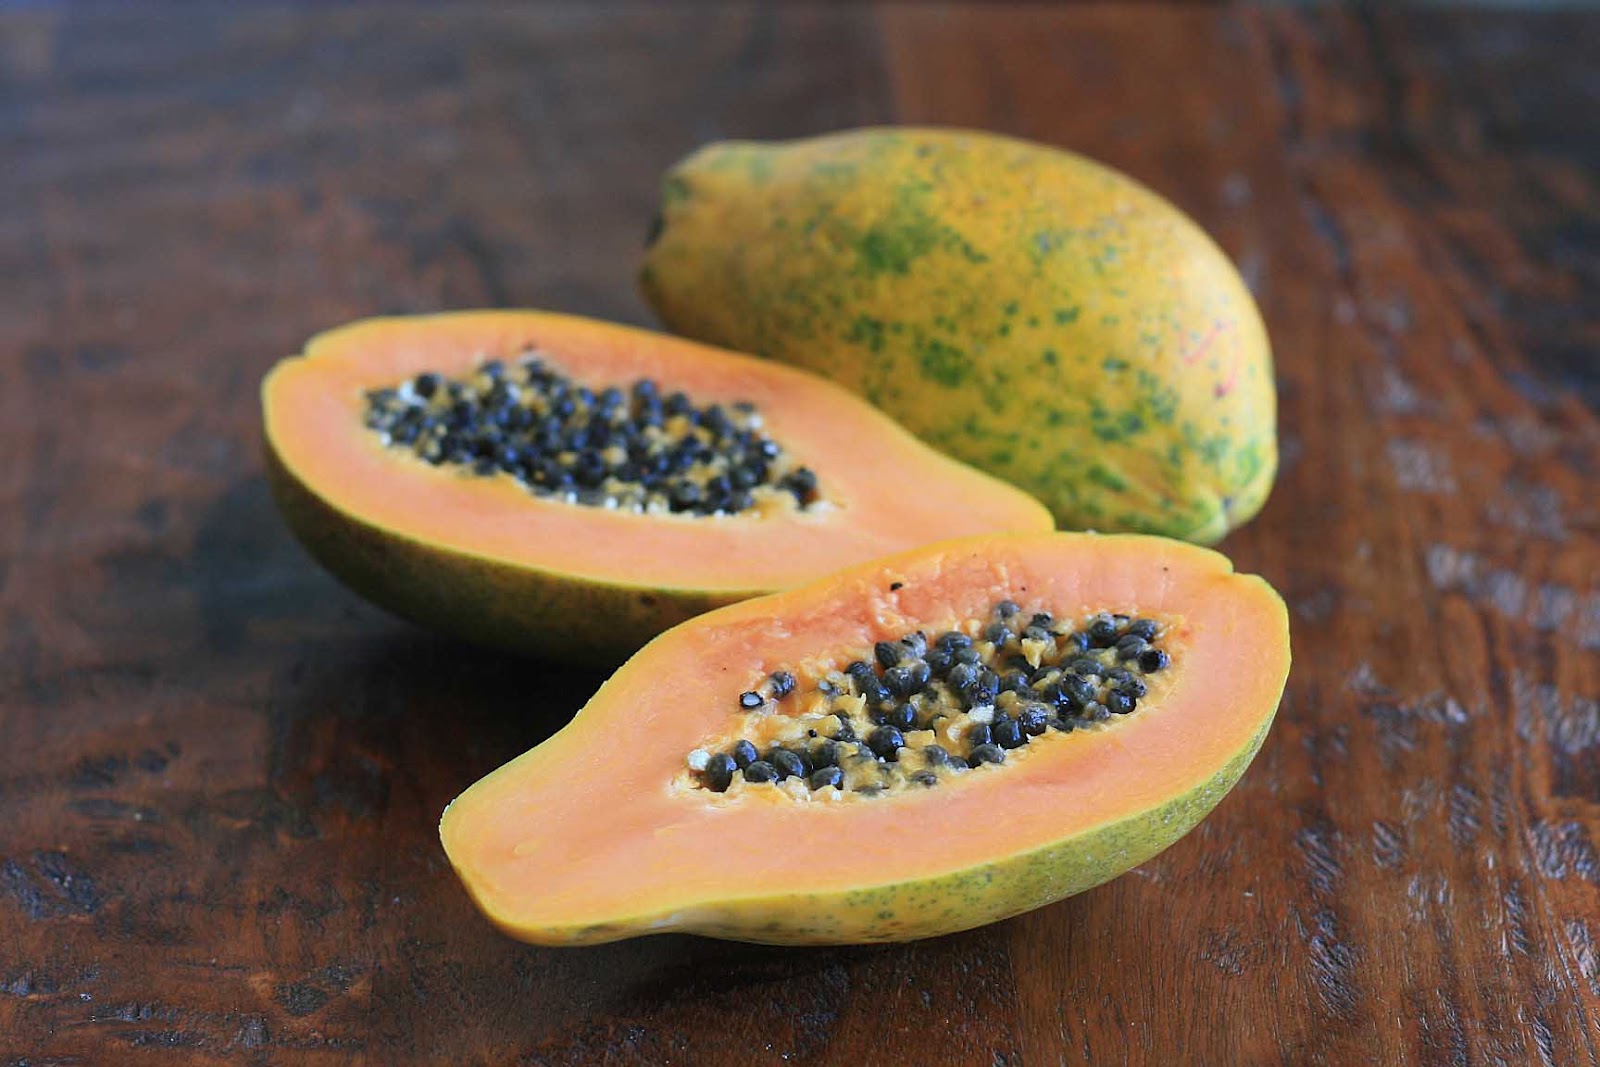 Fresh papaya (or paw paw, depending on where you live) is blended with fresh pineapple, pineapple juice and lime juice and then combined with spicy ginger beer. Although you could substitute regular ginger ale in a pinch, I definitely recommend seeking out some of the spicy stuff: Reed’s, the Ginger People, Blenheim… well, you get the idea. If you have time, seeping the papaya and pineapple mixture with some fresh mint gives it something extra special.
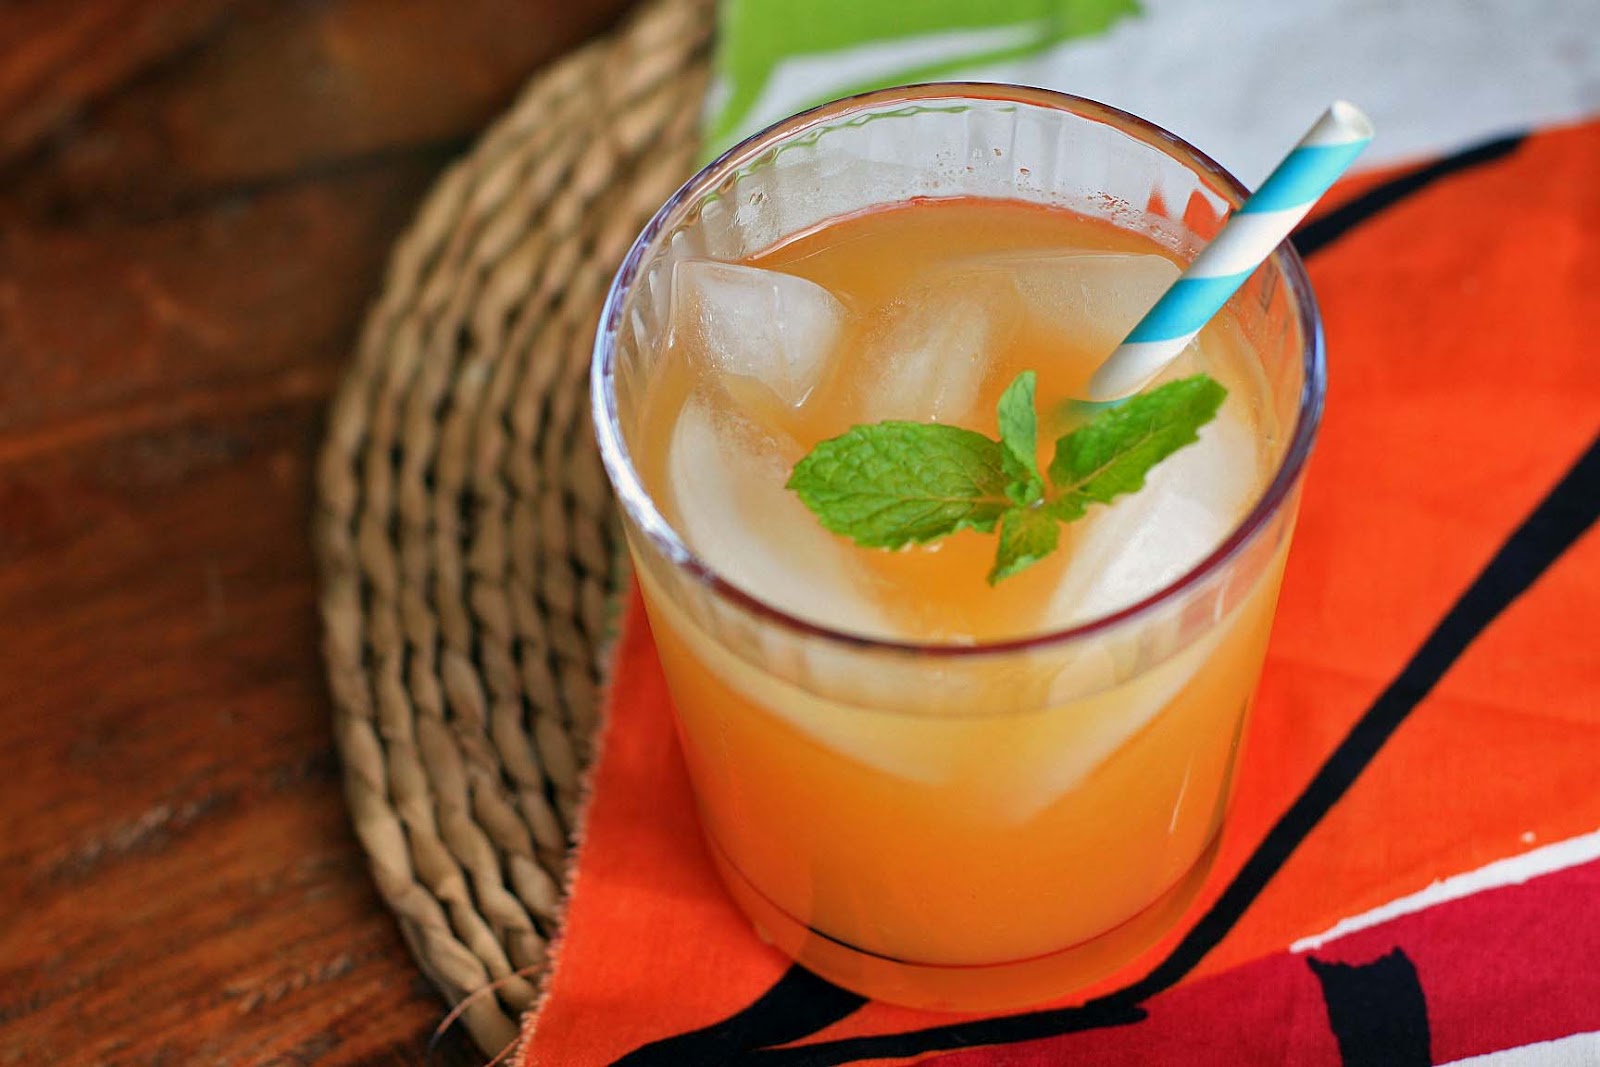
Papaya, Pineapple and Ginger Cooler
Yield: 6-8 servings
Ingredients:
2 ripe papayas, seeded, skinned and cubed
1-1/2 cups cubed fresh pineapple
1 cup pineapple juice
1 Tablespoon lime juice
5 sprigs mint (optional)
2 12-ounce bottles of spicy ginger beer
mint leaves for garnish (optional)
Directions:
Combine the papaya, pineapple, pineapple juice and lime juice in a blender and process until smooth. If you have time, combine the mixture with the mint in a pitcher and refrigerate for several hours. Just before serving remove the mint and add the ginger beer. Serve over ice and garnish with mint leaves, if desired.


")