
 I know it’s not even August yet, but I feel like summer is passing me by and I haven’t had a watermelon tequila mojito. Around here, kids start school next week… is that crazy or what? In my day, we got out of school in the middle of June and didn’t go back until after Labor Day.
I’ve been working too much lately, but I’m going to do my best to make the most of these next few weeks. And so my to-do list looks something like this:
- Take a couple day trips to the North Shore- hit up Waimea, do some snorkeling, get some shave ice.. all that good stuff.
- Get out on the water to take advantage of all of these summer swells.
- Eat (or drink!) as much summer fruit as I can.
I think those are some pretty good goals, don’t you?
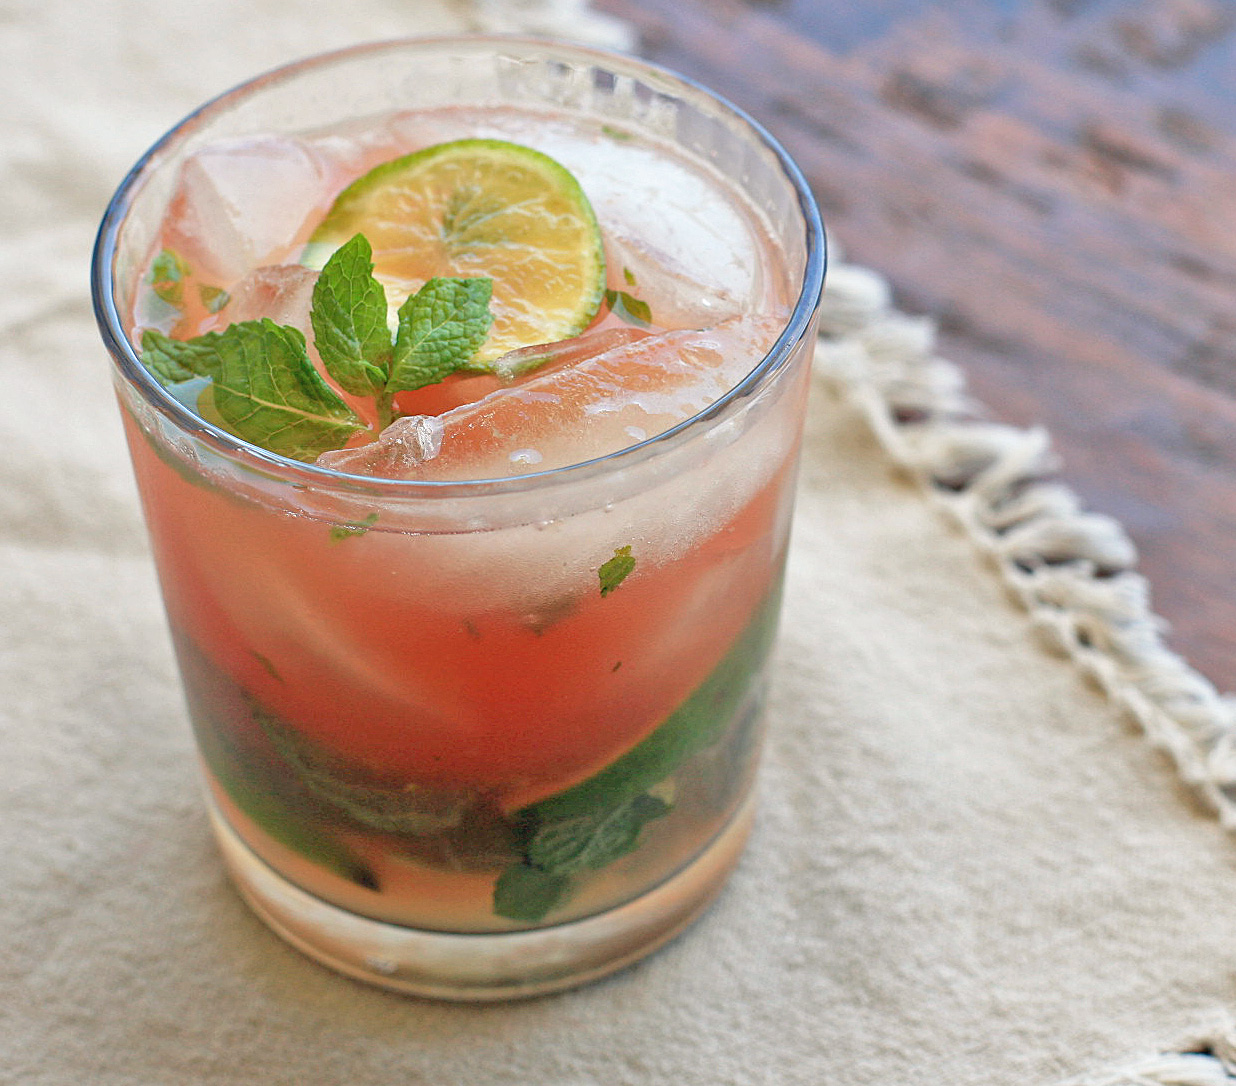
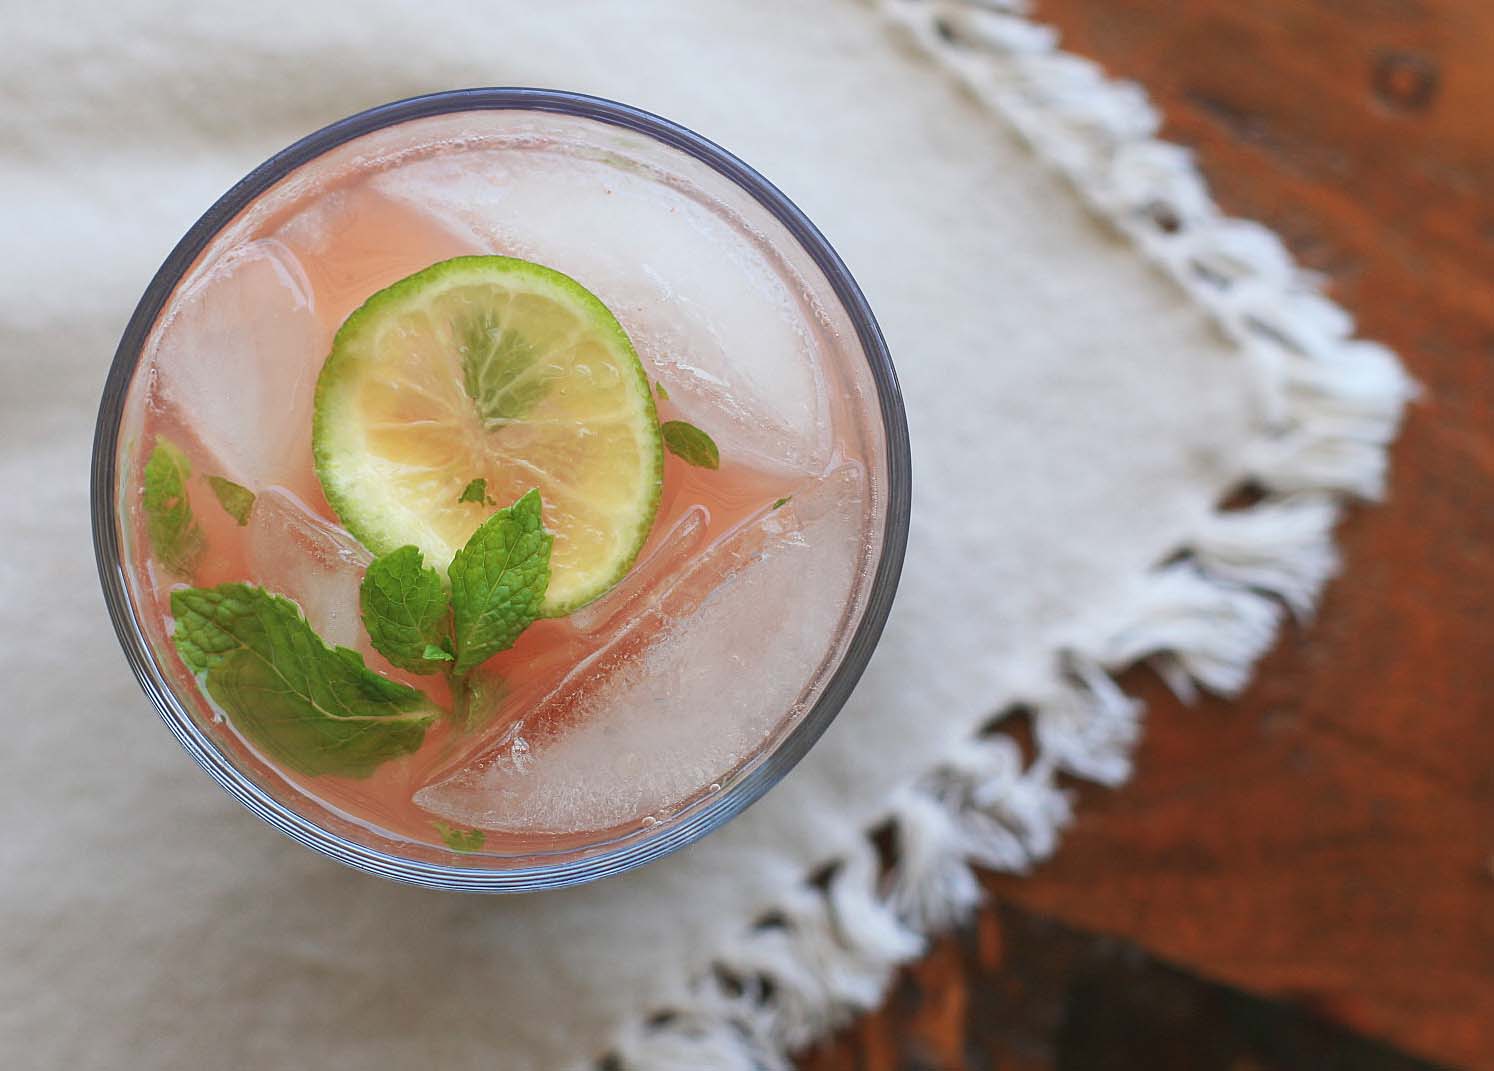
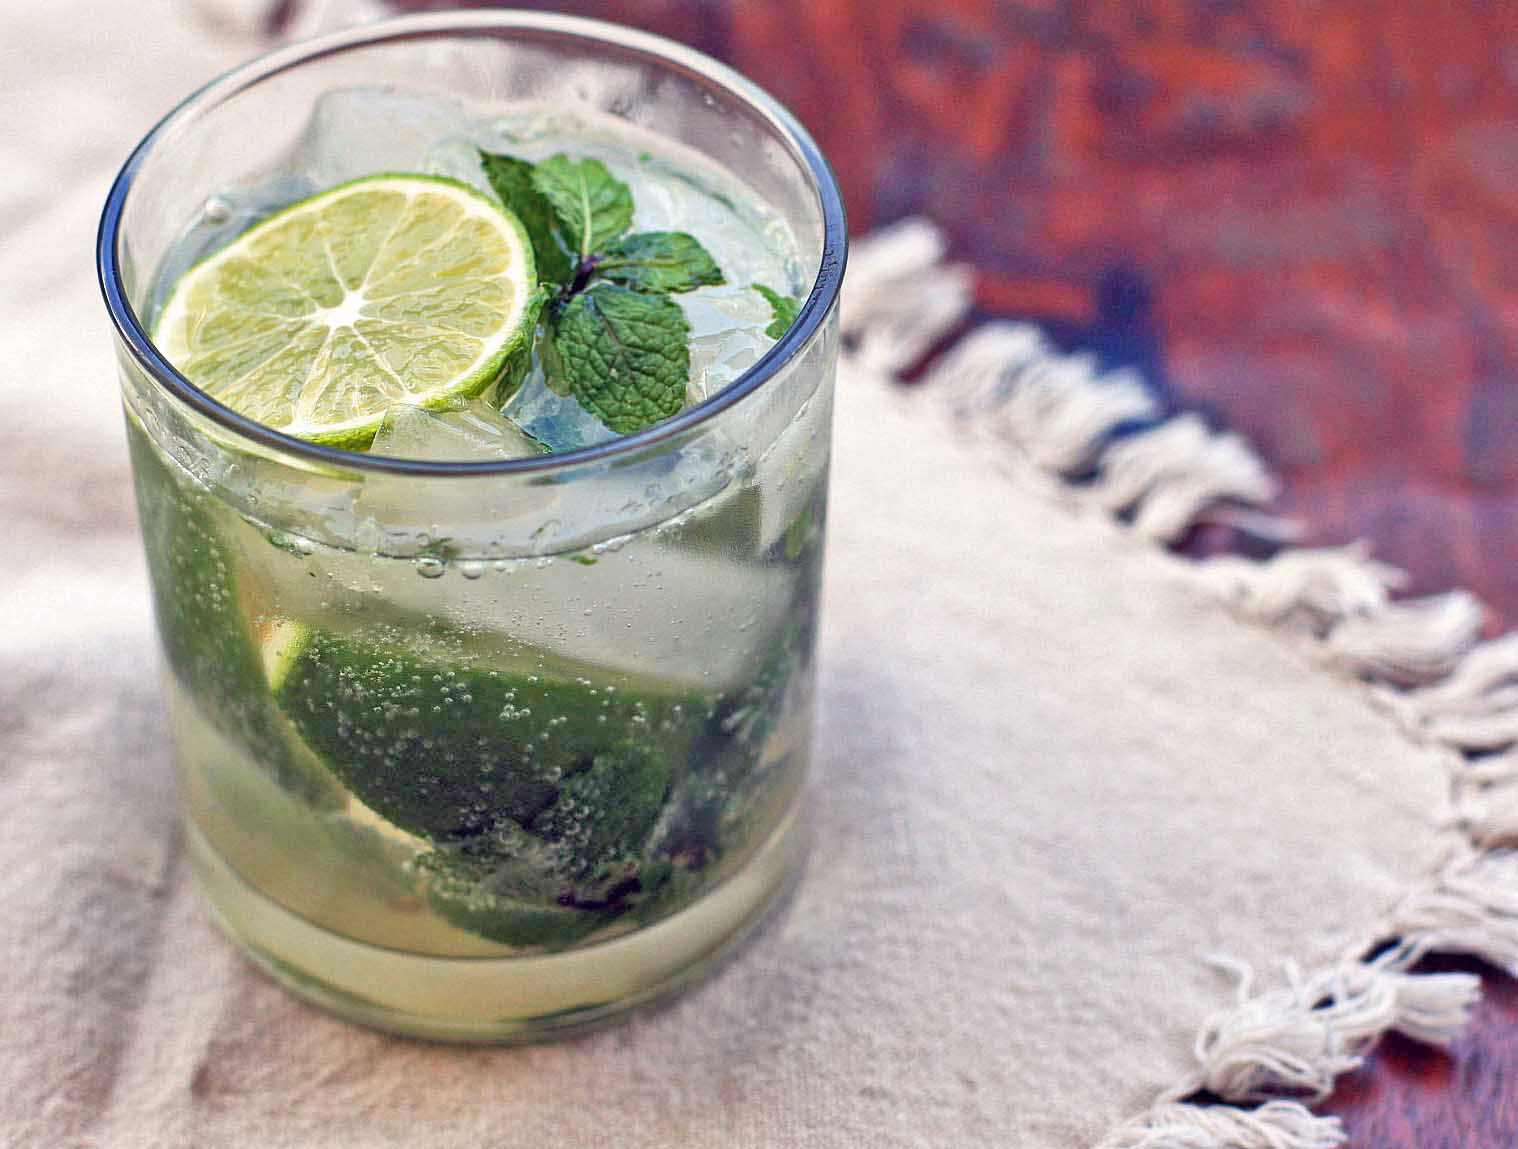
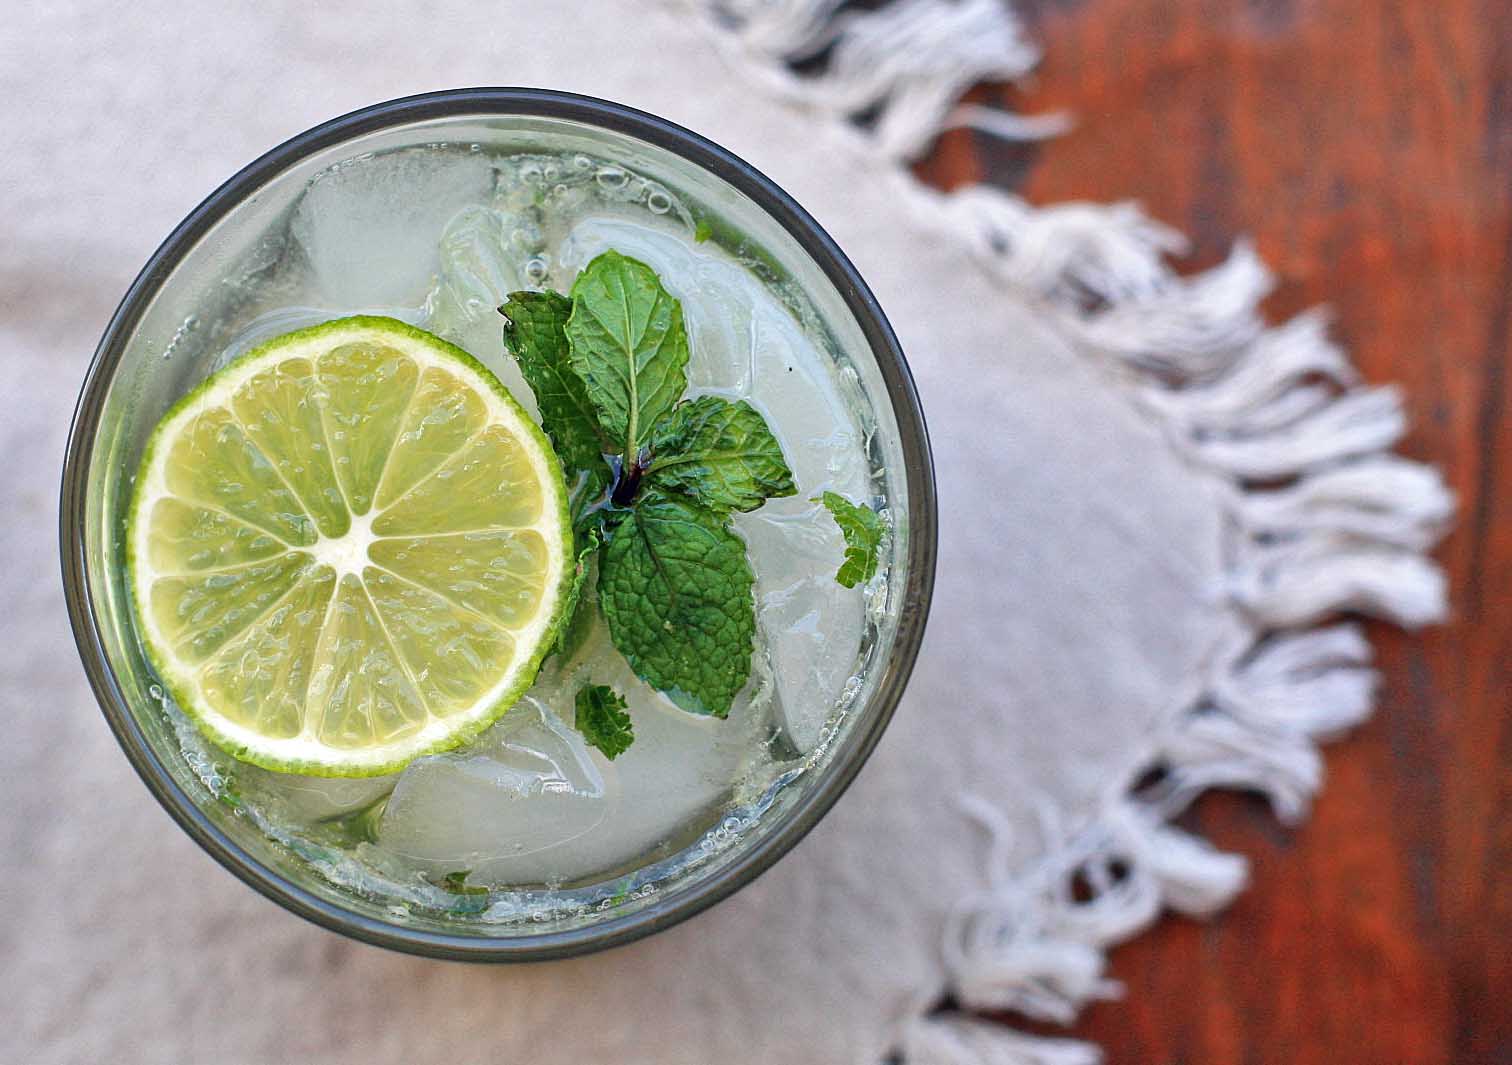
I’m already making good on #3. Watermelon has been a staple around here lately. When I saw a recipe for watermelon mojitos, I knew I had to try it. The Mexican mojito from two weeks ago was so good, I figured adding some fresh fruit could only make it better. I was right. It’s light and refreshing with a pretty pink hue to boot. But be careful- it goes down nice and easy but packs quite a punch.
 Watermelon Tequila Mojito
Yield: 1 serving
Ingredients:
10 mint leaves
1/2 of a lime, cut into three wedges
2- 3 teaspoons sugar, depending on how sweet you like your drink
3 Tablespoons white or silver tequila
ice cubes
about 1/2 cup seedless watermelon, blended until liquidized and smooth
splash of lemon-lime soda or sparkling water
mint sprig and a slice of lime for garnish (optional)
Directions:
In a glass, muddle the mint, lime wedges and sugar (I use a wooden spoon). Add the tequila and stir to mix and dissolve the sugar. Add ice, the watermelon juice and the soda or sparkling water. Garnish with a slice of lime and mint leaves, if desired.


 Just as other folks are calling it quits from the blogging game, I’ve decided to stage my triumphant return! (sarcasm hopefully noted)
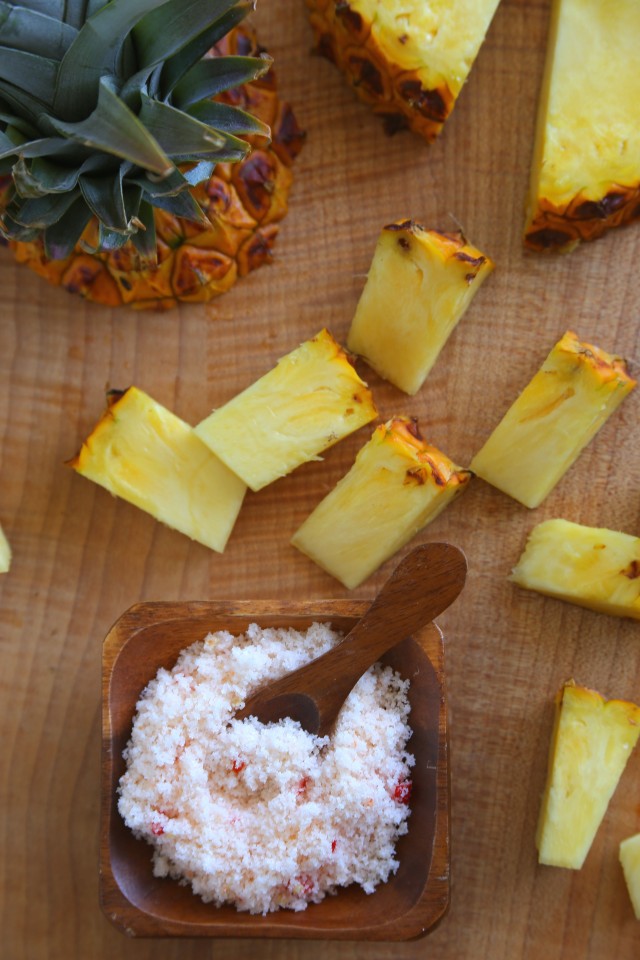 Pineapple with Chile Salt
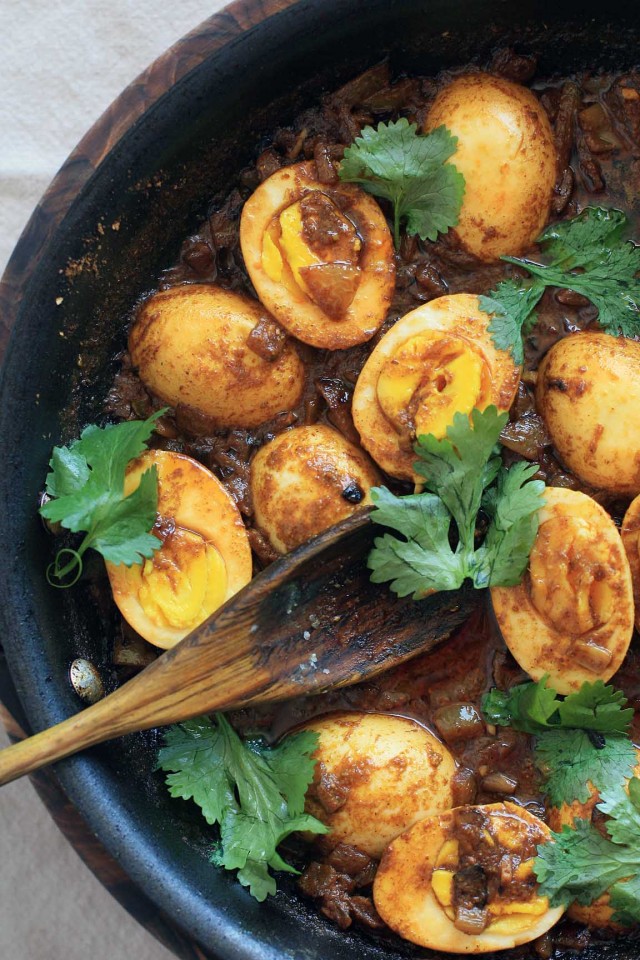 Dear hard boiled eggs. We’ve come a long way, you and I. A couple years ago I wouldn’t even consider allowing you to pass through my lips. And now you’re one of my go-to spinach salad toppings. I also like to cut you lengthwise and
 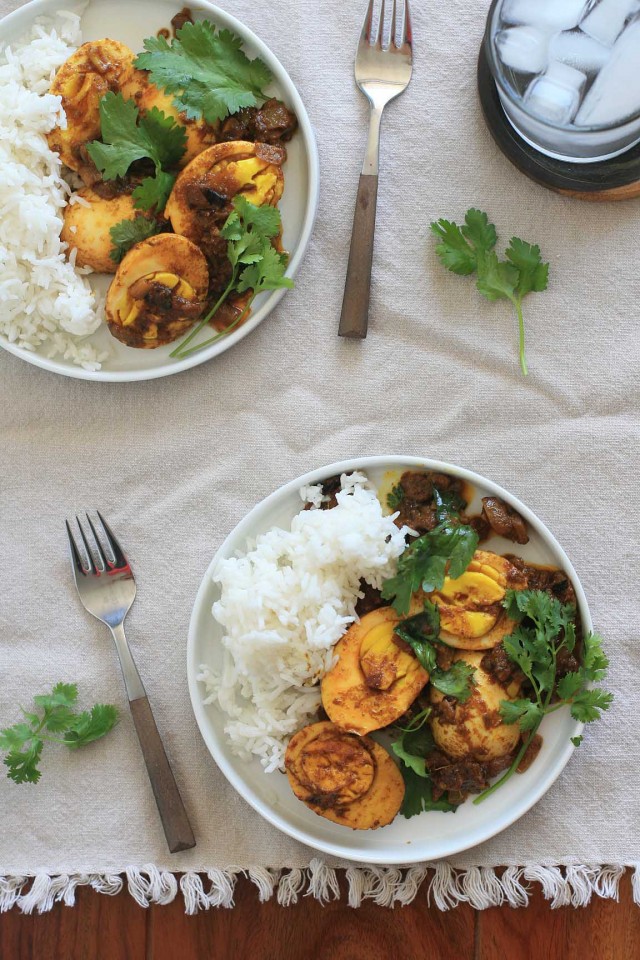 Because I missed out on so many good years of eating hard boiled eggs, I’m doing my best to make up for lost time. I tend to make a large batch every week to store in the fridge for salads, which means that if I plan ahead and make a few extra, this egg curry becomes a very quick and easy weeknight meal.
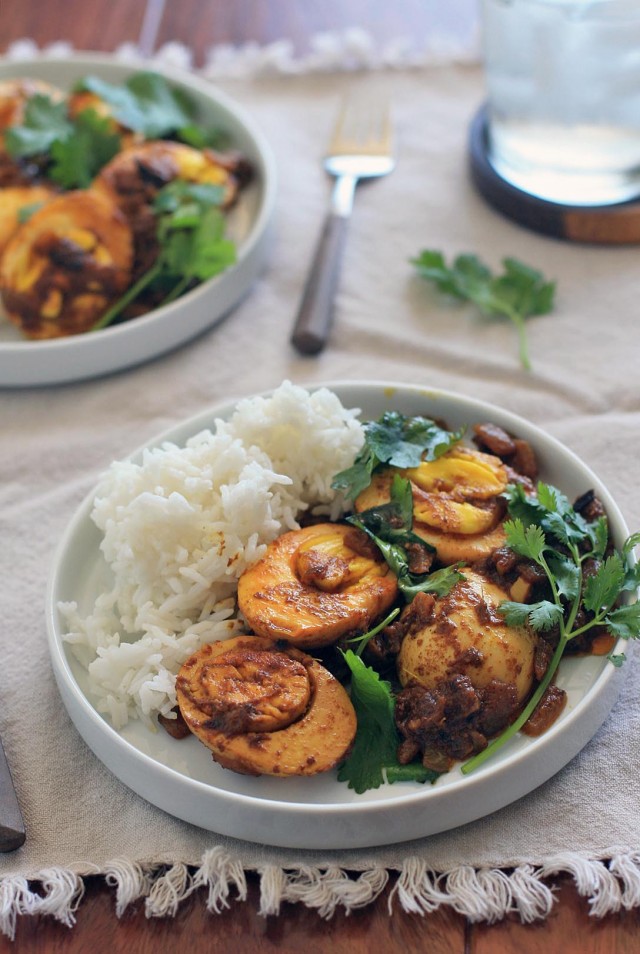

 Is it just me, or does it seem like a lot of folks are eating Paleo these days? I’m not sure whether it’s because of the popularity of Crossfit or whether people just find that they feel better cutting out grains, sugar and whatever else it is that Paleo people don’t eat. Probably a combination of both.
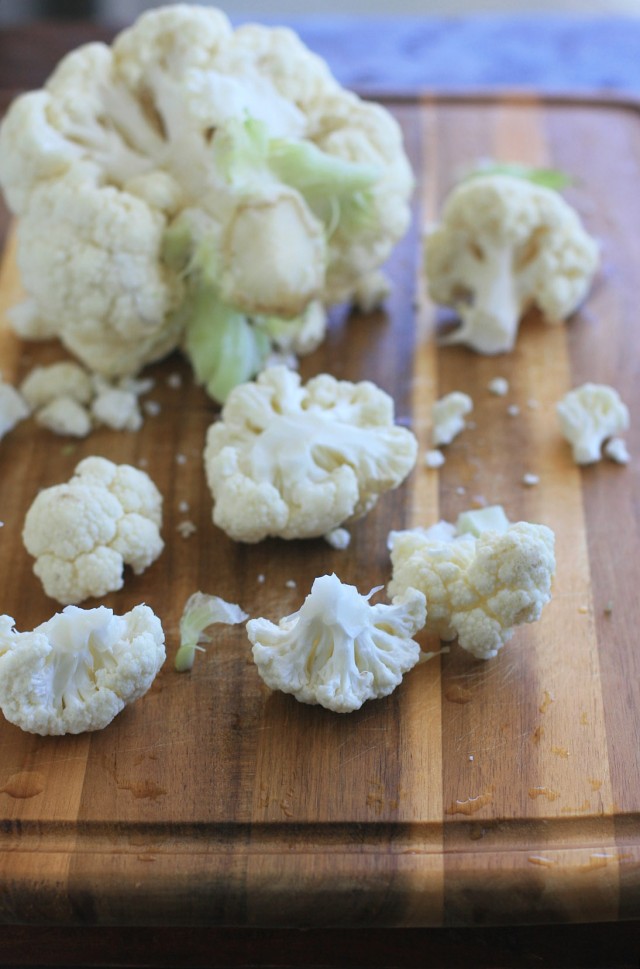 Now I have nothing against butter or cream, but plain mashed potatoes aren’t something I often make (or crave) outside of Thanksgiving dinner. But when I came across an Indian recipe for spiced mashed potatoes from my favorite Indian cookbook author, I figured this would be the perfect opportunity to try the cauliflower for potato substitution.
 In this vegan and gluten-free dish cooked cauliflower (I boiled mine, but steaming or roasting would also work) is pureed, topped with a spicy mustard seed and turmeric onion topping, and garnished with plenty of chopped cilantro. No bland cauliflower here- this stuff is like a party for your mouth.

 It was the fall semester that I spent studying in Paris, which meant that my favorite holiday, Thanksgiving, was spent on the other side the Atlantic, far from friends and family.
 Now it’s a fair bet to say that up until that point, I had participated in about 19 Thanksgiving meals, all pretty much identical. (With the exception of one Thanksgiving spent on an ill-fated camping trip to Kings Canyon where I think my sister and I dined on some canned beans). You know the meal: a classic turkey, stuffing, cranberry sauce, mashed potatoes, sweet potatoes and maybe a green bean casserole. Pumpkin pie, naturally, was for dessert.


