
 When you’re accustomed to generic supermarket produce aisles, seeing all of the tropical fruits at an Asian market can be somewhat awe-inspiring. There’s a whole other world out there where apples, oranges and pears aren’t part of the daily diet. Instead, fruits like rambutans, longans, lychee, and starfruit are king.
Each time I try a new tropical fruit, I cross my fingers, hoping it isn’t like the dreaded dragon-fruit… gorgeous to look at, underwhelming to eat. Luckily rambutans and lychee pass taste tests with flying colors; their firm, juicy flesh has a sweet, floral taste. I prefer rambutan, which seems to be a delicate in flavor, although lychee seem to be more popular… around these parts anyways.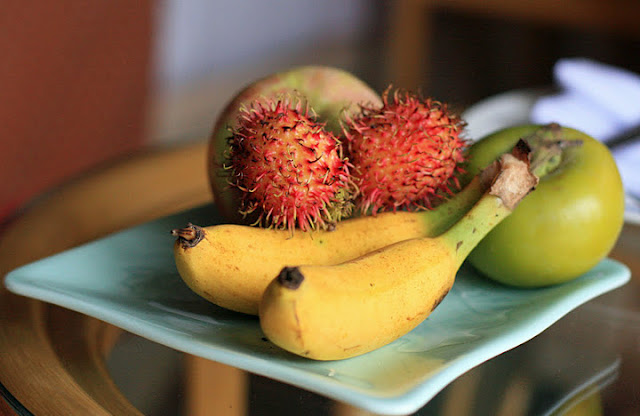 Lychee and rambutans are both grown in Hawaii, which means that both farmers’ markets and regular supermarkets sell them in season. But for those of you who aren’t as lucky, both lychee and rambutans are sold canned.
If you can refrain from eating them straight, rambutan and lychee make a wonderful sorbet. The drained lychee or rambutans are blended with a simple sugar syrup and just a touch of lime. You can leave the mixture as-is for a sorbet with just a touch of blush pink color or enhance the color with a drop or two of red food coloring.

Lychee or Rambutan Sorbet
Yield: 4-6 servings
Prep Time: 5
Cook Time: 15
Total Time: 5+ hours
Ingredients:
* 1 cup sugar
* 1/2 cup water
* 2 Tablespoons corn or tapioca syrup*
* 4 20-ounce cans lychee or rambutans, drained
* 1 teaspoon lime juice
* 1-2 drops red food coloring (optional)
Directions:
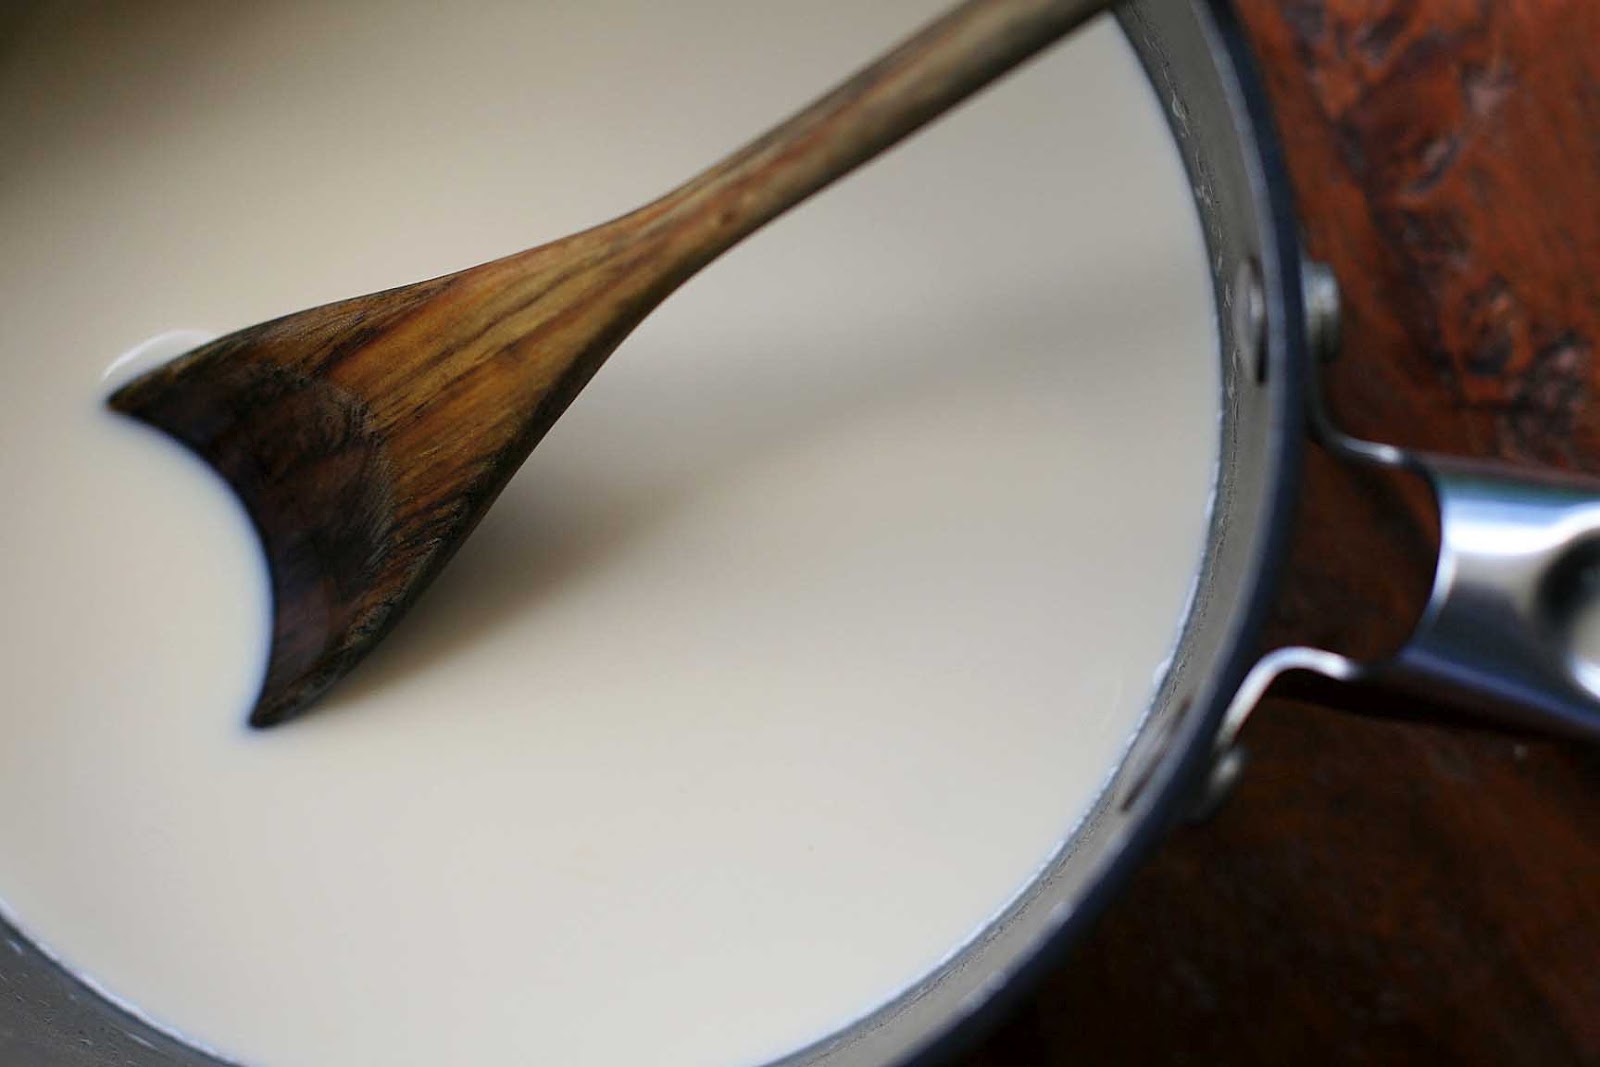
Combine the sugar, water, and corn or tapioca syrup in a small saucepan over medium heat. Bring to a boil, stirring occasionally to help dissolve the sugar. Let the mixture boil for 2-3 minutes. Remove from heat and let cool.
Process the lychees in a blender or food processor until smooth. Pour into a bowl and combine with the cooled sugar syrup, lime juice and food coloring, if using.
Cover and refrigerate until thoroughly chilled. Freeze the mixture in an ice cream maker according to the manufacturer’s instructions. Scoop into a freezer-safe container and freeze until ready to serve.
Note: if you use corn syrup, do not use the high fructose variety, as this will make the sorbet too sweet.


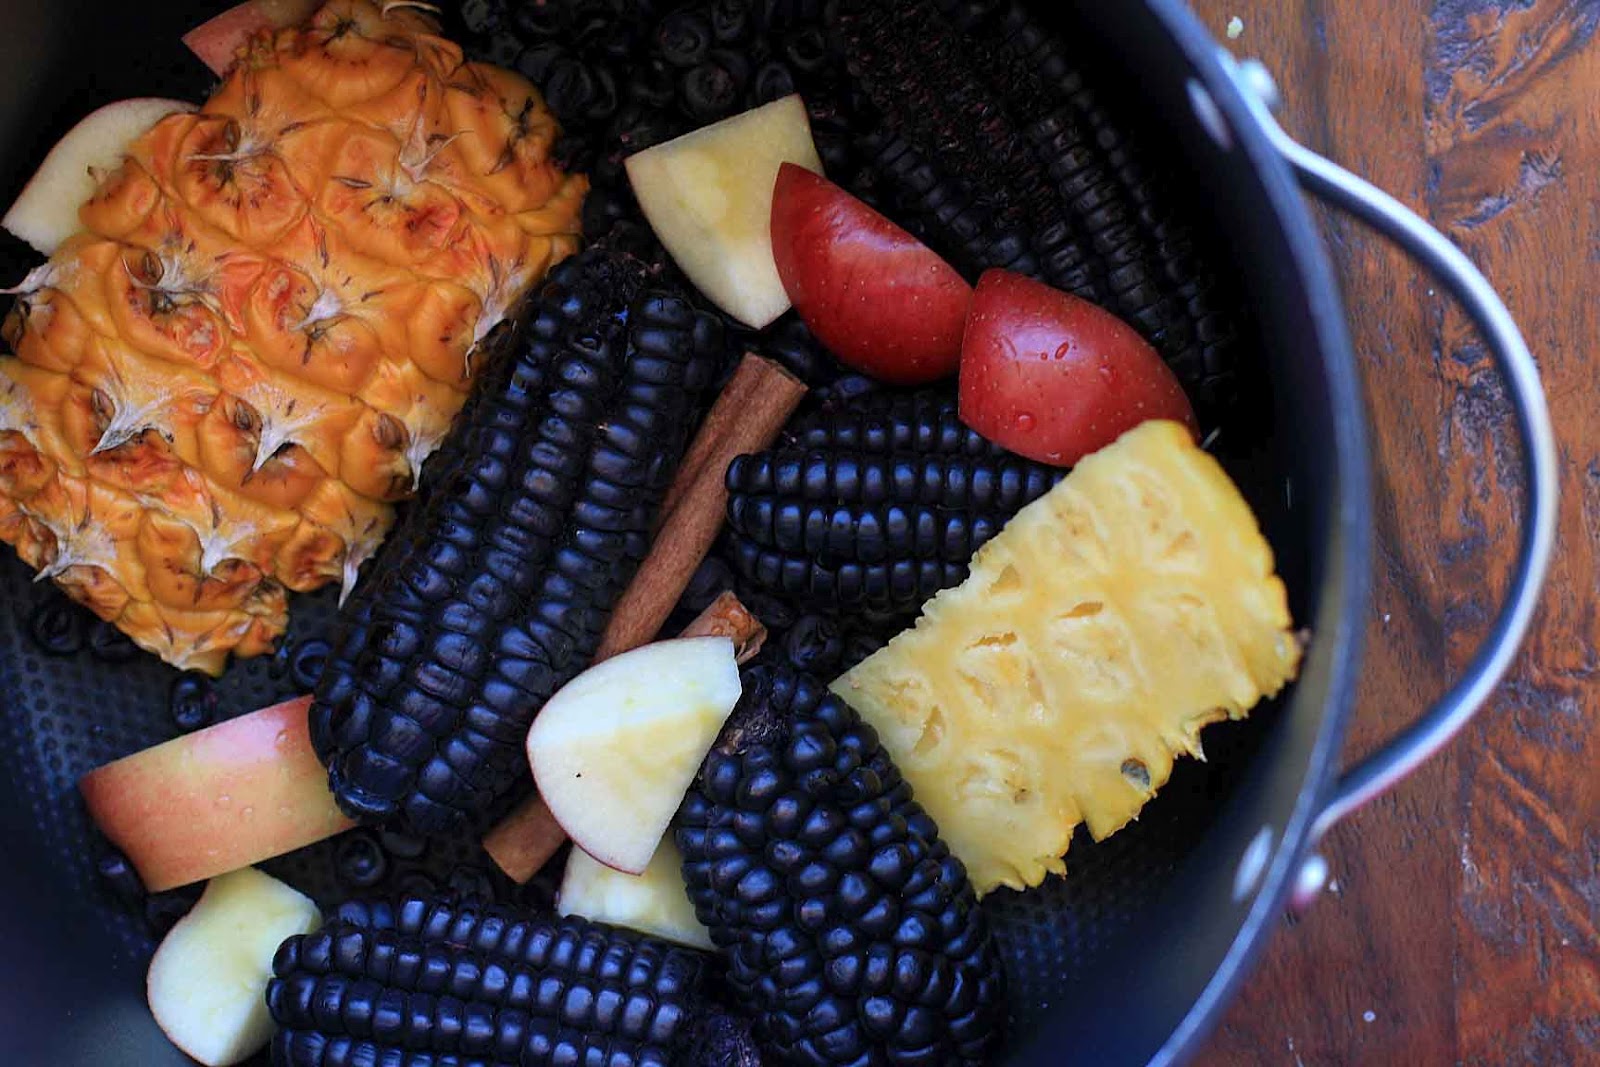
 Suspiro de Limena- A Lady from Lima Sighs
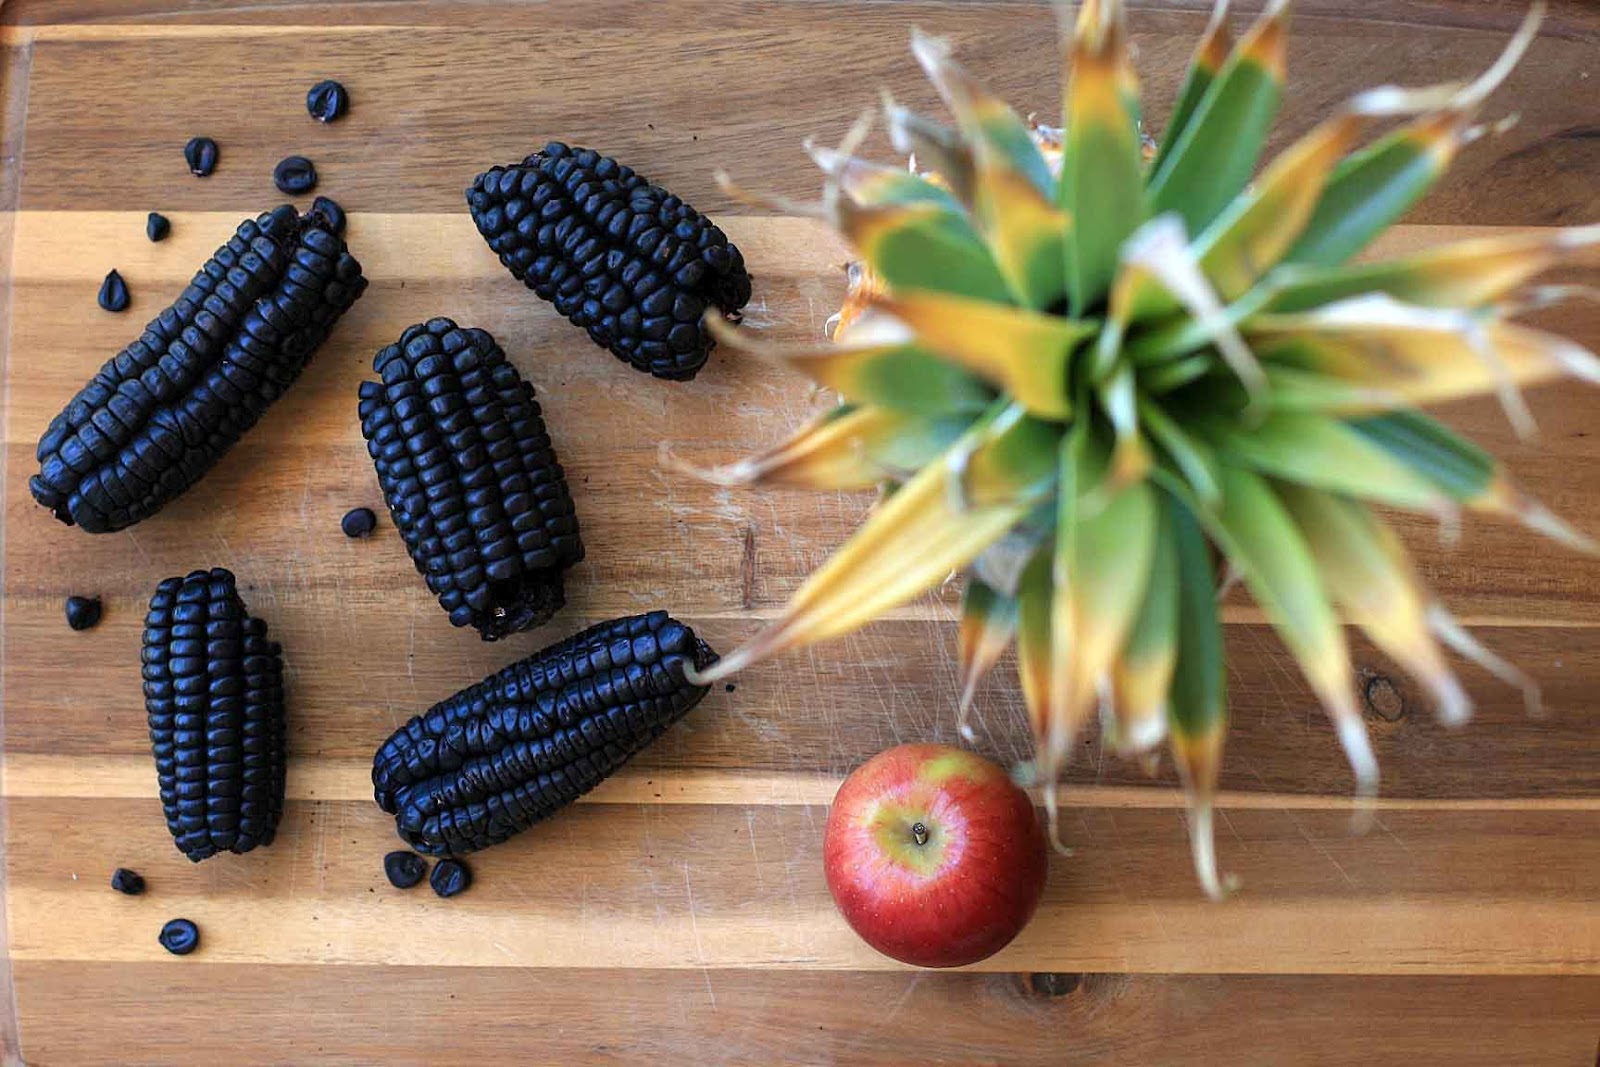
 Had I seen these gorgeous purple corn husks outside of a Latin American grocery, I would have guessed that they were purely ornamental, much like the ones that emerge as decorations every fall in picturesque places like New England (I’ve never seen anybody attempt fall decorations beyond a pumpkin or mum plant out here in Hawaii).


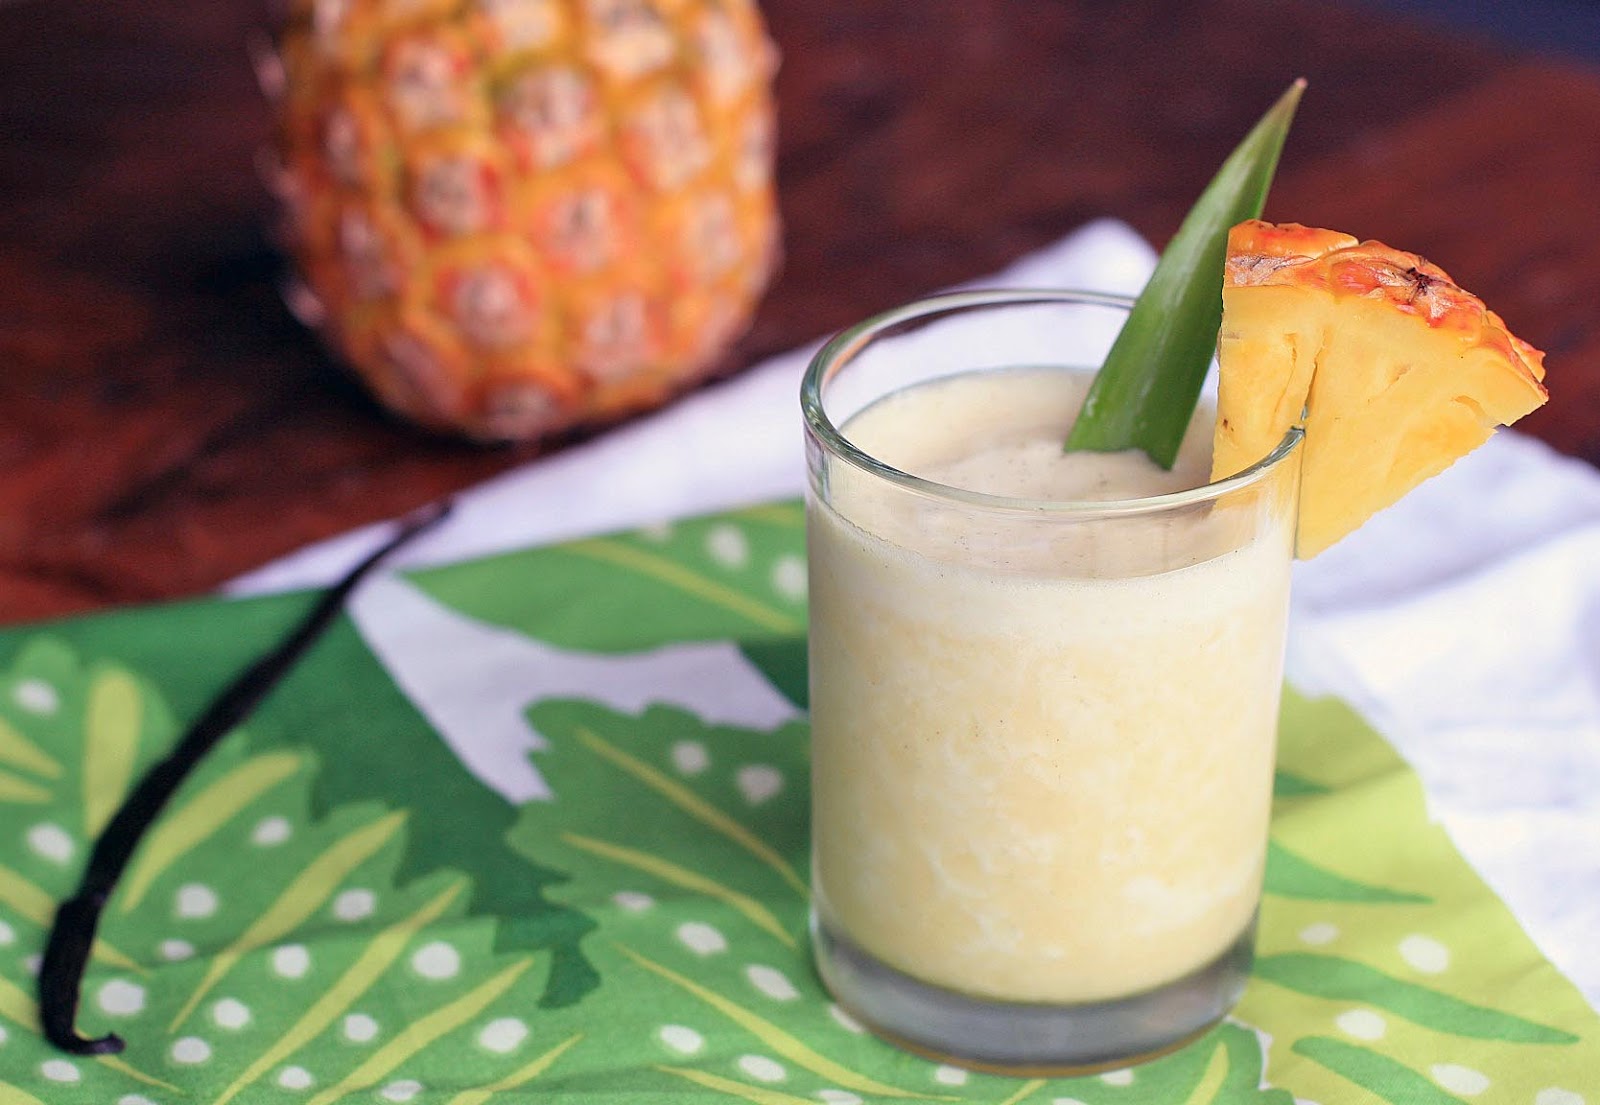


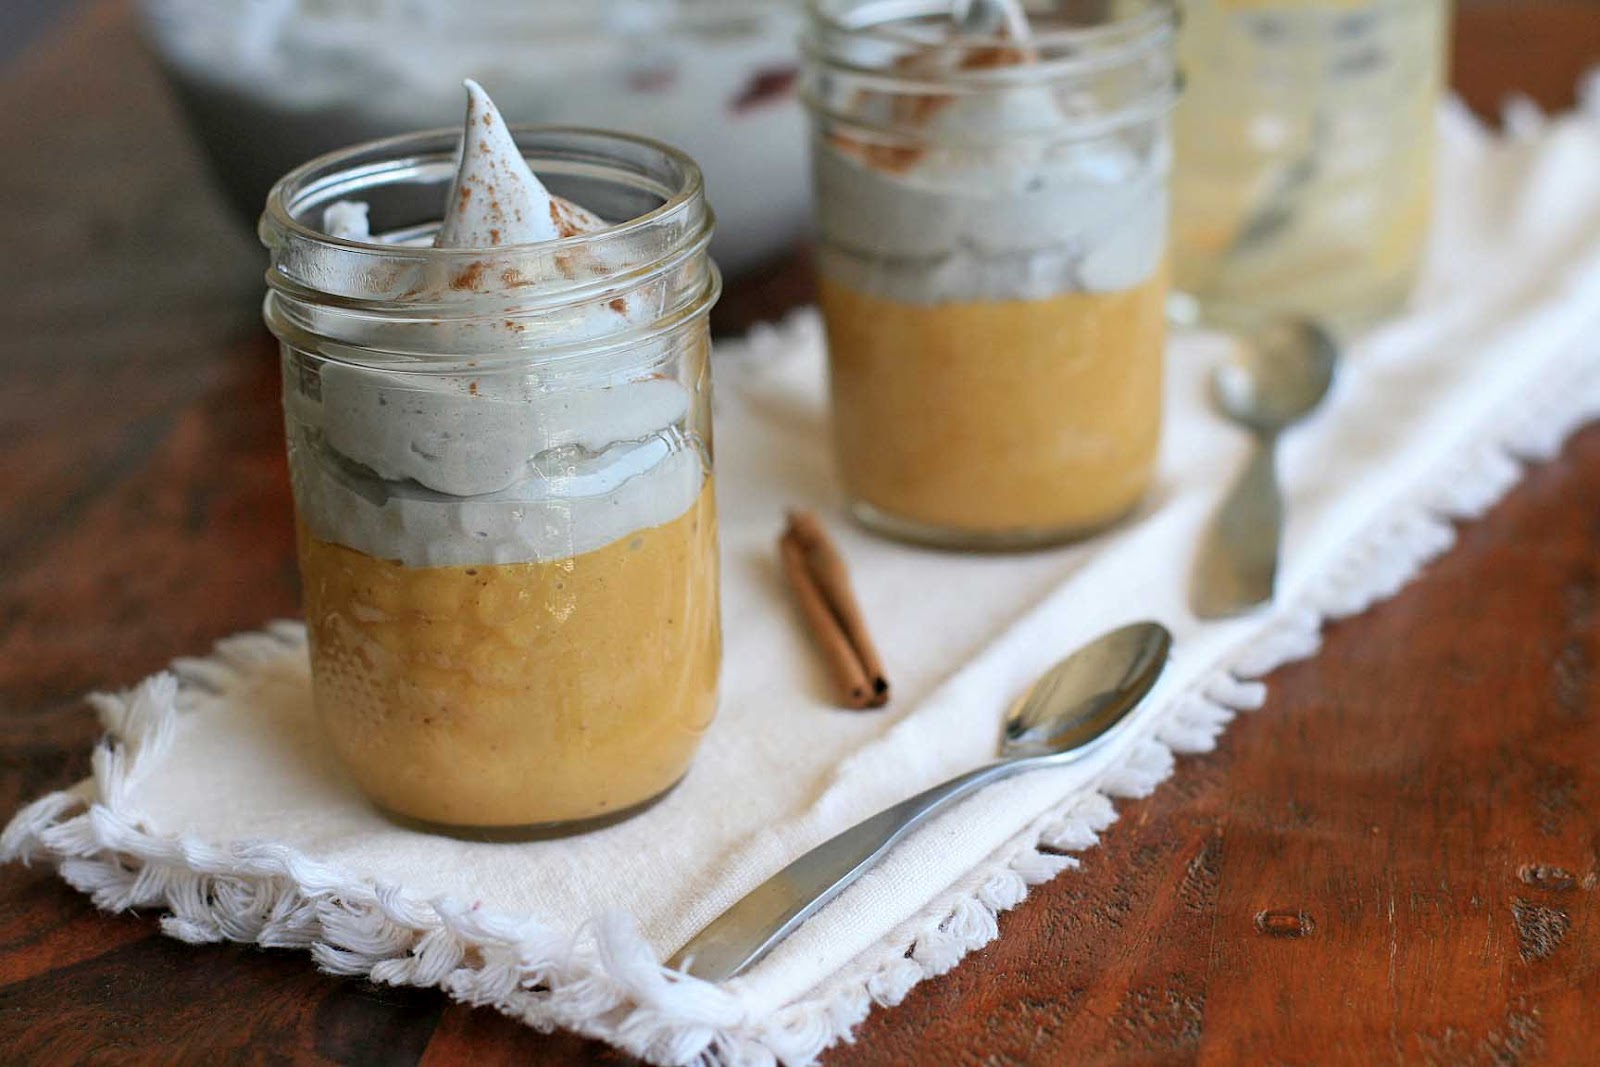
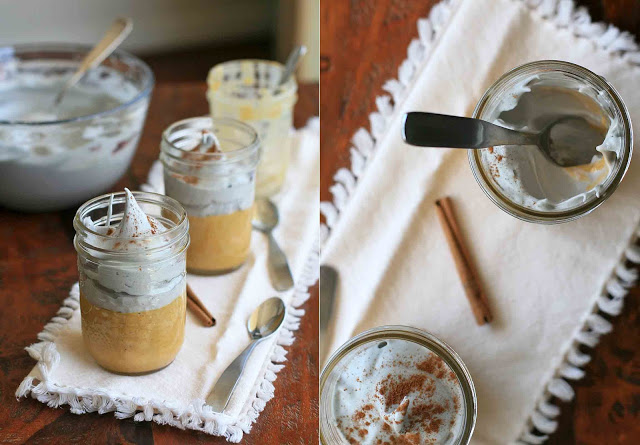
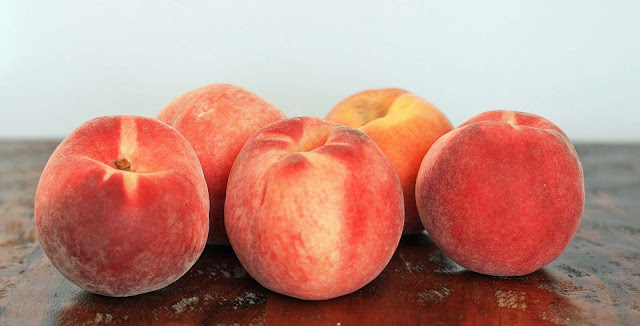 Peach and Ginger Smoothie