
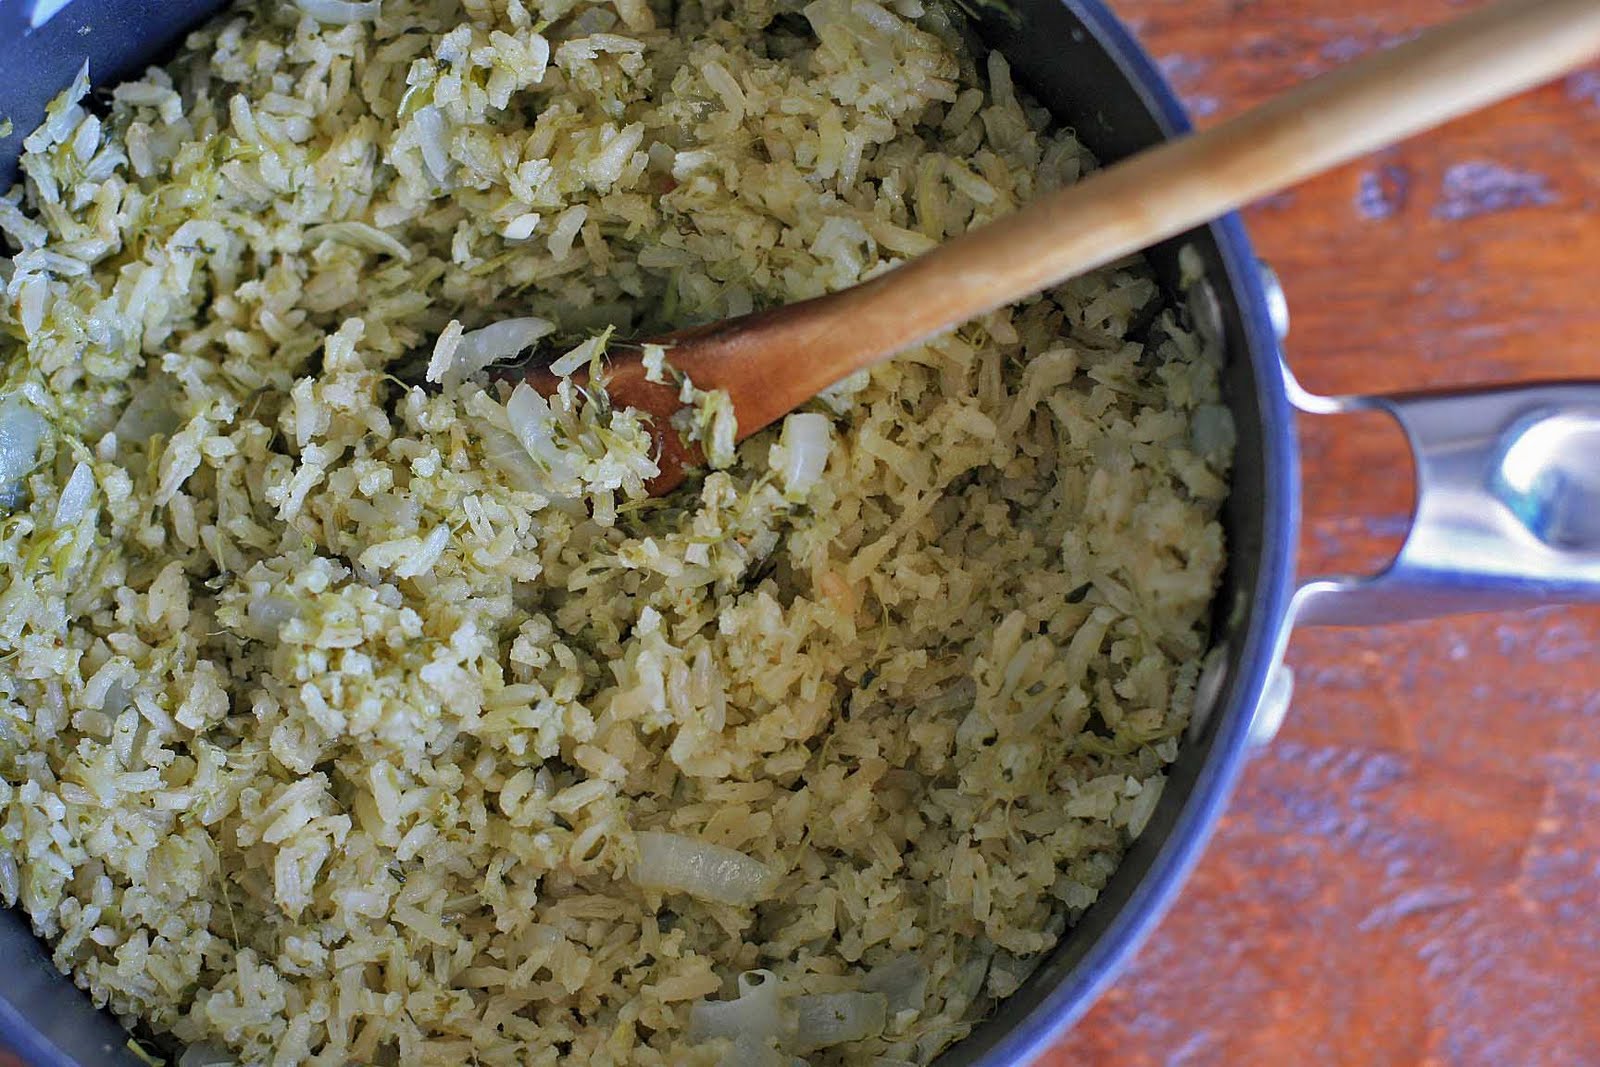
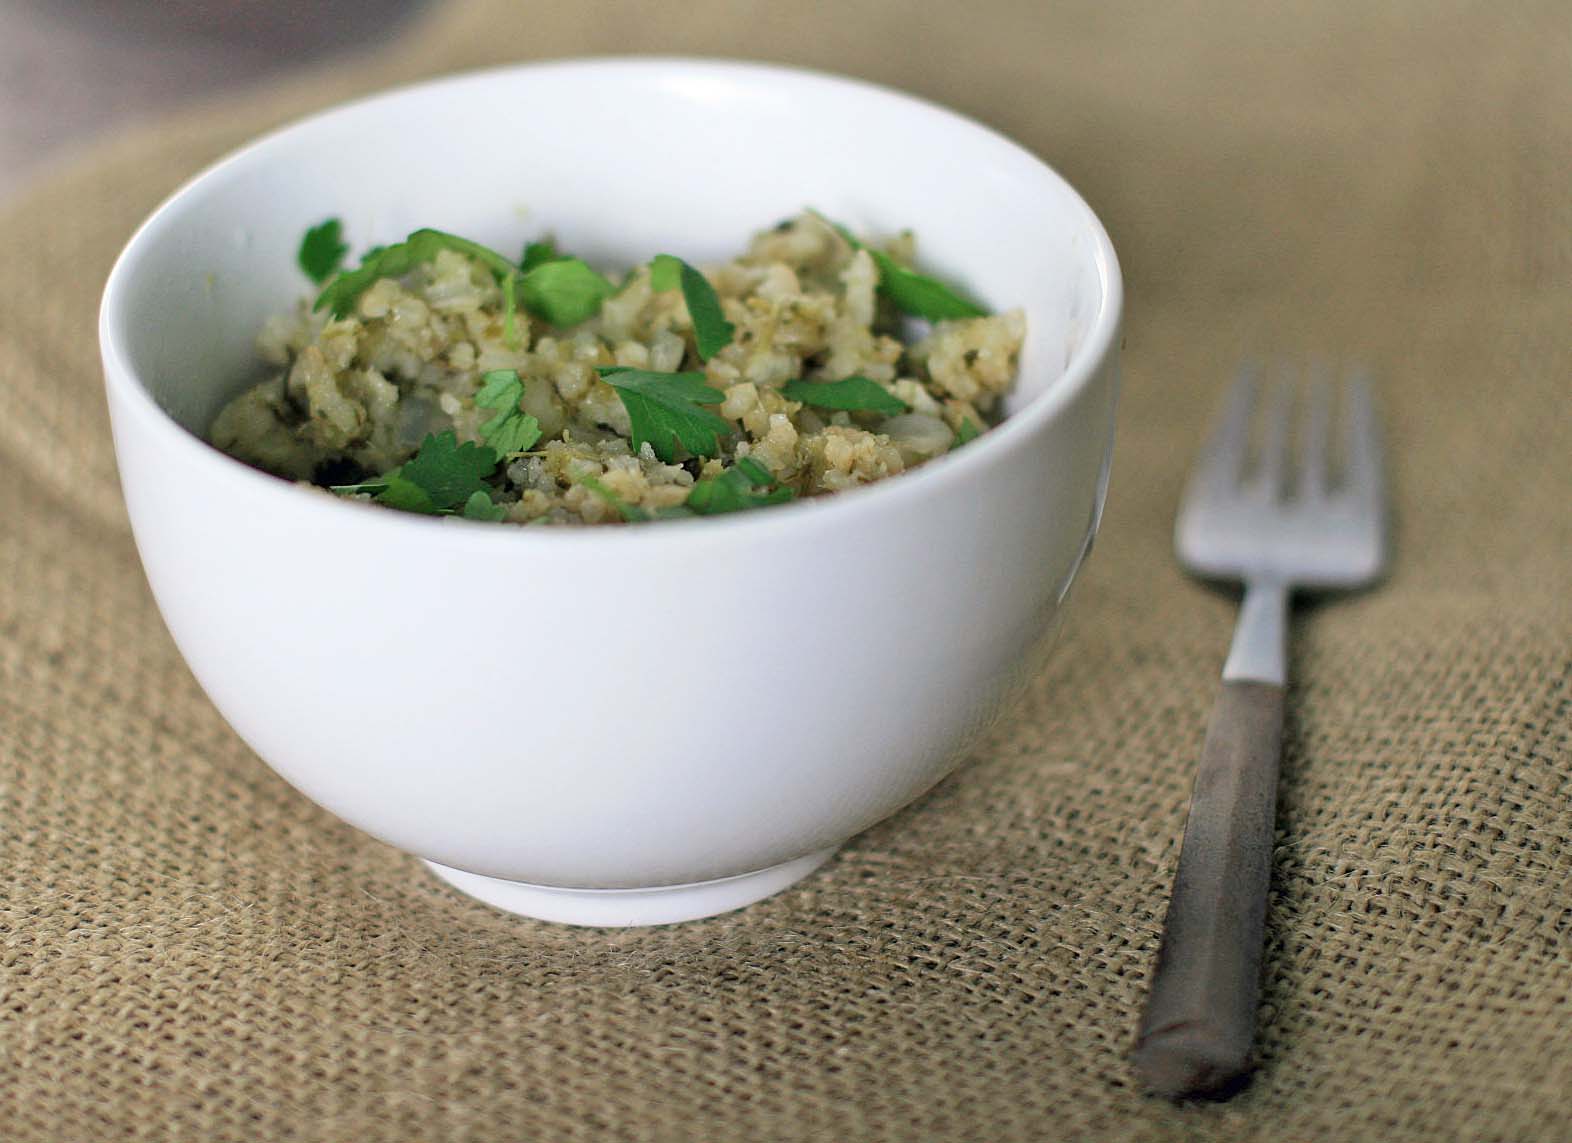
 Fluffy green-tinted rice cooked in a jalapeno and cilantro-based broth? Count me in. I found the inspiration for this one in Lourdes Castro’s book, Simply Mexican.
 I’m glad I did. As much as I love the standard tomato-based Mexican rice, it can get a little repetitive. So I took Castro’s flavors but added some heat with some jalapenos. I also browned the rice first- this splits the individual grains and gives the dish a light and fluffy texture. Brown rice is standard around here, but I do keep white rice on hand just for Mexican rice (the brown rice doesn’t get that same fluffy texture that white will). Yep, I’m pretty hardcore when it comes to Mexican food. And as I mentioned before, this was killer with the Creamy Shrimp with Cilantro Stems.
 Mexican Green Cilantro Rice
Yield: 6 servings
Ingredients:
1 cup cilantro leaves and stems, plus extra leaves for garnish
1 onion, chopped
2 jalapenos
1-3/4 cups chicken or vegetable broth plus 2 Tablespoons, divided
2 Tablespoons olive oil
1-1/2 cups long grain white rice
2 cloves garlic
1 teaspoon salt
Directions:
Combine the cilantro, half of the chopped onion, jalapenos, and 2 Tablespoons of the broth in a blender and puree until smooth.
Heat the oil in a large saucepan over medium-high heat. Add the rice and stir to coat. Continue to cook, stirring constantly, until the rice begins to brown. Add the rest of the chopped onion and the garlic and continue cooking until the onion is translucent.
Next, add the cilantro puree and stir to evenly coat the rice. Add the broth and salt and bring to a boil. Reduce to low heat, cover and simmer for about 20 minutes, or until all the broth has been absorbed. Remove from heat and let sit for five minutes. Fluff with a fork and top with cilantro leaves for garnish, if desired.


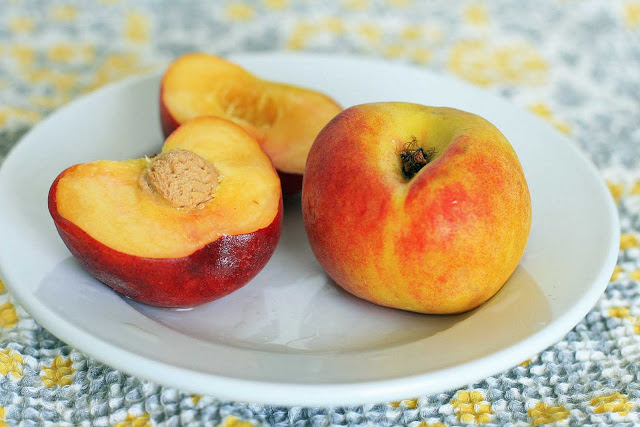 But vanilla ice cream layered with fresh peaches quickly poached in a vanilla syrup and a freshly made raspberry sauce? Sign me up. Its a pretty summer dessert that you don’t even have to turn on the oven to make.
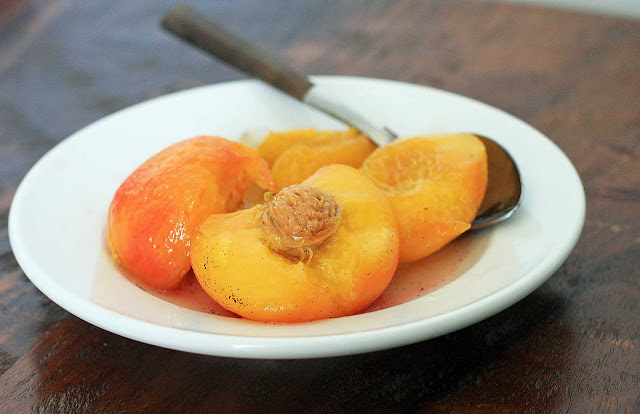


 I finally mustered the courage to experiment with the agar-agar that’s been sitting in my pantry for the last 8-10 months. Most recipes I saw used the agar-agar in its strand form. However, the powder is much more readily available, at least around these parts. Although I couldn’t find a straightforward explanation as to how to substitute one for the other, I finally came up with the exact texture I was going for. (Which is a bit softer than some of the other agar-agar desserts, like Vietnamese
 These heart-shaped molds were the only ones I had without a Christmas theme, so I decided to make this batch extra saccharine sweet by adding a drop or two of red food coloring. Be warned, however, that the different layers weren’t quite as striking and obvious when food coloring was used.

 So I now have two shrimp and cucumber salads posted. But even though they’ve both got quite a few of the same base ingredients (shrimp, cucumbers, chile peppers, lime juice, fish sauce), the similarities end there.