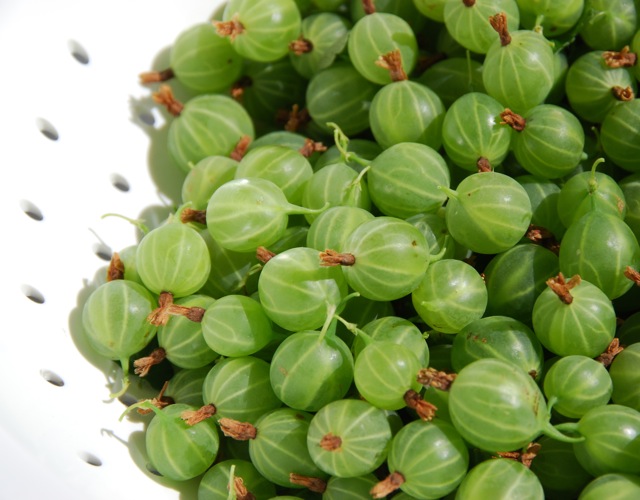
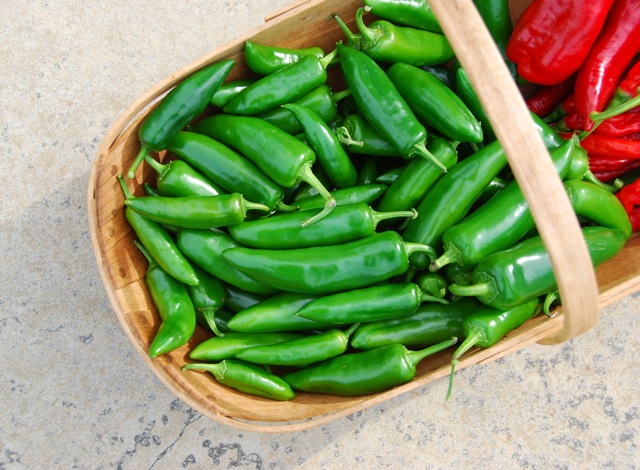
It has been a real treat tricking around the blogoshpere of late and seeing all my fellow foodies and homesteaders waxing poetic about this time of year. I mean, can you blame us? Look at these beauties:
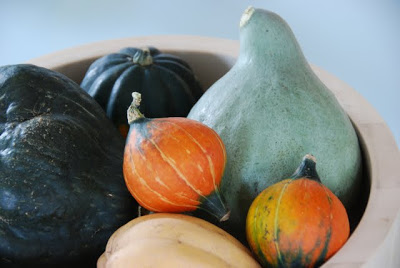 I grew them! Out of all the things that I try and make appear in my garden, these never cease to amaze me, that they come out of the ground from a seed! I mean, where does all that matter come from?! And the beauty! Ugh!
Starting this blog and this blog this year has made me more aware of my waxing and waning [preserving] ways. Because I’ve actually started to (b)log what I do on this side of my kitchen, I realize that fall, rather than summer, is when I’m a preserving maniac. Probably due to a few things: a) I work like a %#!ch through the summer b) when it’s warm & gorgeous outside I want to be outside any chance I get, and c) I happened to have traveled a lot this summer and with any luck that will be a recurring theme.
And finally, I am a utilitarian at heart. So right about this time of year I scramble and not just eggs folks. I scramble to save anything I possibly can that has grown in my garden. And herbs this time of year, well let’s just say their days are numbered. In more ways than one.
Pestos are a great way to save the herb garden for a good 4 months – so that means delicious herb tastes into February! The reason I put that winter squash photo up there is not just to show off my gorgeous gourds, it’s because this pesto is so perfect a pairing with winter squash – which is just coming into it’s own – that you may just want to gobble it all up now!
But the truth of the matter is; winter squash can last for 4 months itself in a cellar or a cool part of a house or even an apartment at about 50-60 degrees.
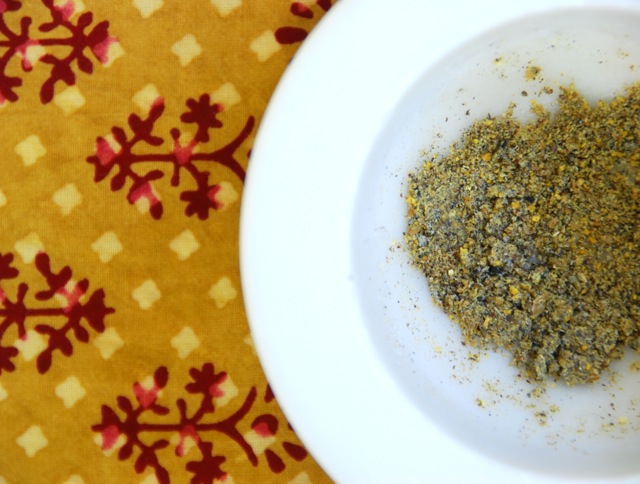
Walnut Sage Pesto
Adapted from a Martha Stewart magazine
This will make 1 cup of pesto. I adjust according to how much parsley and sage I’ve just harvested from my herb garden. You should do the same, whether it’s from your garden, or one of the last lovely Saturdays of the season at your farmers market.
3/4 cup walnut halves or pieces
1/2 cup pine nuts
2 garlic cloves, peeled
salt to taste*
1/2 cup chopped flat leafed parsley
4 tablespoons coarsely chopped fresh sage
1/2 cup extra virgin olive oil
1/2 cup grated parmigiano*
You’ll need a food processor or a good blender. Some small jars or freezer containers.
1. Heat a dry skillet on medium heat. Toss in walnuts and toast for approximately 4 minutes, stirring occasionally. They should color slightly and you should smell a delicious nutty smell. Place them in a bowl.
2. Toss pine nuts into skillet and do the same as above. They will take about 2 minutes. do not let them burn; they burn easily, so be watchful. They should get a very light brown on either side. When they are done, place them in bowl with walnuts.
3. Place garlic cloves in processor (or blender) with just a pinch of salt – pulse to chop.
4. Add parsley and sage – process until smooth.
5. Add nuts and pulse until finely chopped.
6. Keep processor running on low and drizzle in olive oil.
gap
*Cheese and salt do not freeze well. If you are planning to freeze (for up to 4 months) add the parmigiano and additional salt when you are ready to eat. This also stores nicely in the fridge for 4 weeks! Cheese and salt will be fine in the fridge but I store it either way without. I prefer to add the cheese fresh, and also in the fridge it is better if a layer of oil sits on top, which it will do easily without the cheese added.
7. I freeze or fridge in small containers, 1/2 cup each. Because I find that is good for a meal for eating suggestions are endless: any which way with winter squash for sure – as simple as roasting halves of acorn squash and placing a dollop of pesto inside, roasting smaller pieces of any kind of winter squash and tossing it with pesto and stirring all that into a bit of pasta, or eating as is. From that same Martha Stewart magazine was a recipe for winter squash gnocchi which I make every year but that is a whole other ball of dough.
Here’s a good one: if you make a simple winter squash soup that is basically a base of some onions, peeled & chopped squash, a simple veggie broth and stir in some cream or crème fresh at the end, well then you could put a dollop in each bowl without the parmigiano…like a pistou.
And of course it is a pesto after all, so if you want to forgo the squash and go straight for the pasta, do it!
And when you do, this is the trick to perfect pesto’d pasta: when the pasta is done (al dente!) save a little of the pasta water to the side. When you toss the pesto in the pasta add a couple-few splashes of the water to give it the right consistency. Now get outta heeaaa!
 The way I saw it, there were only two choices: me or them. It was brutal.
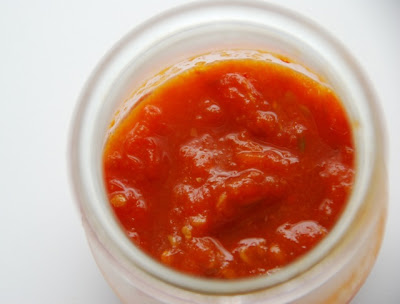

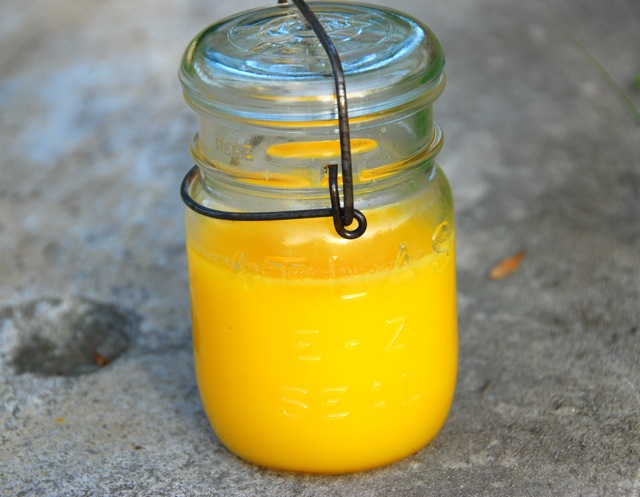
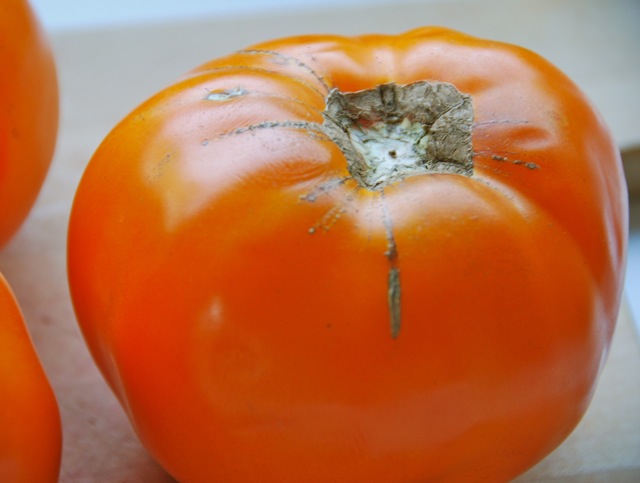
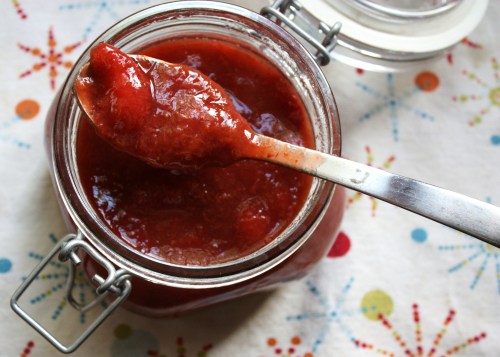
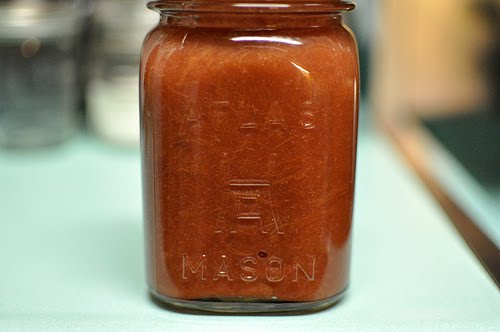
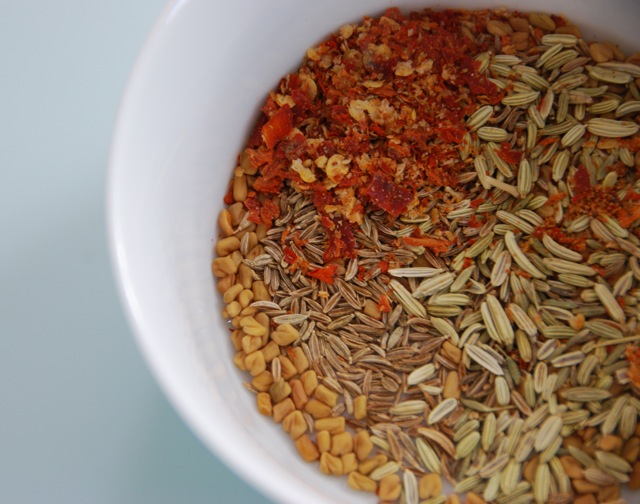 4. Add the tomatoes, garlic-ginger paste, spices, vinegar, salt, and lime zest & juice to a non-reactive pot. Add the sugar and heat on low until the sugar dissolves. Once the sugar has dissolved, turn the heat up and bring to a boil.
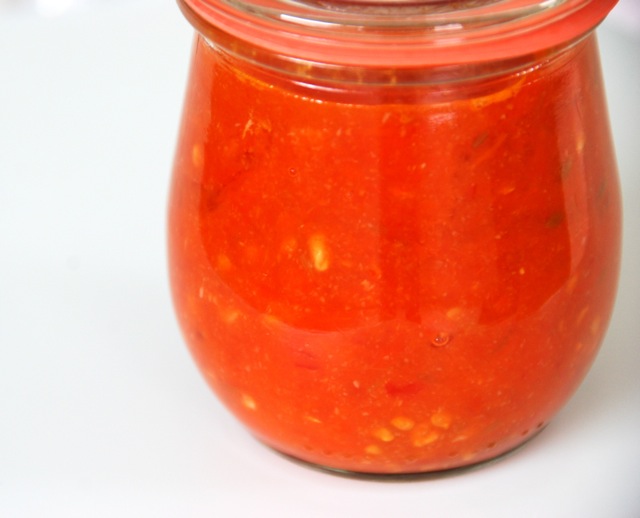 This ketchup is delicious and versatile. It’s a sweet ketchup but not cloyingly so. The spices ground the rich tomato flavor but don’t overpower. It’s lovely with potatoes all-ways: French fried, pan fried, or oven baked. Try it on a fried egg or grilled cheese sandwich – or in any other way you enjoy your ketchup!


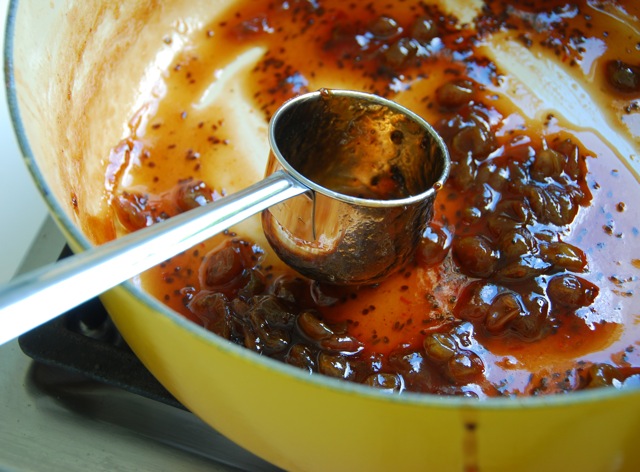


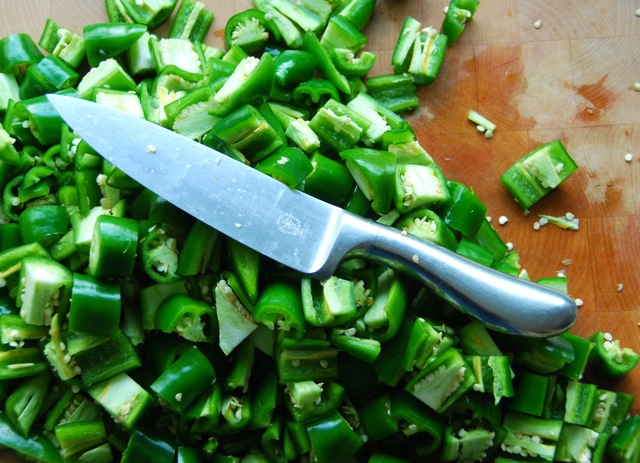
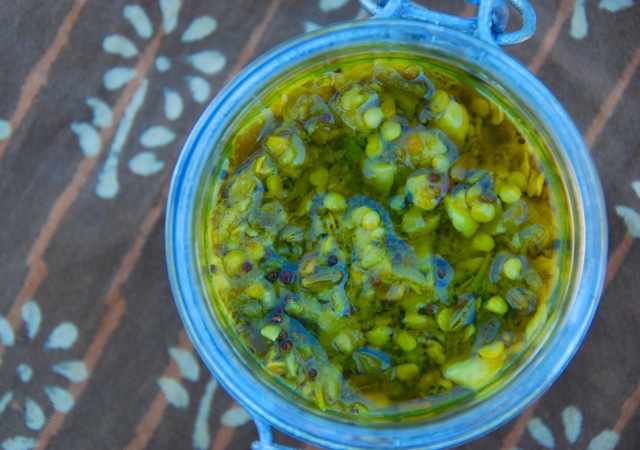
 I cook up this Indian-style chile pickle when I have an abundance of chiles. Any kind will do – hot or hotter. It’s cooked down, loaded with chiles, garlic and ginger, and packed with oil. So don’t even think about hot water bath canning it. I put mine in the fridge in little jars, which lasts a year or even up to two!