Coffee with lemon is a very interesting and refreshing drink that is easy to prepare at home. Start with an espresso or Americano, and then add a slice of lemon, lemon juice, or zest. Serve it hot or as a summer cocktail with ice. There are a lot of recipe options.
History of coffee with lemon
Some historians believe that Romano coffee began immediately after the Second World War. Italian enterprises lay in ruins, crowds of refugees flocked to Rome. Due to interruptions in water supply and the inability to clean it qualitatively, epidemics could start in the city at any time.
Lemon juice, rich in vitamin C, was the only available preventive remedy. It was added to the first dishes, to drinking water, and, of course, to the espresso coffee adored by Italians. Later, when the country recovered a little from the war, the inhabitants of Rome remained in the habit of coffee with lemon. The drink was named Caffe Romano (espresso Romano, Roman coffee, Roman coffee).
Nowadays, this drink is not very popular in Italy, many Italians claim that it has never been prepared in their families and that it is not included in the standard café menu. Rather, it was popularized by the Americans in the format of “American Italian” cuisine.
Lemon helps to smooth out the taste of poorly fried or badly overcooked grains, which was once important for inexpensive fast food. Since then, roasting technologies have significantly stepped forward, but the drink has already become well-known and popular.
Various Names of the Drink
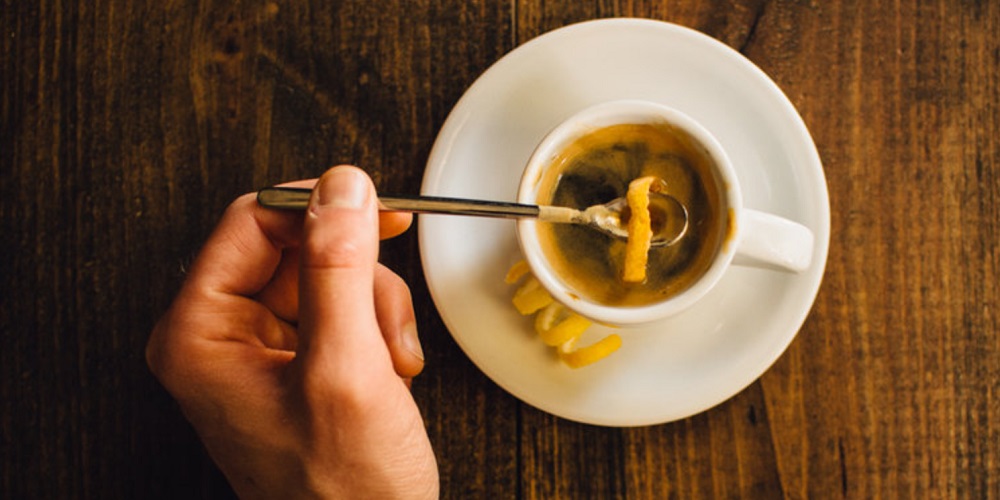
Most often, this drink is called “Espresso Romano” (Roman coffee) or “Sicilian Coffee.” However, in general, these are two different cooking options. In Espresso Romano, a slice of citrus is put directly into a cup of espresso. The “Sicilian Coffee” is topped up with lemon juice and finely grated zest. Sometimes, when serving, a slice of citrus is placed separately, on a saucer.
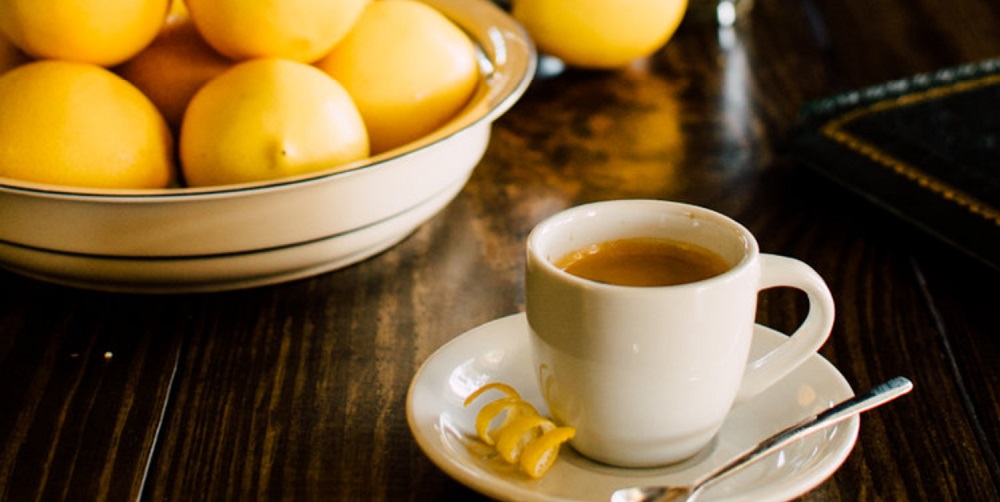
Espresso Base of Coffee with Lemon
To prepare such a tonic drink is very simple: make coffee according to your favorite recipe and put a slice of lemon in it. Coffee can be any: espresso or Americano, brewed in a Turk, geyser, or filter. Traditionally, this is still espresso. There are many excellent espresso machines for making espresso at home.
Also, there are plenty of large and miniature automatic coffee machines, as this is required by the modern rhythm of life.
The Benefits of Coffee with Lemon
Doctors and scientists have long discovered many useful properties of coffee, as well as lemon juice, and by combining these components in your cup, you strengthen their positive effect on the body. Mostly, however, it concerns improving metabolism and increasing energy levels.
The benefits are as follows:
- Natural detoxification. The drink helps to remove toxins from the body.
- Improved digestion. Natural acids in both components break down food and fats better.
- Improved metabolism. More efficient conversion of food into energy and acceleration of fat burning.
- Increased energy. It helps to awaken the nervous system in the morning and stimulate the brain.
- Improvement of intestinal peristalsis. Food is better digested, and fat is not deposited on the intestinal walls.
- A natural antioxidant. Both components help to reduce the amount of free radicals, improve the condition of the skin.
- Monitoring the level of stress. The drink calms the nervous system and causes a rush of oxygen to the brain.
- Improving immunity. Citrus contains a large amount of vitamin C, which helps to increase resistance to diseases.
- Increased stamina. It helps to move more actively and engage in physical activity more productively.
- Citric acid somewhat neutralizes the effect of caffeine, while preserving other natural substances contained in coffee beans, which also has a positive effect on health.
The Harm of Coffee with Lemon
Even healthy people should not constantly consume coffee with lemon on an empty stomach, so as not to cause an increase in the concentration of acid.
The best time to drink espresso with lemon is after a meal, as this will help digestion and reduce the risk of food being deposited in fat.
- For people who have stomach diseases, gastritis or ulcers, it is advisable to abandon citrus.
- The drink is not recommended for pregnant and lactating women because although it causes cheerfulness, this happens due to the effect on the nervous system, and when the effect subsides, a stronger “rollback” to anxiety and depression is possible due to hormones.
- For hypertensive patients, or those with other diseases of the cardiovascular system, the drink, on the contrary, is useful because of the reduced caffeine content.
Various Recipes
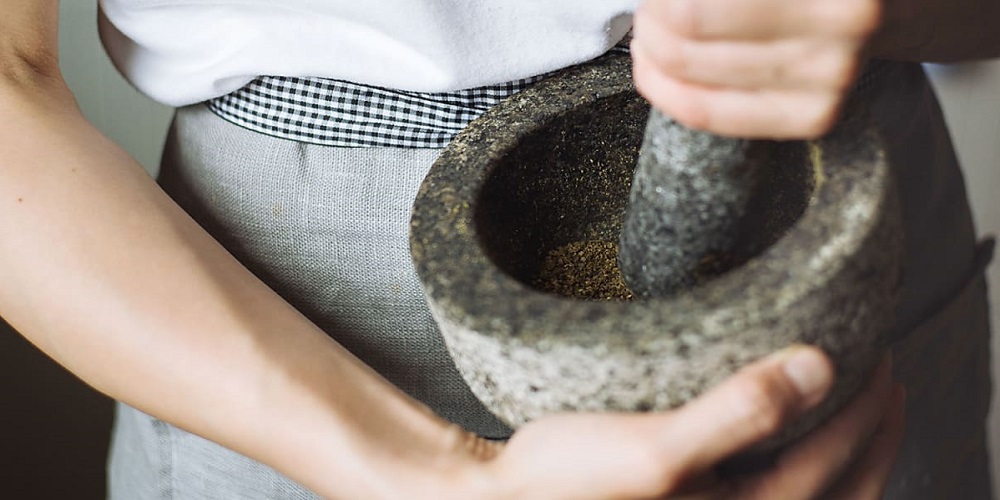
- Coffee with lemon can be prepared directly in the coffee maker. To do this, add a little zest to the ground coffee.
- Classic Espresso Romano. Prepare a single or double espresso, add a slice sprinkled with sugar for a few seconds. Alternatively, you can sprinkle salt on the citrus, if you do not like sweetness.
- Classic Sicilian Coffee. Cook a double espresso, add half a teaspoon (4–5 drops) of lemon juice, and half a spoonful of finely grated peel.
- With cinnamon. In addition to citrus, add more spice on the tip of the knife, the taste will reveal new shades. You can also add nutmeg.
- With milk. Caution: the network sometimes suggests adding a slice of citrus to fresh milk, but the milk will curdle in this case! It is better to make espresso with milk, add ice cream and zest.
- With ginger. Add a little finely grated ginger directly to the cup. Just a little bit. The dry ginger powder will not work.
- With cream. Use ready-made whipped cream, or cook them independently, and the zest.
- With cognac. Add cognac or liqueur to the finished drink to taste.
- Coffee with lemon liqueur. Add a spoonful of liqueur to espresso, and you can add more to Americano, for taste.
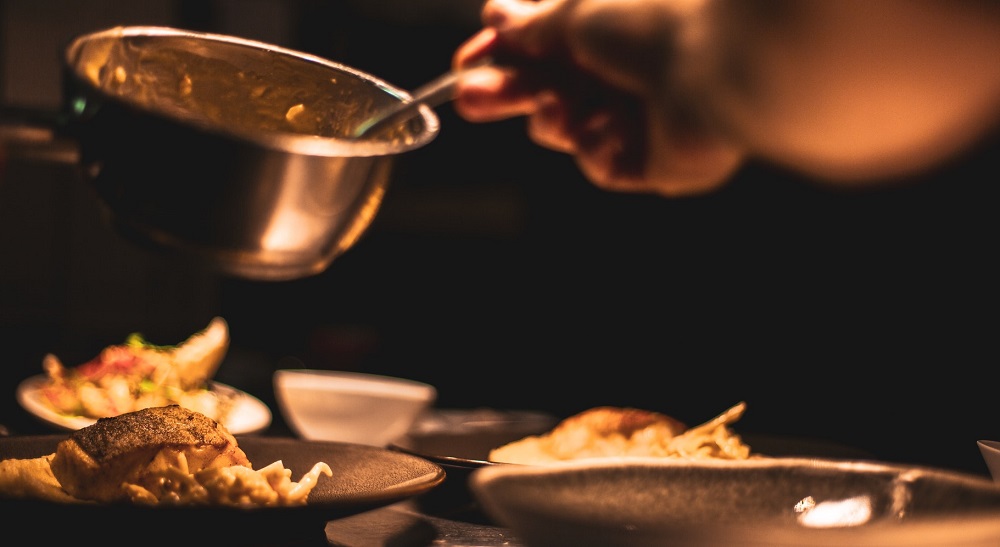
How to Serve
Traditionally, the drink is served in an espresso cup, thick-walled, with a saucer. As with all the rules for serving espresso, it is desirable to warm up the cup first. You can do this by rinsing it with boiling water. You definitely need a saucer and a spoon, with which you can get (or put) a slice or strip of zest. Separately, you should serve sugar. Soft sweets, such as marshmallows or chocolate, go well with such a sour-bitter drink. You can read useful tips on how to keep coffee with lemon hot and enjoy its aroma and taste to the fullest.
Cold Coffee with Lemon
It is a whole separate category of cocktails that are great for hot weather when you want to refresh and cheer up. The main ingredients are still the same, only you add a generous serving of ice cubes to it. But there are nuances. If you add ice, keep in mind that it will dilute the drink. Therefore, brew espresso about twice as strong as usual, or a double portion. You can add citrus in slices and leave it in a glass with ice; it will not be bitter. You can squeeze the juice separately in an espresso. As an additive, fresh mint or the same citrus slices, grated or cut peel are used.
Important: the drink will turn out sour and bitter. If you need sweetness, dissolve sugar or honey directly in hot espresso, and only then pour ice with it. It will be difficult to stir it among the ice cubes.
Calorie Content of Coffee with Lemon
The number of calories in the classic version is very small:
- In a serving of espresso: 2 kcal;
- In a lemon: 1.5 kcal in a teaspoon of juice.
That is, if you do not add alcohol, sugar, or honey, whipped cream, it will be a very low-calorie drink. Calories from spices can be ignored.
Conclusion
Thanks to the use of coffee with lemon, digestion improves and metabolic processes accelerate. Vitamin C prevents the formation of a cellulite crust. Espresso Romano is best to drink 30-40 minutes after a meal, before a walk or workout. Enjoy espresso with lemon by various recipes we included in the article!