 About one month after the official change in seasons, Spring is finally in the air. All of the signs are present: the days are getting longer, asparagus is hitting the markets and swells are starting to hit the South shore. And then there’s the seasonal cold that seems to hit when there’s a change in the weather.
Verification from my mother would be absolutely required to know whether this is, in fact, true, but I’m under the impression that I was a unusually healthy child. It was only in my adult years that I started catching colds on a regular basis. I’ve never liked taking medicine so I thought my only option was to sit back and let the cold run its course.
But a couple years ago I came down with a nasty cold about 12 hours before I had to hop on an 11-hour flight. I took to the Internet and found what’s been my go-to immune booster ever since. As soon as I start to feel a little sniffle or head congestion I load up on this garlic and honey concoction and wash it down with several cups of ginger tea. I’d say my success rate at warding off colds is probably about 90% these days. And that plane ride? Sniffle and sneeze-free.
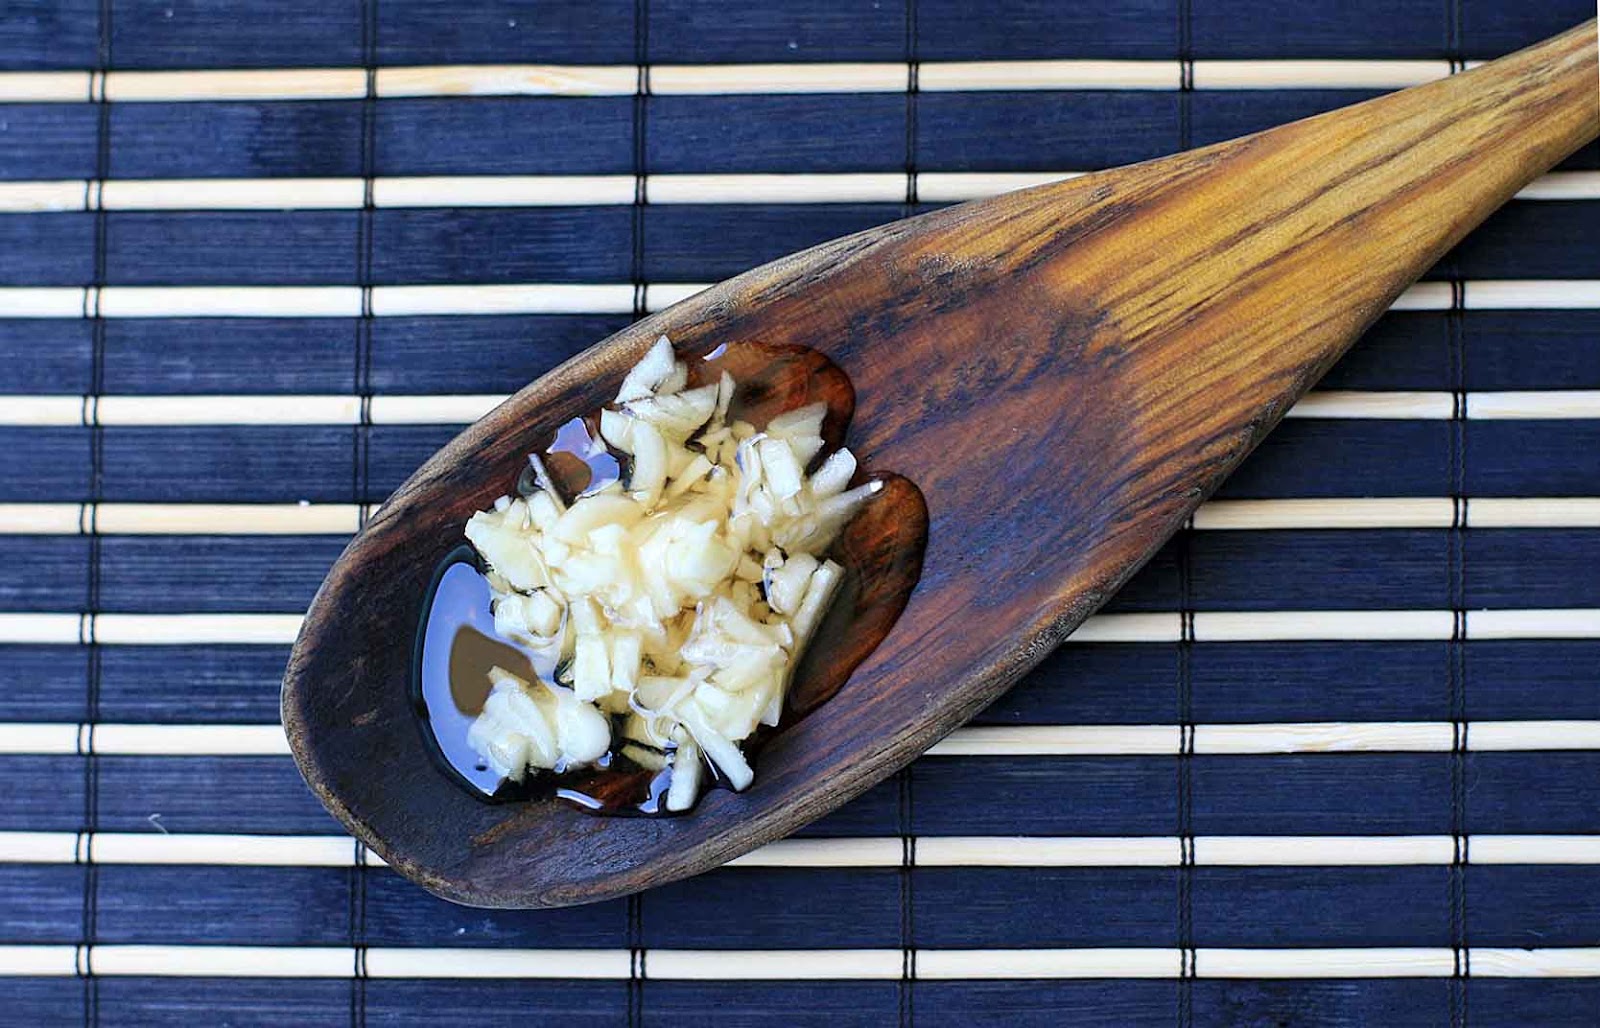
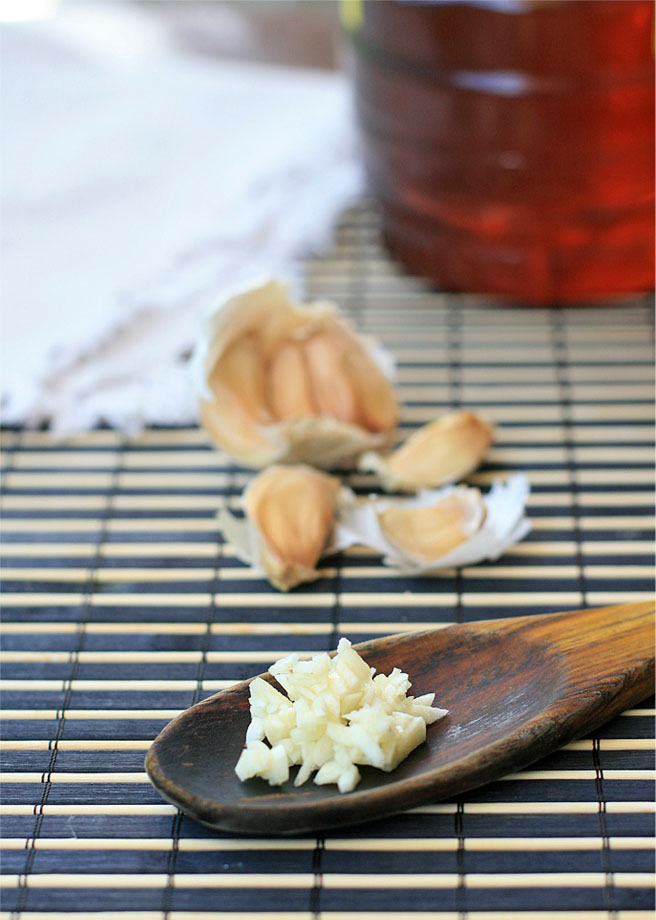
Garlic and Honey Immune Booster
Yield: 1 serving
Ingredients:
* 1 clove garlic
* honey
Directions:
Mince garlic clove and scoop it up into a large spoon. Drizzle liberally with honey. Do your best to chew the mixture before swallowing. Best when chased with plenty of ginger and lemongrass tea.
Repeat 2-3 times per day.

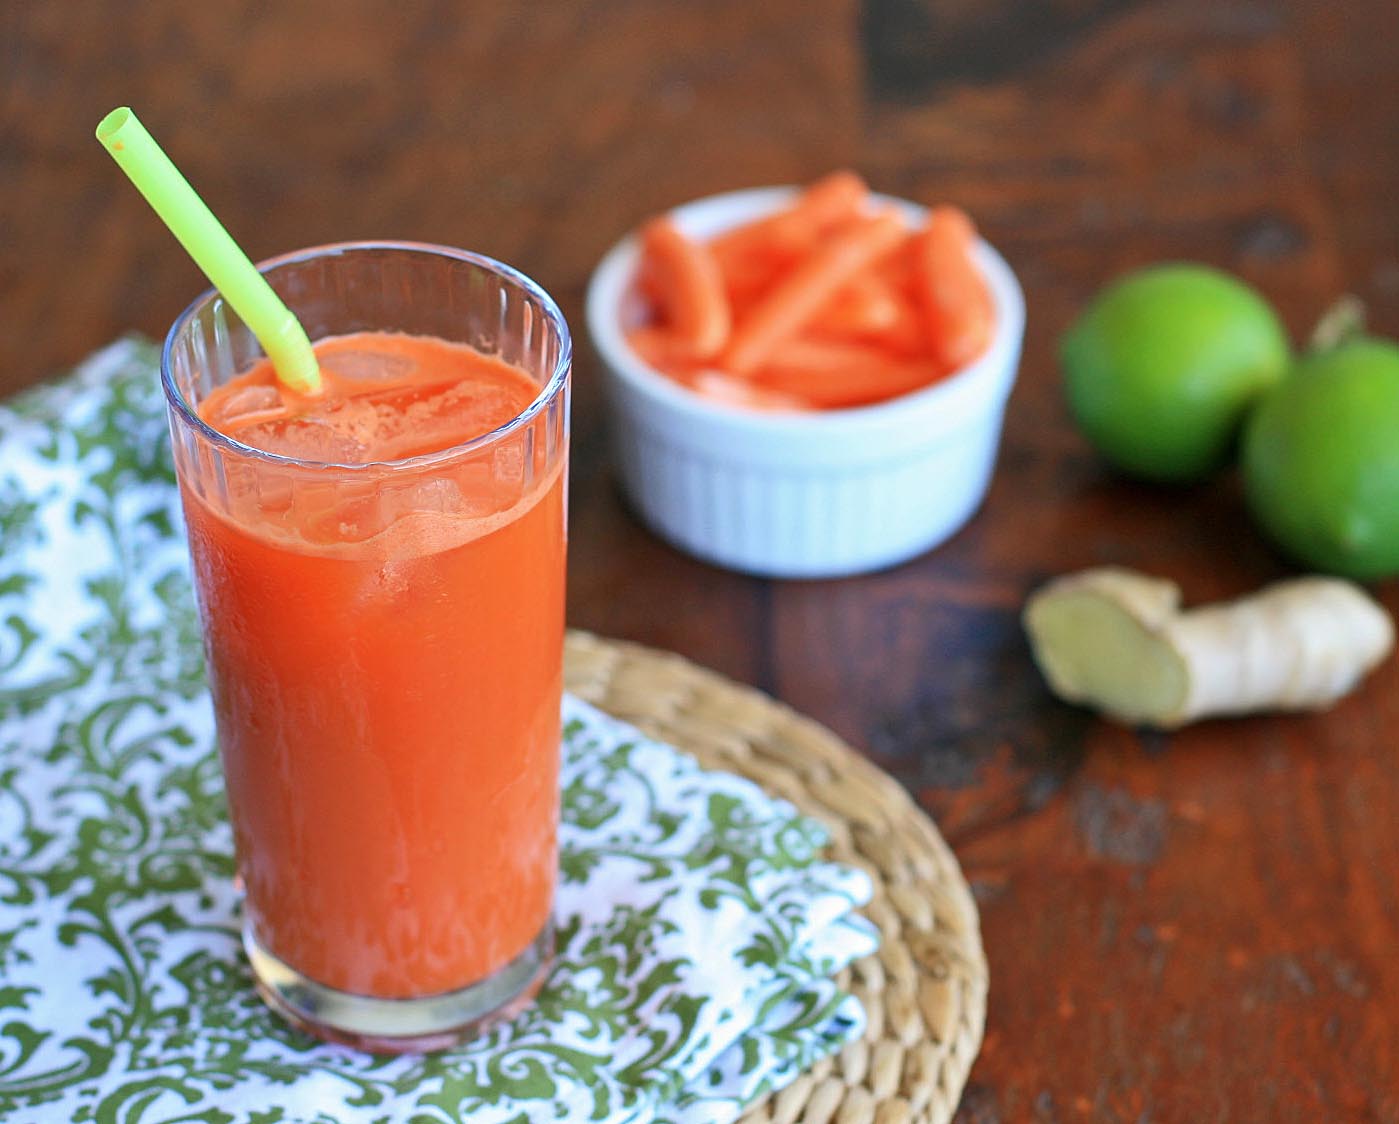
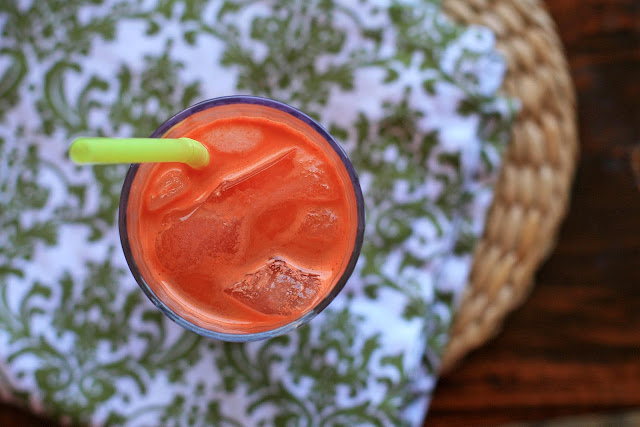 Carrot Zinger- Fresh Carrot, Ginger and Lime Juice