 I suppose it’s confession time: even after making and eating this dish, I’m not quite sure what to make of it. Is it a breakfast dish? A lunch dish? Of all the Finnish cookbooks I have, nobody provided much in the way of background. I’m going to take the easy way out and guess that it’s best served at brunch.
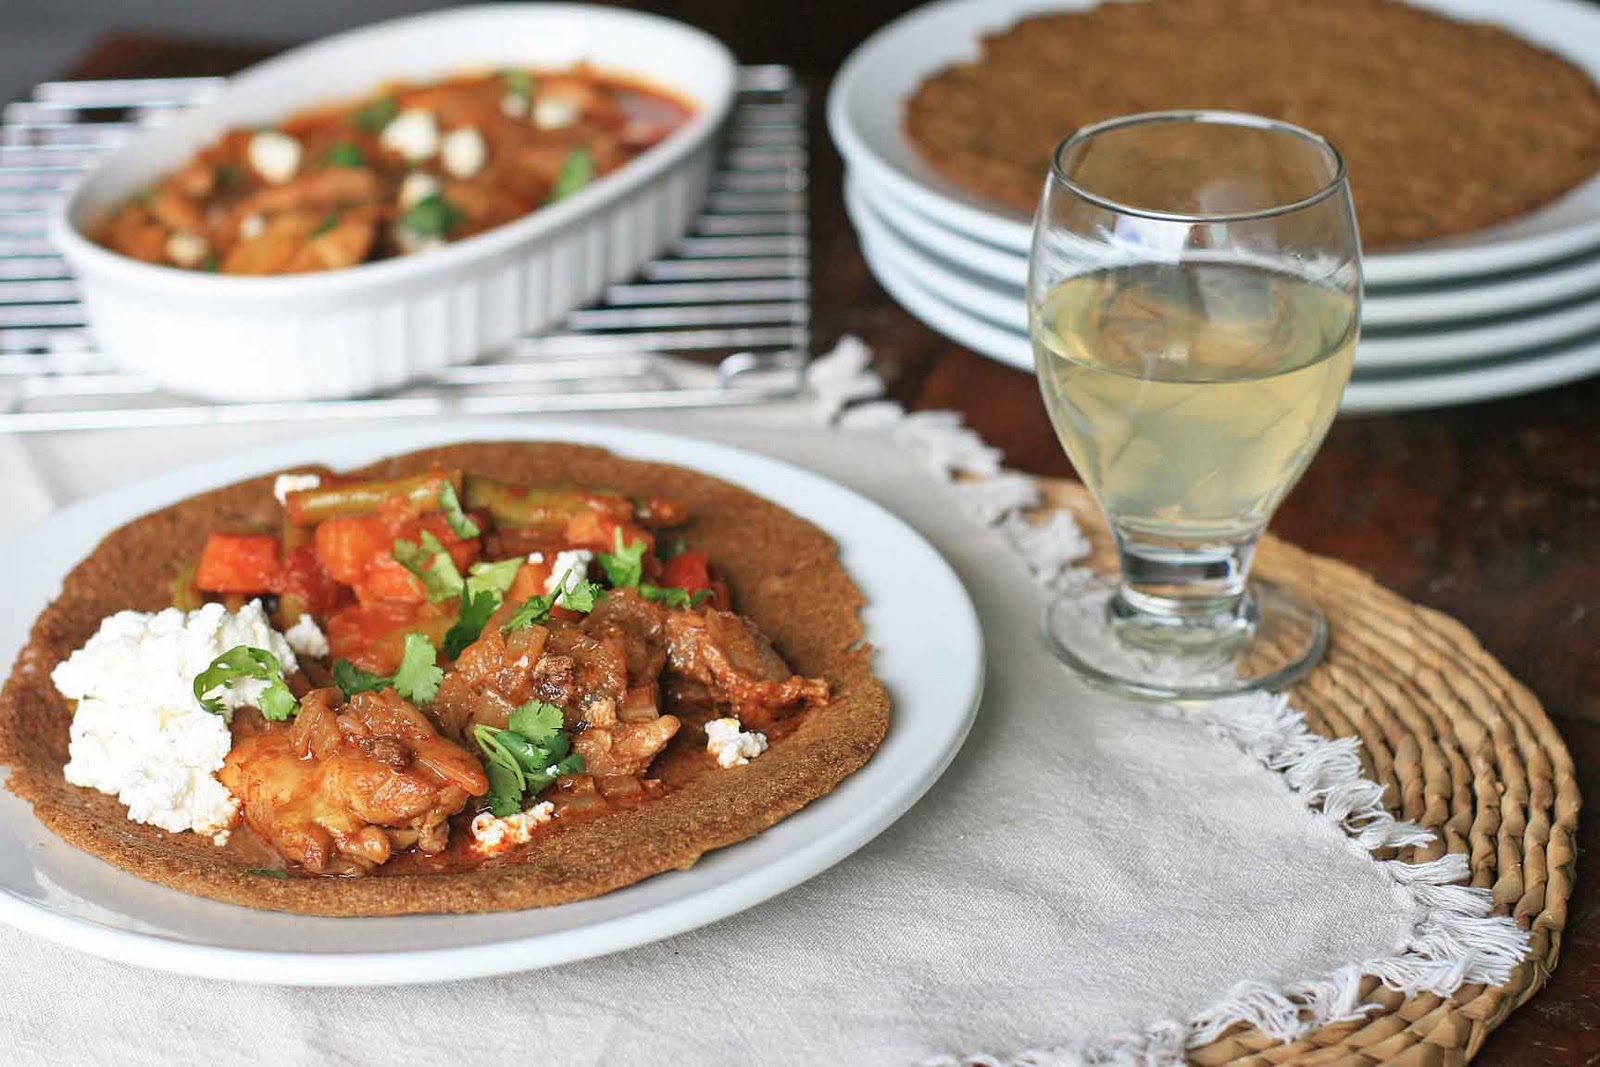
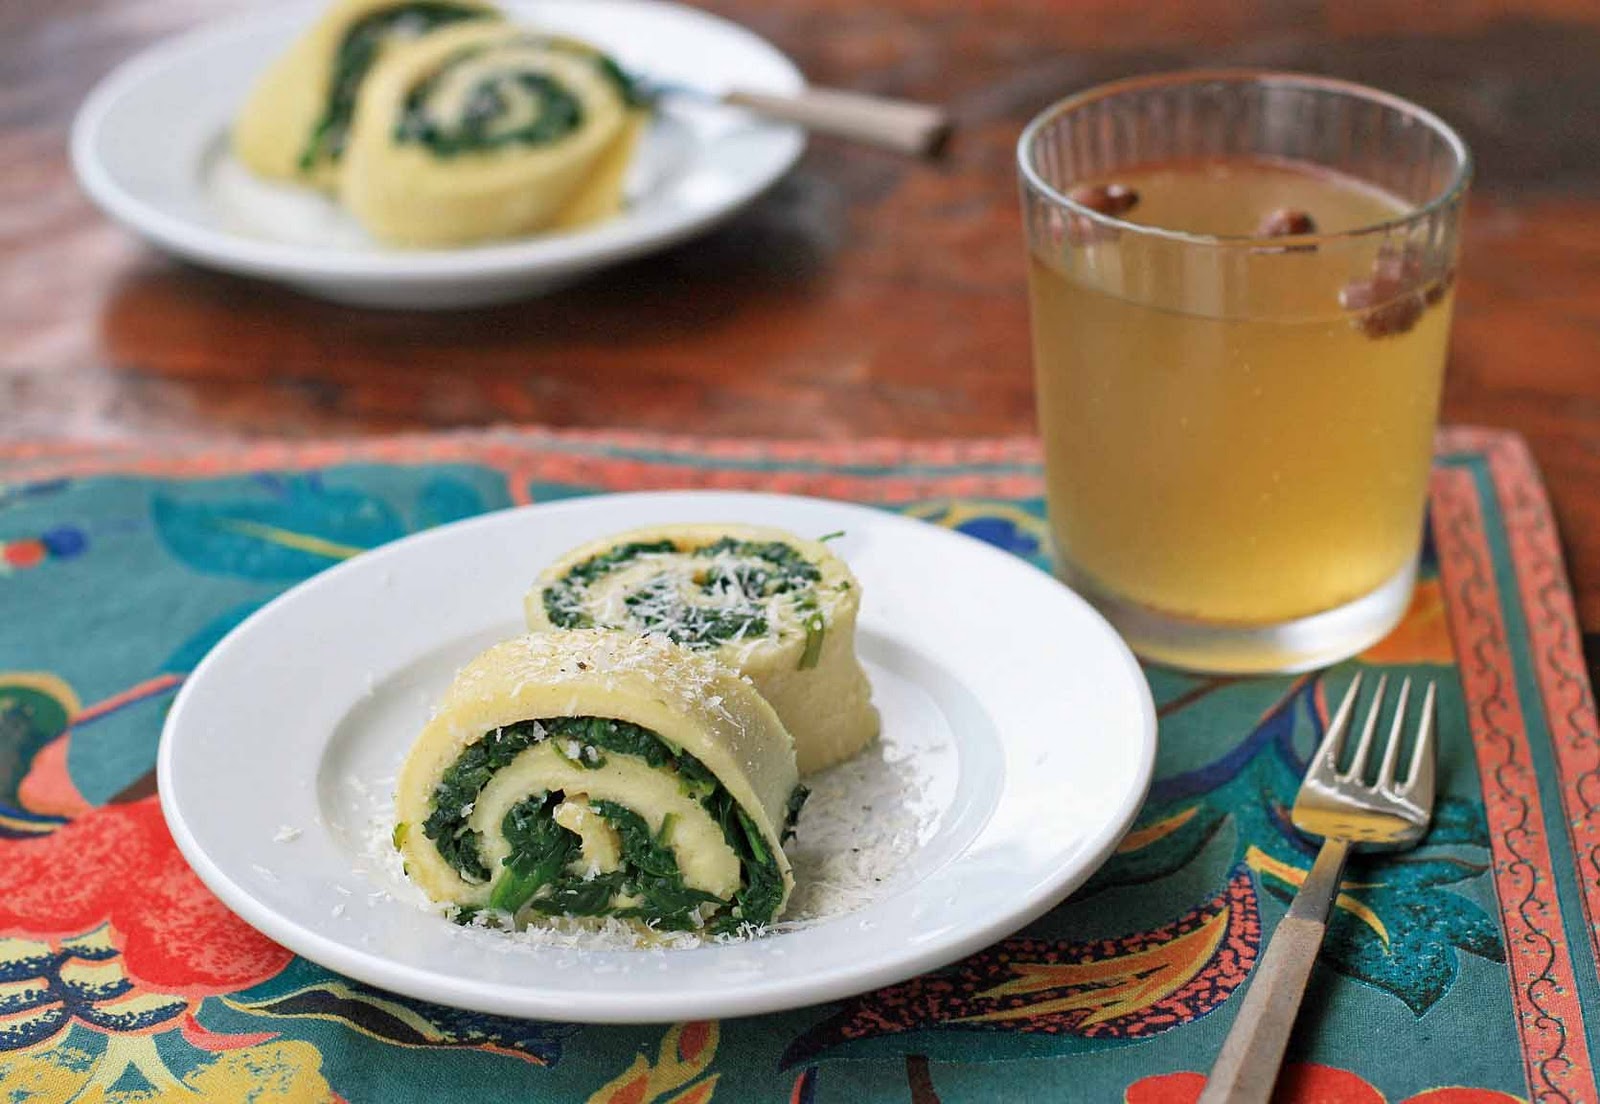
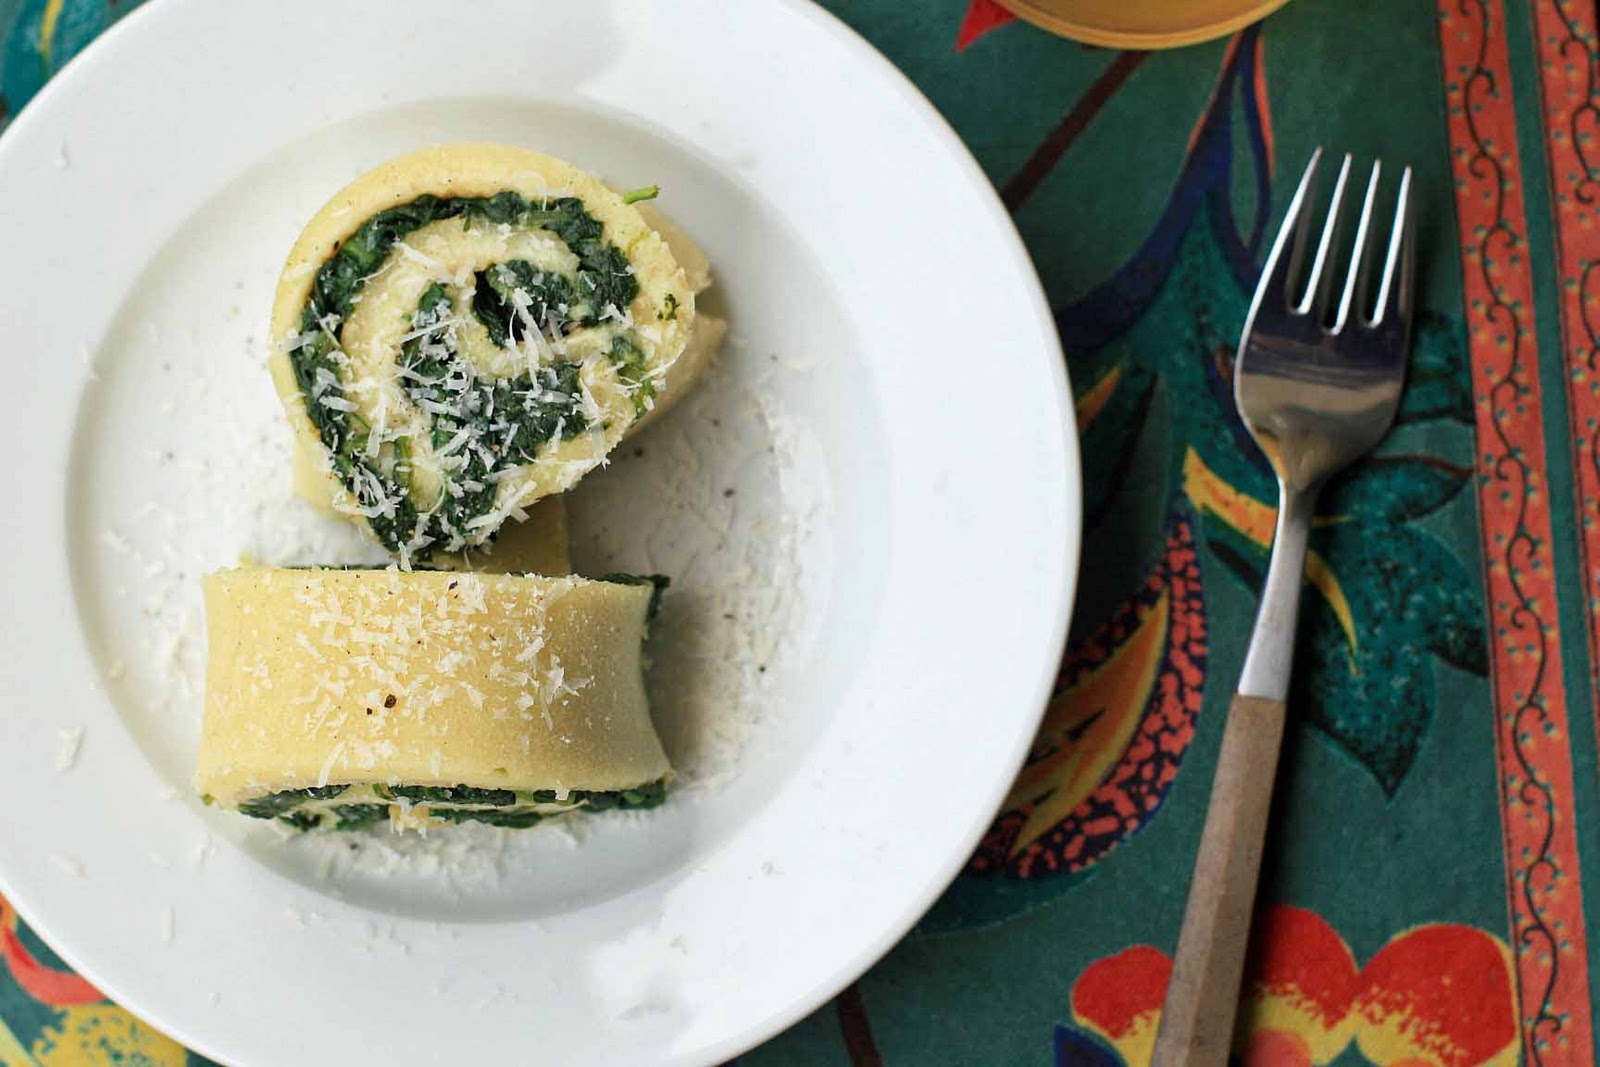
 A pancake baked in the oven is topped with spinach that’s flash cooked to keep its vibrant color and spiced with grated nutmeg. You then roll it up like a jelly roll and top it with a heavy sprinkle of grated cheese. Things got even more interesting with a (non-traditional) dollop of sour cream.
Finns are onto something with the whole giant pancake baked in the oven and prepared jelly roll style. Maybe next time Nutella as the filling?
Pinattipannukakku- Finnish Gluten-Free Rolled Spinach Pancake
Yield: 4-6 servings
Ingredients:
Melted butter, for greasing pan
Pancake:
2 eggs
2 cups milk
1/3 cup rice flour
d1/3 cup sorghum flour
1/3 cup potato starch
1 teaspoon salt
1 teaspoon baking powder
1/4 teaspoon xanthan gum
Filling:
2 Tablespoons butter
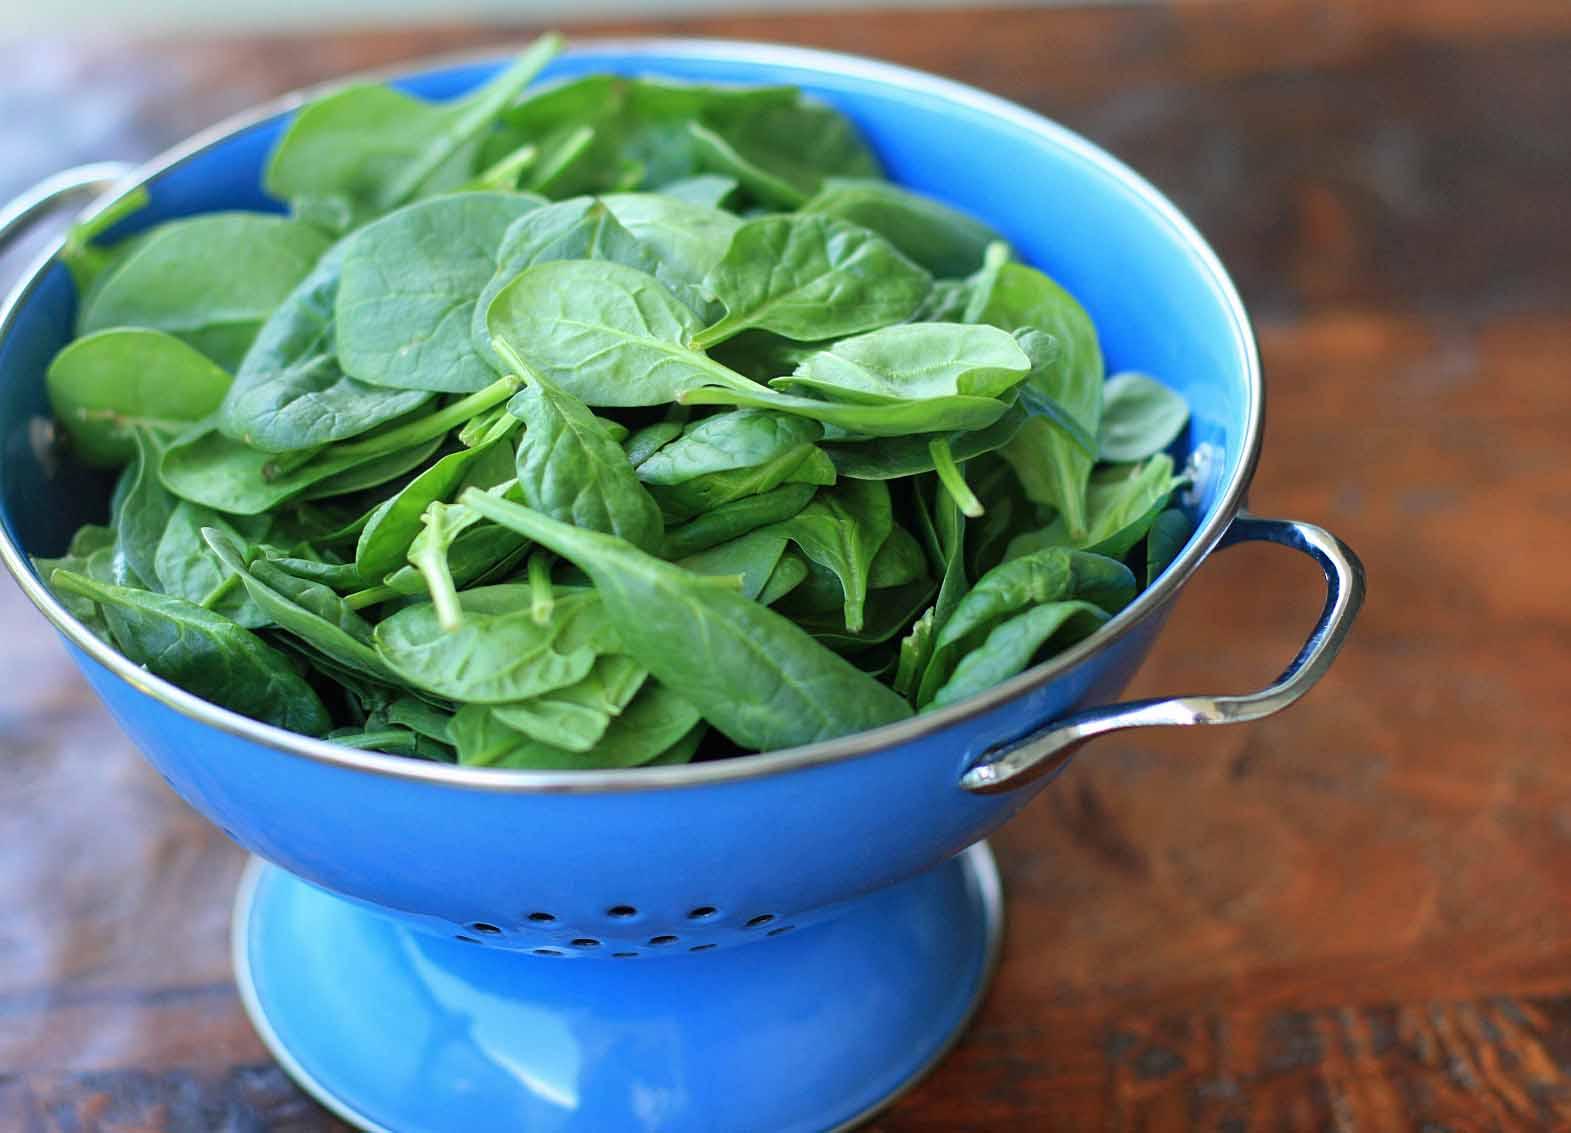
3/4 to 1 pound baby spinach, washed
salt and pepper
1/4 teaspoon nutmeg
Topping:
Grated Parmesan
Directions:
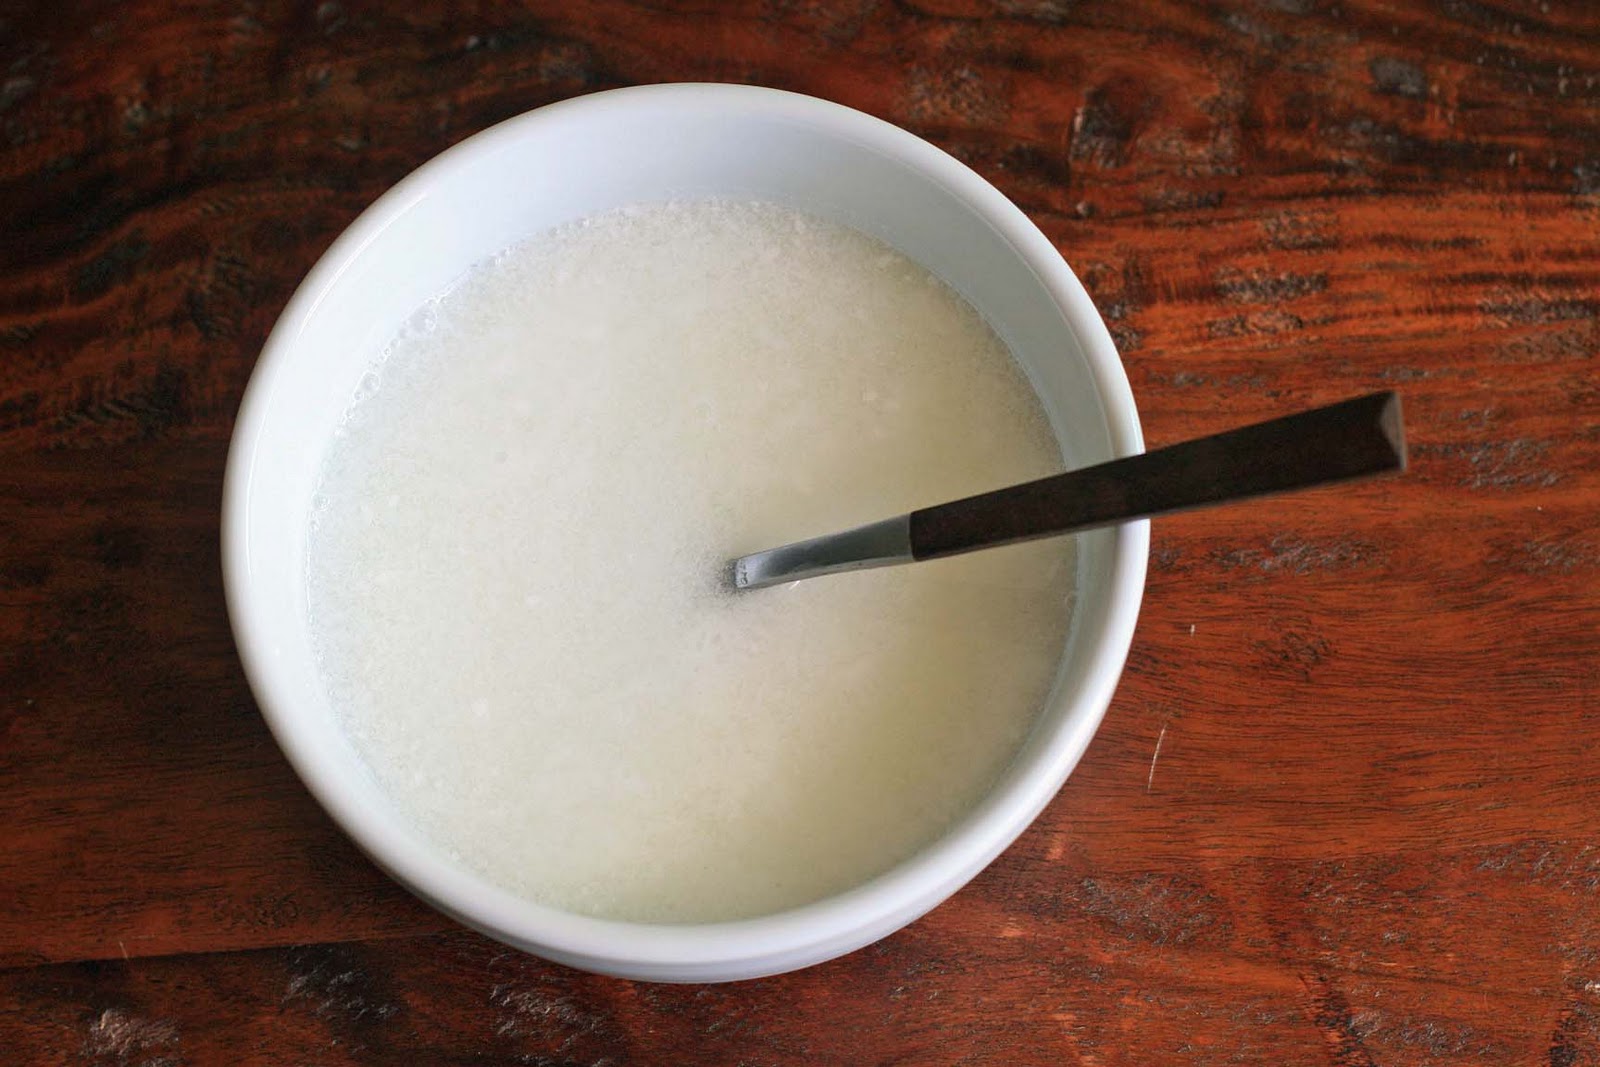
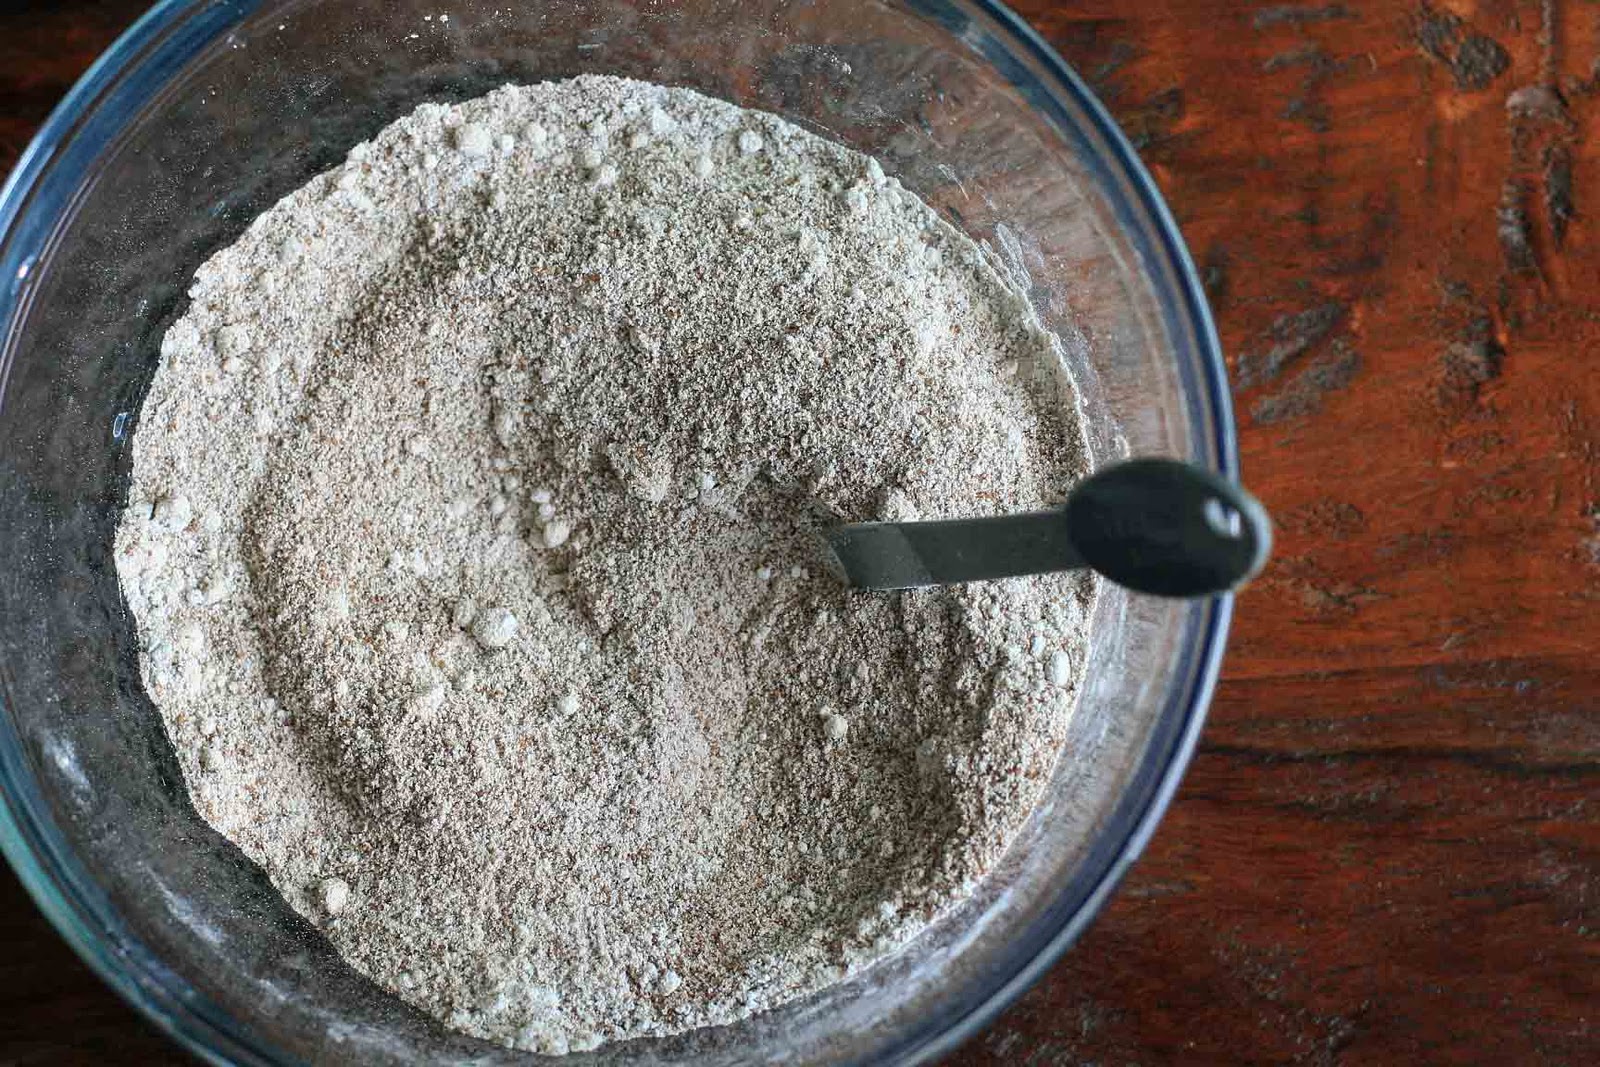
In a medium bowl, beat the eggs with the milk. Sift the rice flour, sorghum flour, potato starch, salt, baking powder and xanthan gum into a large mixing bowl. Add the egg mixture and stir until smooth. Let rest for 30 minutes, uncovered.
While the batter is resting, preheat the oven to 350 degrees and generously butter a flat, rimmed baking sheet (I used my 13 by 18-inch sheet).
Pour the batter into the prepared pan and spread evenly across the bottom. Bake for about 20 minutes, or until set.
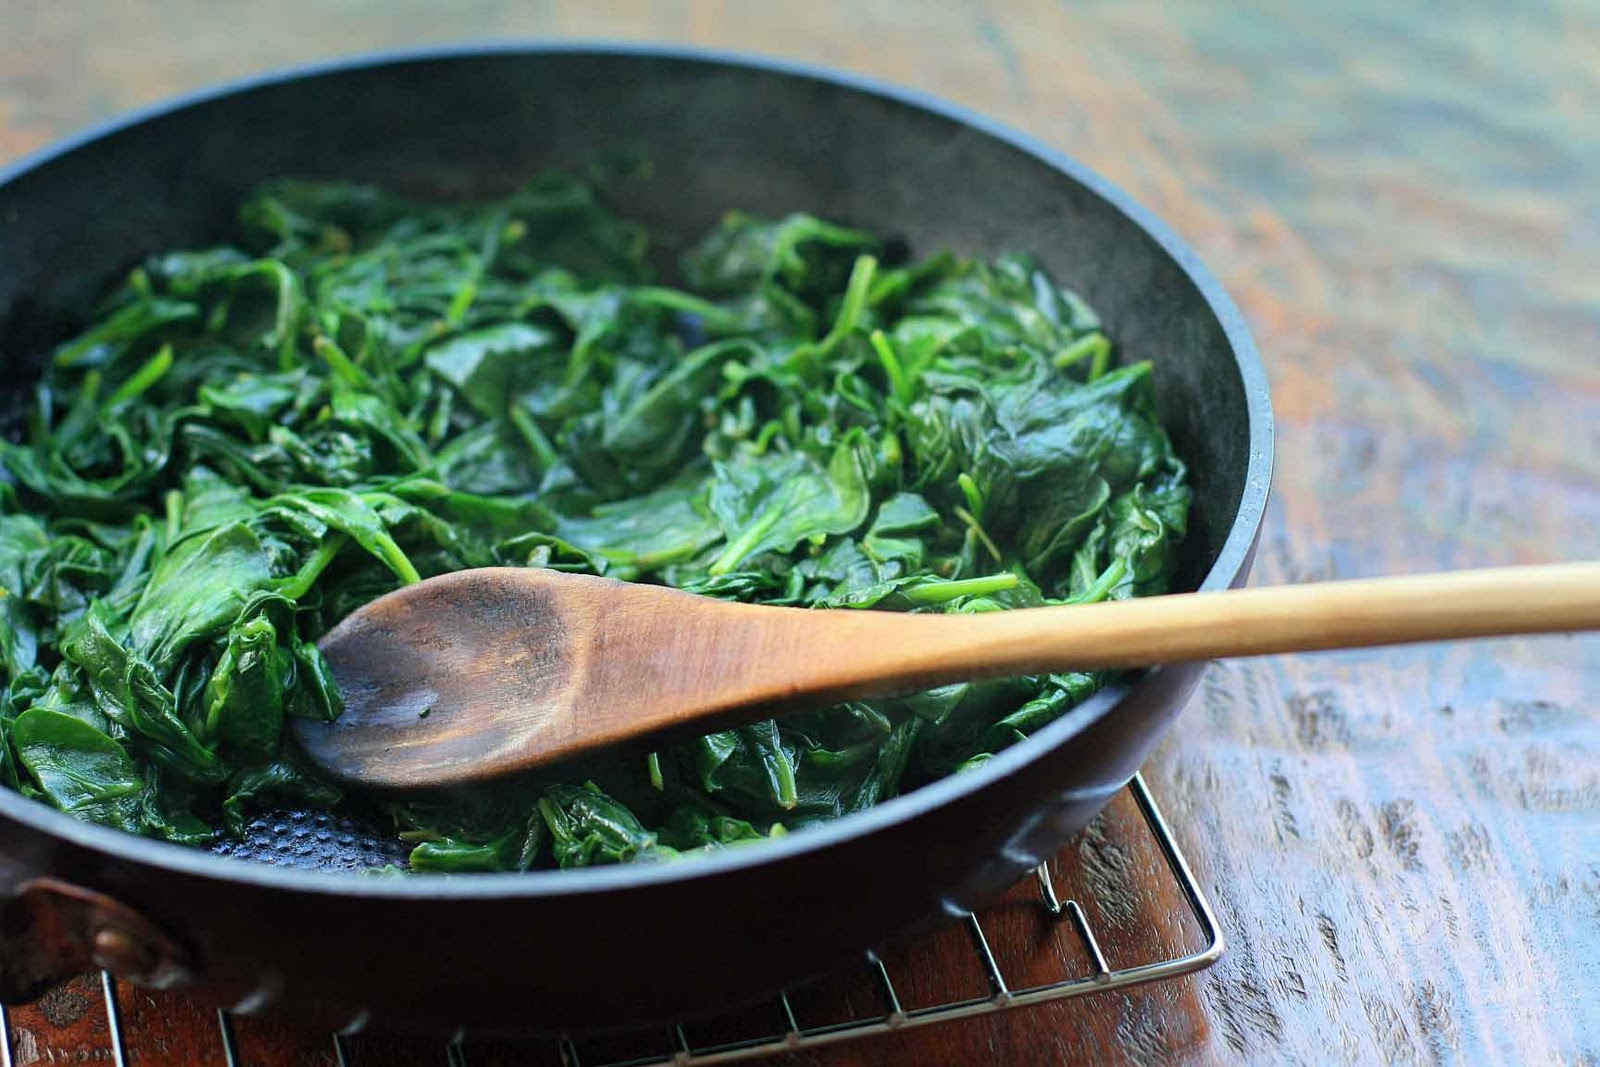
While the pancake is baking, melt the butter in a large frying or sauté pan over medium-high heat. Add the spinach, in increments if necessary, and cook only until just wilted. Add the nutmeg and then season to taste with salt and pepper.
Spread the prepared spinach over the cooked pancake. Gently roll up the pancake like a jelly roll and cut into slices. Top with grated Parmesan.