 Considering my love of all things pork, it’s surprising that I don’t cook it more often. Baked breaded pork chops served with mashed potatoes and applesauce was a frequent meal when I was growing up. I think the applesauce, besides being a good flavor match for the pork, was sort of essential for moisture because the oven dried out those chops like nobody’s business. That’s no need to worry about dryness with this recipe- the quick pan fry keeps the chops nice and juicy. With Jamaican jerk spices and a little bit of curry powder (a nod to the Indian influence and population in Jamaica) the pork is great even as a standalone item, but a little mango salsa gives it some extra island flair.
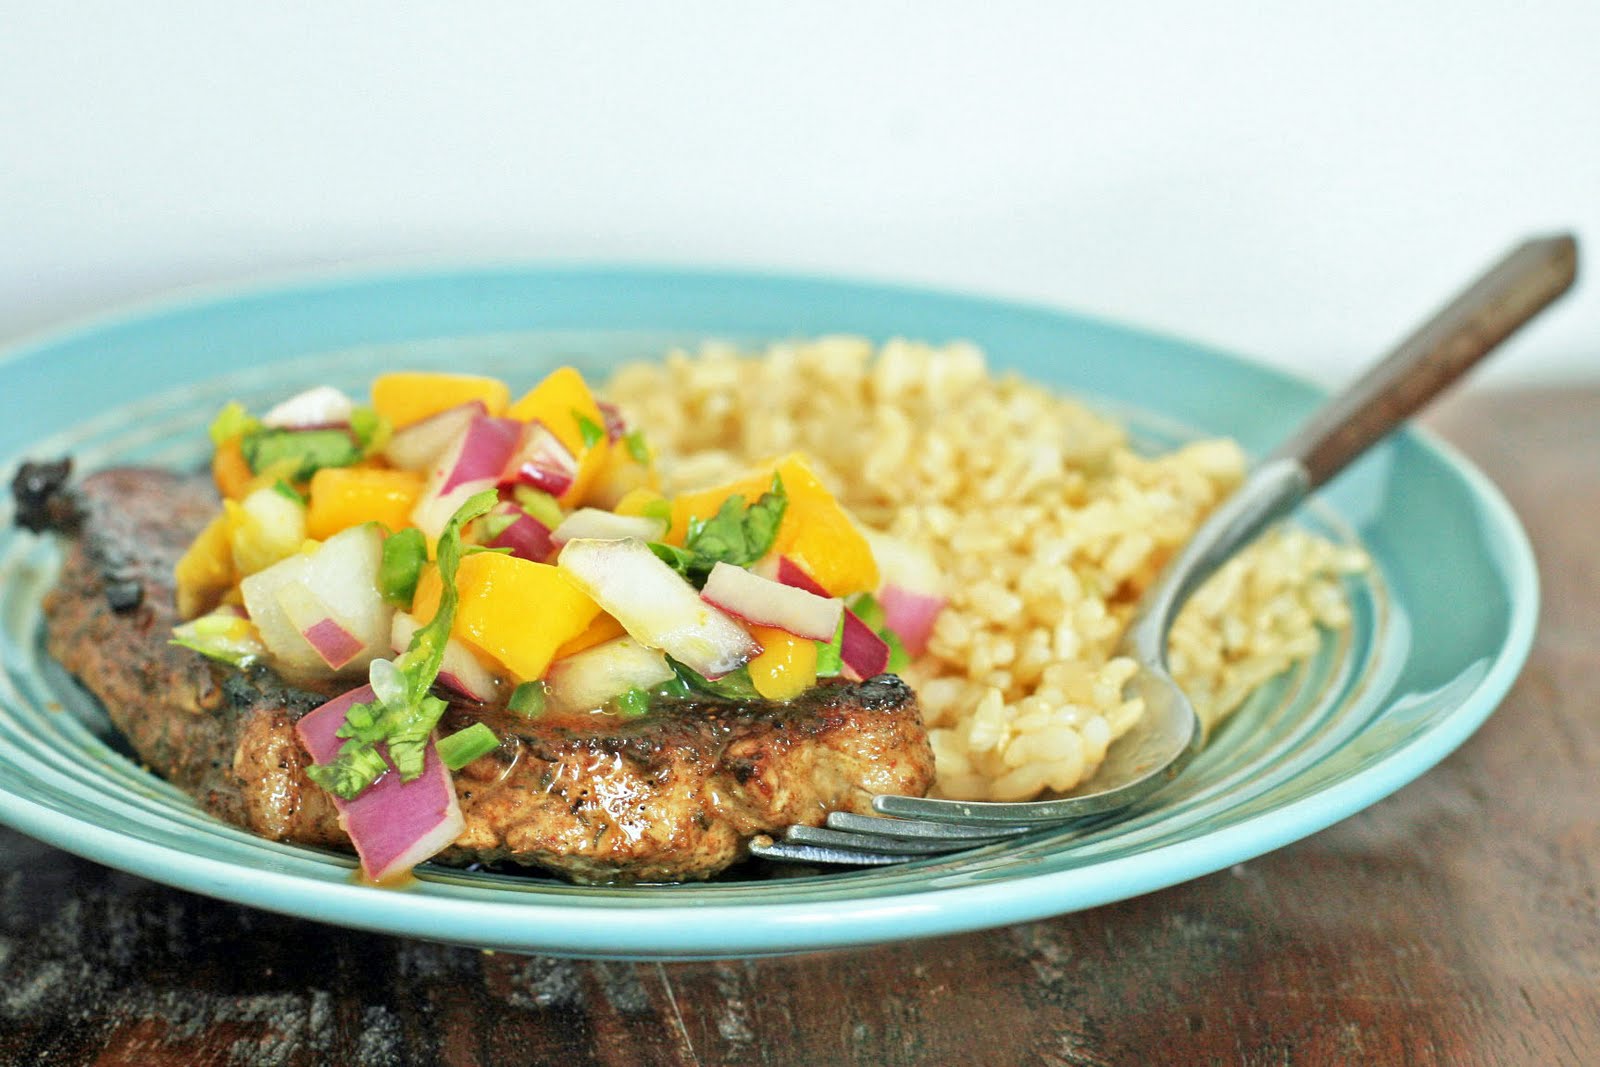
Pan Fried Curried Jerk Pork Chops with Mango Salsa
Yield: 4 servings
Ingredients:
Pork Chops:
* 4 cloves garlic, minced
* 2 teaspoons thyme
* 1 teaspoon brown sugar
* 1 teaspoon allspice
* 1/2 teaspoon salt
* 1/2 teaspoon black pepper
* 1/2 teaspoon cayenne
* 1 teaspoon curry powder
* 4 pork chops, approximately 3/4 inch thick
* Vegetable oil, for frying
Mango Salsa:
* 1 mango, peeled, seeded and chopped
* 1/2 cup finely chopped red onion
* 1 Tablespoon cilantro, chopped
* 1 jalapeno pepper, finely chopped
* 1 Tablespoon lime juice
* 1/8 teaspoon salt
Directions:
To make the pork chops combine the garlic, thyme, brown sugar, allspice salt, pepper, cayenne, and curry powder in a large bowl or plastic ziplock bag. Add pork chops and rub the seasoning in. Marinate in the fridge for 30 minutes to one hour. Heat about 1 tablespoon in a large, heavy skillet over medium-high heat. Add pork chops and sear, about 3 minutes. Flip and repeat on the other side. Remove from heat, and cover, allowing the residual heat to cook the chops through, about three to five minutes, depending on the thickness of the pork chops. Test the thickest chop to ensure that there’s no pink. Top with mango salsa.
To make the salsa, combine all ingredients in a bowl and chill for at least 15 minutes to allow the flavors to meld.


 Back in my gluten-eating days, I lived near a great
  I haven’t been to that restaurant in years and years (they use a glutinous oyster sauce in just about everything), it was easy to recreate the dish at home with the help of some store bought curry paste. And although the paste alone will give you a perfectly decent curry, adding a couple extra items like fish sauce, lemongrass, Kaffir lime leaves and some Thai basil transforms it into restaurant-quality.

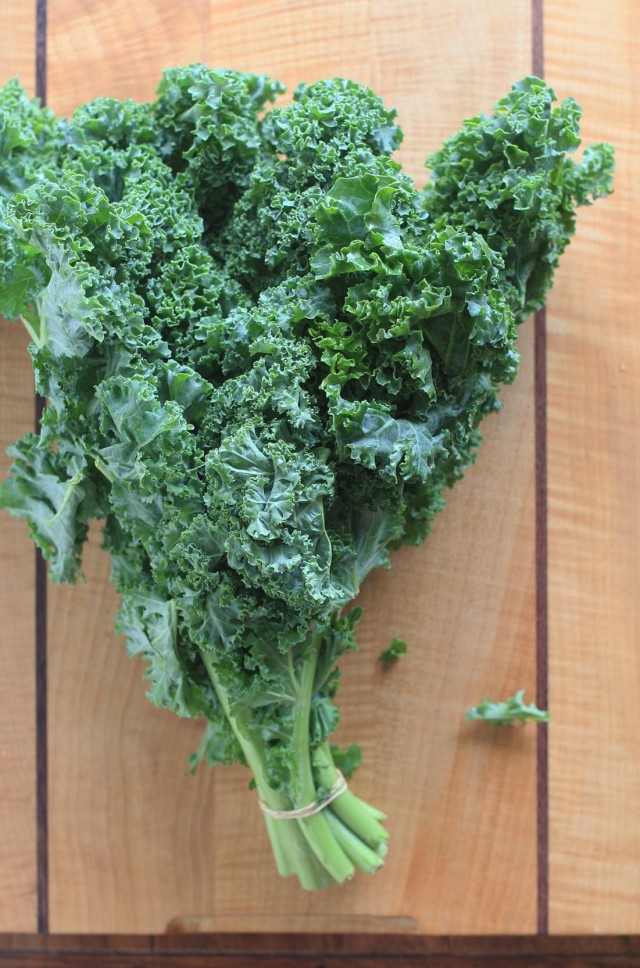

 Living in Hawaii, it’s easy to lose track of the seasons… I suppose I’ve got something of an endless summer mentality. But while sunny beach days aren’t in danger of going away come Labor Day weekend, summer produce won’t last much longer.
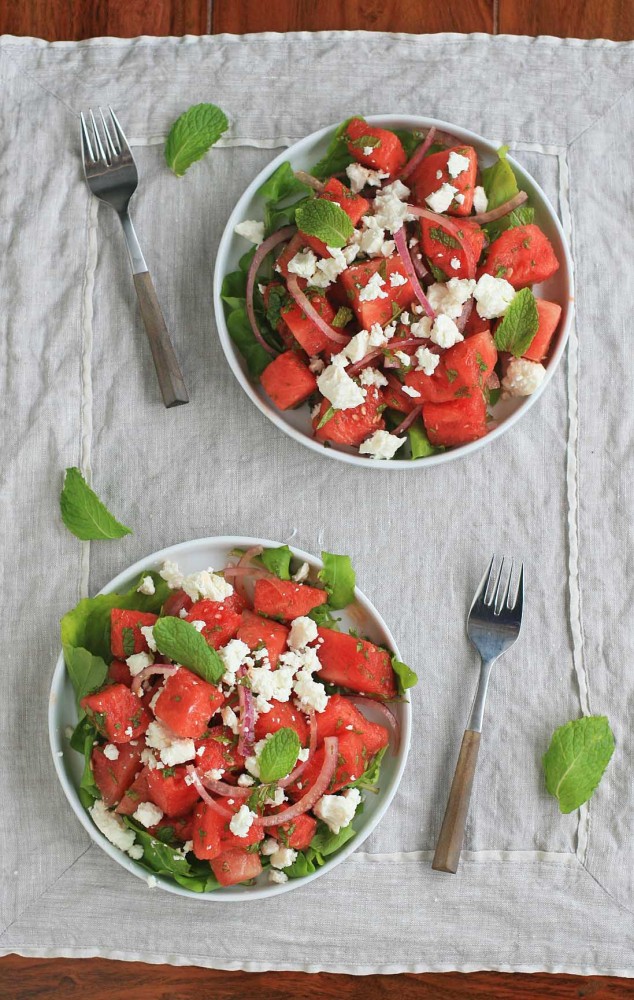 For twenty-something years it never occurred to me to enjoy watermelon any other way than plain ol’ slices or cubed in a fruit salad. Delicious? Yes. But also a bit boring. Thankfully I’ve been making up for lost time in recent years, enjoying it in
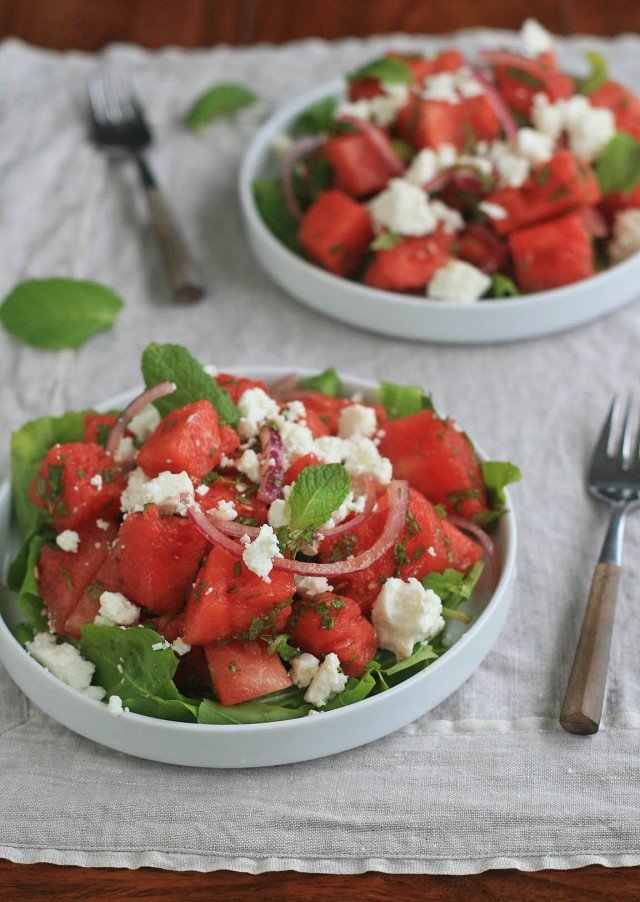
 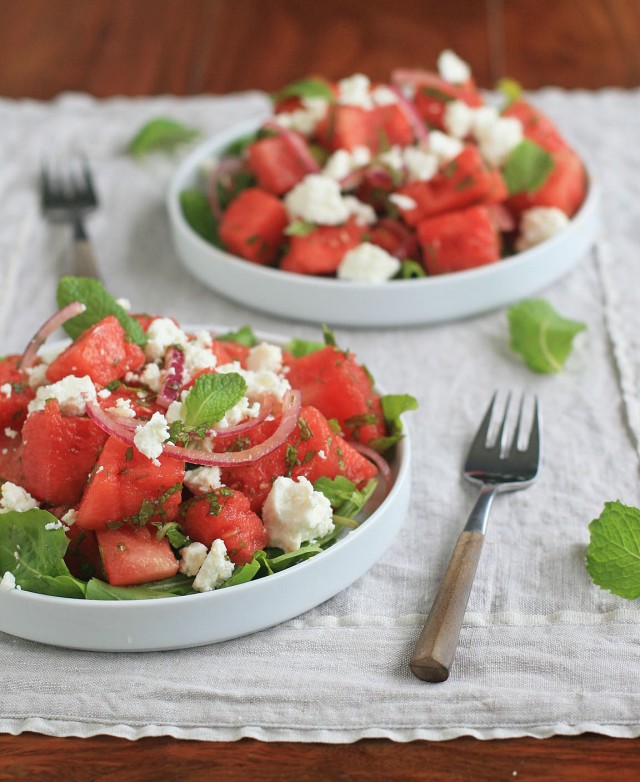 Watermelon Salad with Feta and Mint