This past week I’ve been slowly transitioning back to my normal eating. Although it’s not easy, I’m doing my best to not go overboard on previously restricted foods (although a package of mochi from Maui Specialty Chocolates is making this a particularly difficult task). So rather than dive into a bowl full of cheesy, gluten-free mac and cheese, which I’ll admit sounds pretty awesome right about now, I sprinkled just a little bit of Parmesan sprinkled on these otherwise cleanse-appropriate kale chips.
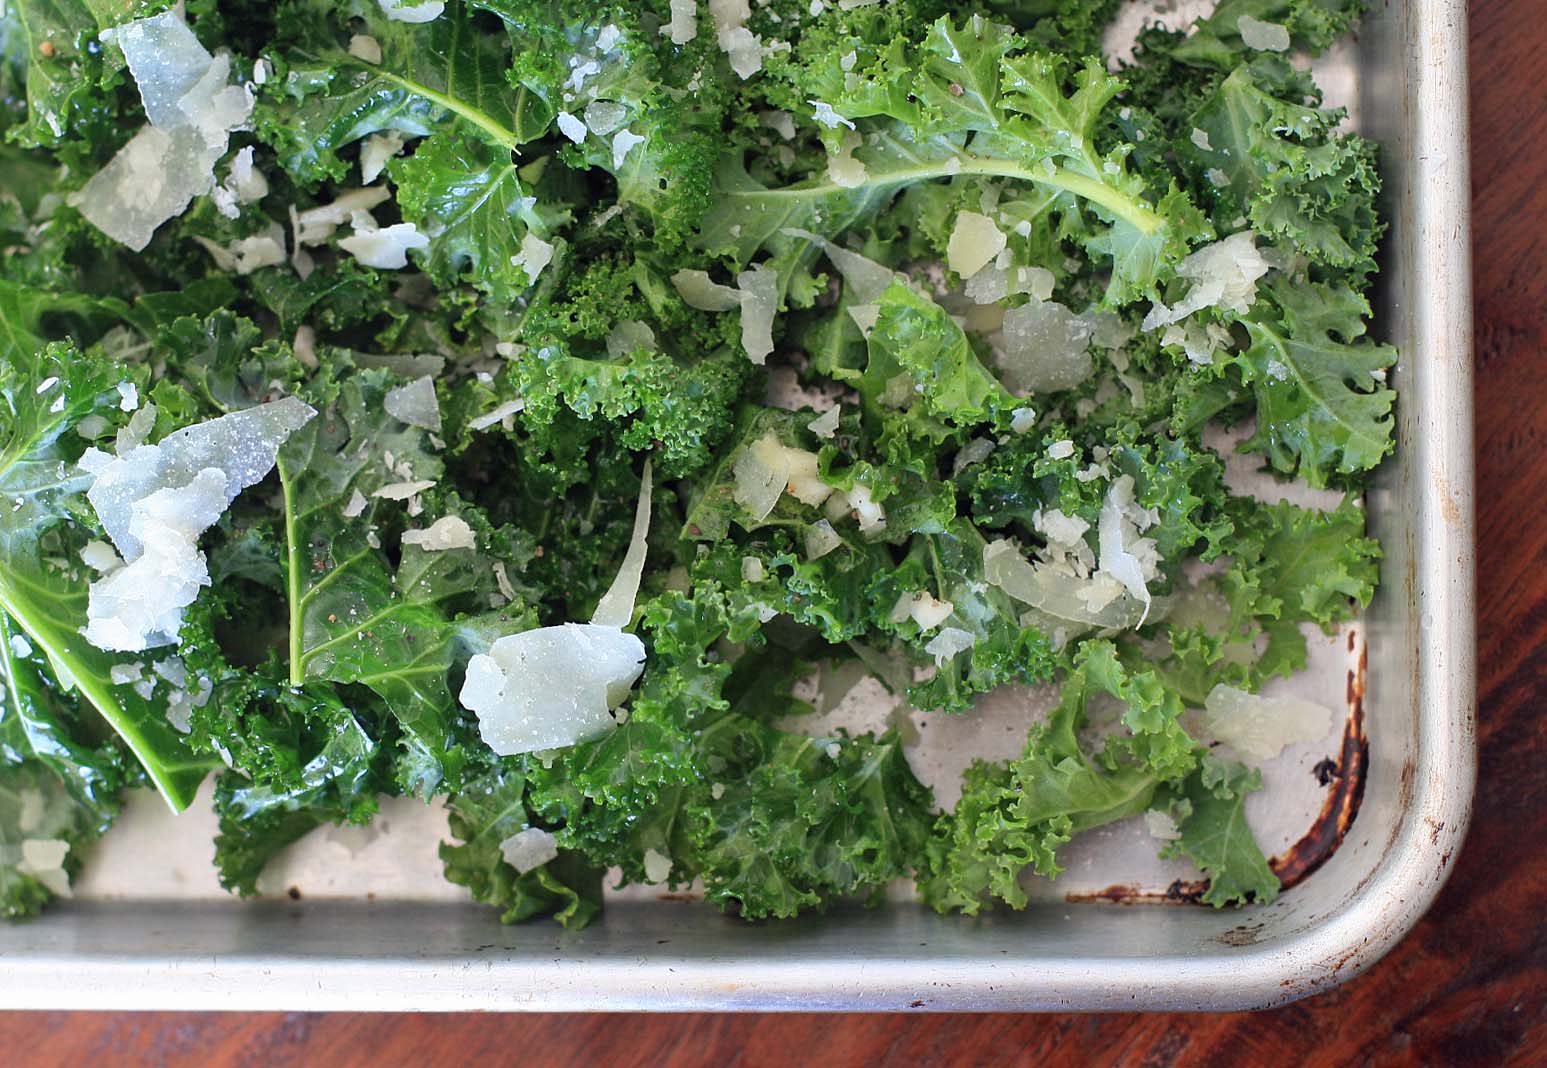
Kale chips were quite the food blogger darling about a year or so ago. There were subtle variations between different bloggers’ versions, but they all follow the same basic premise: kale, one of the healthiest greens out there, masquerades quite successfully as an unhealthy snack chip. They’re like a lighter, more delicate potato chop. If the salty crunch of the chips isn’t enough to entice a skeptic into trying a one of these, perhaps the Parmesan and garlic will…
Garlic and Parmesan Kale Chips
Yield: 4 servings
Ingredients:
* 2 bunches kale
* 2 Tablespoons olive oil
* 2 large garlic cloves, minced
* salt and pepper
* 1/4 cup freshly grated Parmesan cheese
Directions:
Preheat oven to 350 degrees.
Rinse kale and pat dry. Remove and discard the thick ribs and roughly chop the leaves. Place on a large rimmed baking sheet and toss with olive oil, garlic, salt and pepper. Sprinkle with the Parmesan cheese. Bake for approximately 15-20 minutes, stirring every five minutes or so, until the edges are crispy and slightly browned.
Note: You really want to make sure there’s no moisture on the kale prior to coating with olive oil as water will prevent the chips from getting crisp.