All you can jammers in the house jumped headfirst into the pickling process and for that I’m proud! Family recipes & memories, experienced canners branching out and first time cuke-picklers too! I do hope that the newbies in the bunch discovered just how easy pickling can be…and for all you peeps out there just getting ready to pickle,
Pickle this:

Pickles
Bread & butter pickles – prospect: the pantry she breaks out the big one: sweet hot. …and a good idea about a taste-test sample in the fridge. what? this too!
cantaloupe pickles – flamingo musings I actually made similar pickles last summer and I can agree – they are weird & wonderful!
crisp sweet pickle – simply loving home the rind idea is great! Watch the head space, & hot water bath for 10 minutes…
dill pickle chips – …oh briggsy! what she said: I like me pickles crisp, like chips! …and you can do it in the can!
dilly beans – bigger than a breadbox I am so happy that she broke out the local clause. ‘Cause cukes will come & go, but local is as local does. And this is as pickled as a pickler could ever pucker for! 🙂
gap
earle’s dills – backyard farms this is a treasure! A tried & true family recipe shared with all of us. Thank you!
gingery watermelon pickles – Rufus & clementine I think I need to try these. And I wanna know how your second batch goes too – Bryant’s! I’ll be checking back!
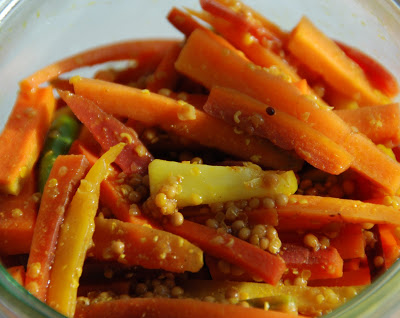
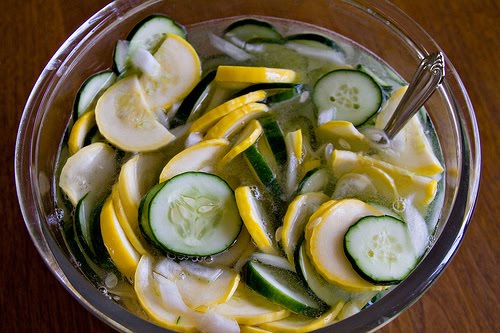
green & yellow squash pickles – market life sf yikes! Those zukes don’t stand a chance around that fancy mandolin! And they looks so nice & svelte in those jars too. 🙂
kosher dill pickles – notes from a country girl living in the city sounds like a great old book! Here’s a lovely place for a reminder to all: if you’re using an old book for canning, make sure to compare to current USDA guidelines for up-to-date safety!
quick dills – what Julia ate she had big plans (melons preserved in jars) and empty hands (melon season comes later in the N.E.) but she didn’t come up empty-handed. Pucker up to these!
gap
ice-brined garlic dill pickles – married …with dinner I really dig your tenacity. And I think I would really dig these pickles. Can I come over for a bite? 🙂
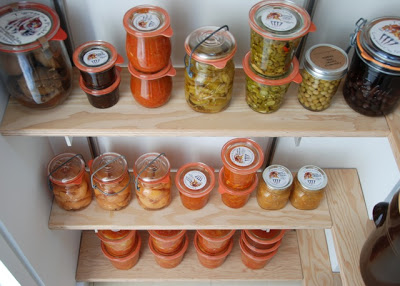
mcClure’s pickles – mother’s kitchen yes I’ve had them, yes I love them. But I love even more that you made them yourself, & I love your label too!
pickled watermelon rind – thinking out loud er, and lemon rind, don’t forget the lemon rind. 😉
pregnancy pickles – put a lid on it it’s a girl! It’s a girl! It’s a girl! (Oh and I would process these pickles for 10 minutes, not 5).
slap my hind with a watermelon rind – mock paper scissors (I couldn’t figure out if that was the name of your pickle or not. If I’m wrong, I’m just happy I got to say it). And there’s also spicy dill pickles! And another great round of tips & bonus tracks from tengrain’s little cooking school.
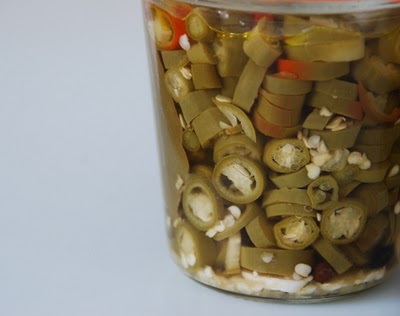
spicy garlic dill pickles – my caffeine diary uh oh! You waited to pickle ‘dem cukes… fingers crossed! (I hope they’re not too soft).
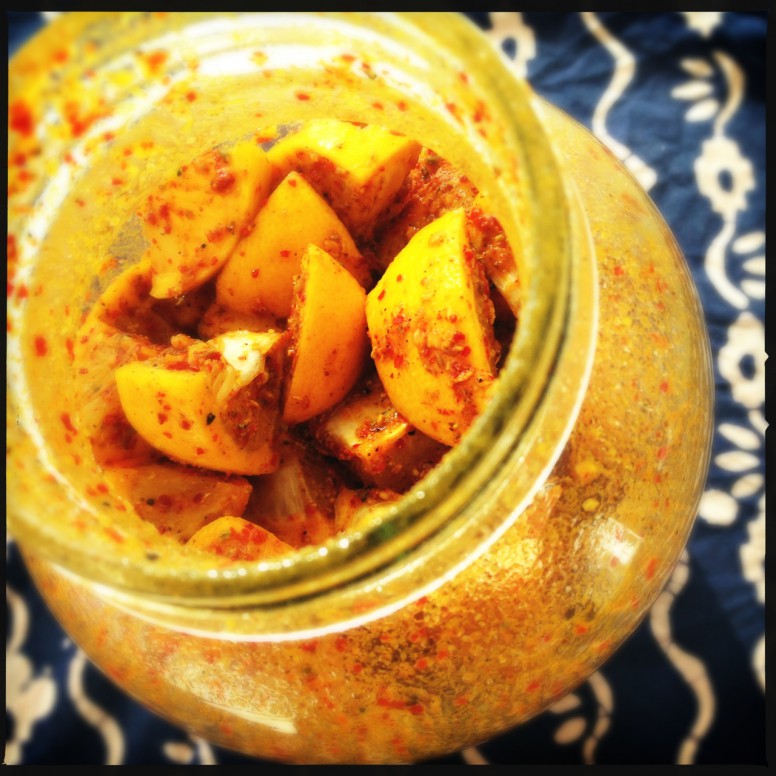
watermelon rind pickles with garam masala & jalapeno – showfood chef and she’s also making a TON of these babies too – for her daughter’s wedding!! How great!
zucchini cornichons – wine book girl these pickles are inspiring me! What a great idea to use up all those little monsters! How do they taste?