Home Blog Page 81

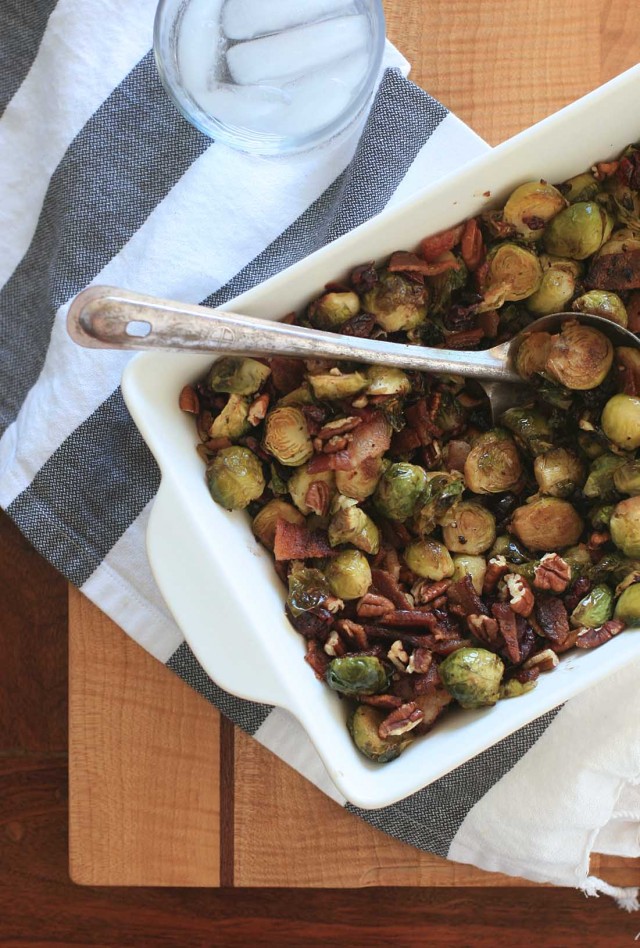
Roasted Brussels Sprouts with Bacon, Cranberries and Toasted Pecans

0

I’m a neutrals kind of girl, which means my Christmas decorations typically consist of white lights, natural elements (greens and pine cones), and maybe just a little bit of gold or another metallic for shimmer and sparkle.  But I’m all for the red and green color palette when it’s on the dinner table.

My family loves turkey so much that we typically do Thanksgiving 2.0 on Christmas Day.  And because there’s generally so so much starch involved (stuffing, mashed potatoes, etc.), it’s always nice to have a non-starchy green veggie or two to balance things out.
A version of this broccoli and cranberry salad has filled that role for several years, but I’m always up for trying something new,  especially when it involves roasted Brussels sprouts and bacon.

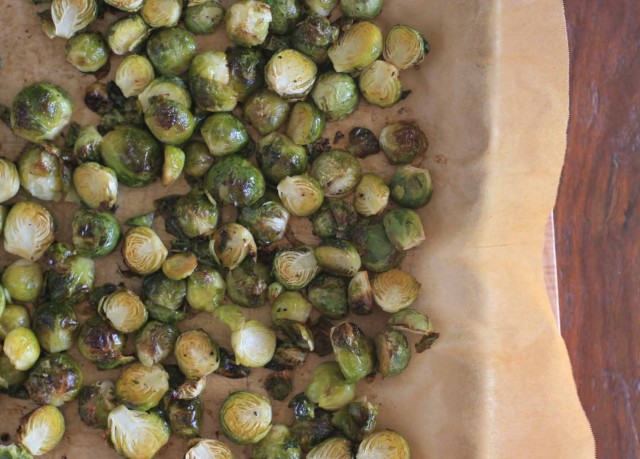
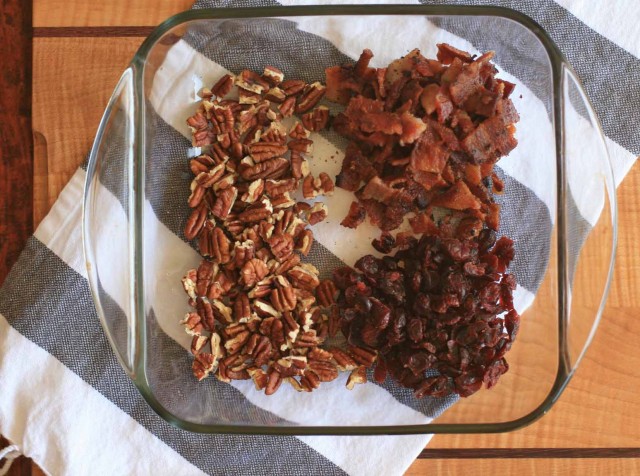
In this side dish Brussels sprouts get roasted in olive oil and rendered bacon grease and then tossed with toasted pecans, crumbled bacon and dried cranberries in a maple balsamic vinaigrette.
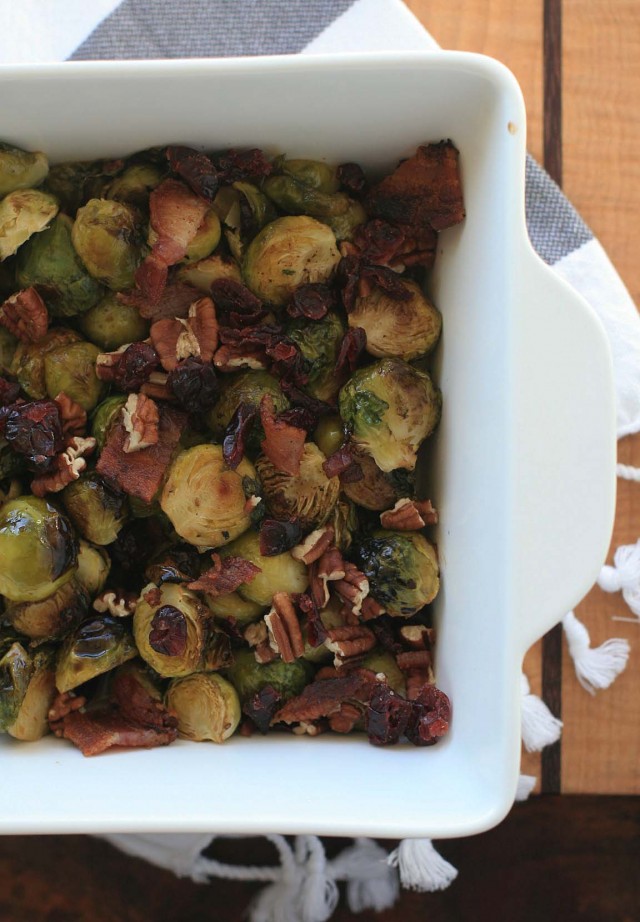
Smoky and sweet with plenty of crunch, this warm salad tastes just as good as it looks.  With its festive red and green coloring, it’s the perfect dish for your Christmas meal, but I’m guessing that you’ll be craving it all year round.
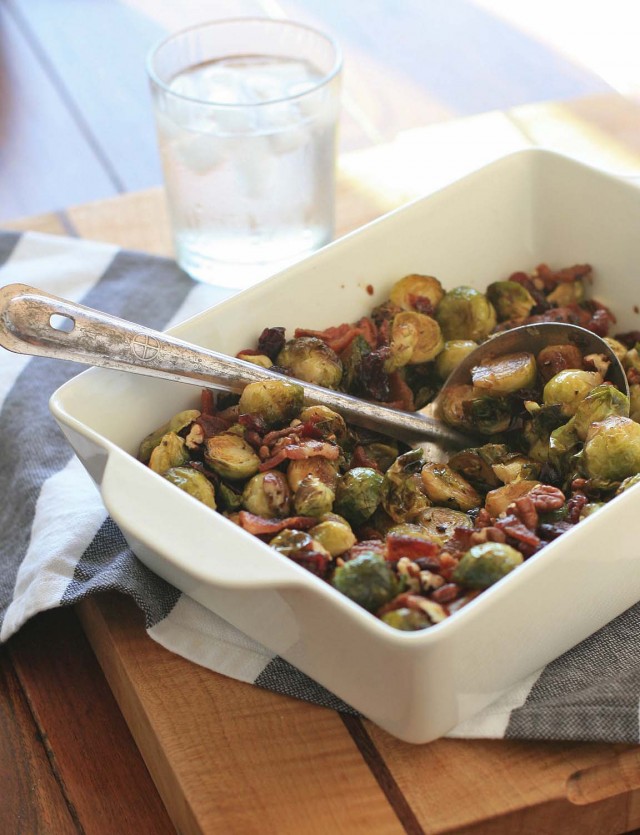
Roasted Brussels Sprouts with Bacon, Cranberries and Toasted Pecans

Yield: 6-8 side servings

Prep Time: 15 minutes

Cook Time: 45 minutes

Total Time: 1 hour

Ingredients:

* 1/2 pound thickly sliced bacon
* 2 pounds Brussels sprouts
* 3 Tablespoons olive oil
* salt and pepper
* 1/2 cup roughly chopped, toasted pecans
* 1/2 cup dried cranberries
* 3 Tablespoons Balsamic vinegar
* 1 Tablespoon real maple syrup

Directions:

Cook bacon in a large frying pan until crispy. Remove strips of bacon from the pan, reserving the bacon grease, and set aside on a paper towel-lined plate to cool slightly. When cool enough to handle, either roughly chop or crumble using your fingers.

Preheat oven to 400 degrees and line a large, rimmed baking sheet with parchment paper or aluminum foil.

Wash Brussels sprouts, remove stems (and any yucky outer leaves) and halve. Toss the Brussels sprouts with the rendered bacon grease and the olive oil. Spread onto the prepared pan and sprinkle with salt and pepper. Roast for 35 to 40 minutes, tossing once or twice, until the Brussels sprouts are crisp and browned on the outside and tender on the inside.

Transfer to a large bowl or serving dish. Add the Balsamic vinegar and maple syrup and toss to coat. Just before serving sprinkle on the bacon, pecans and dried cranberries and give it a quick toss to mix everything together.
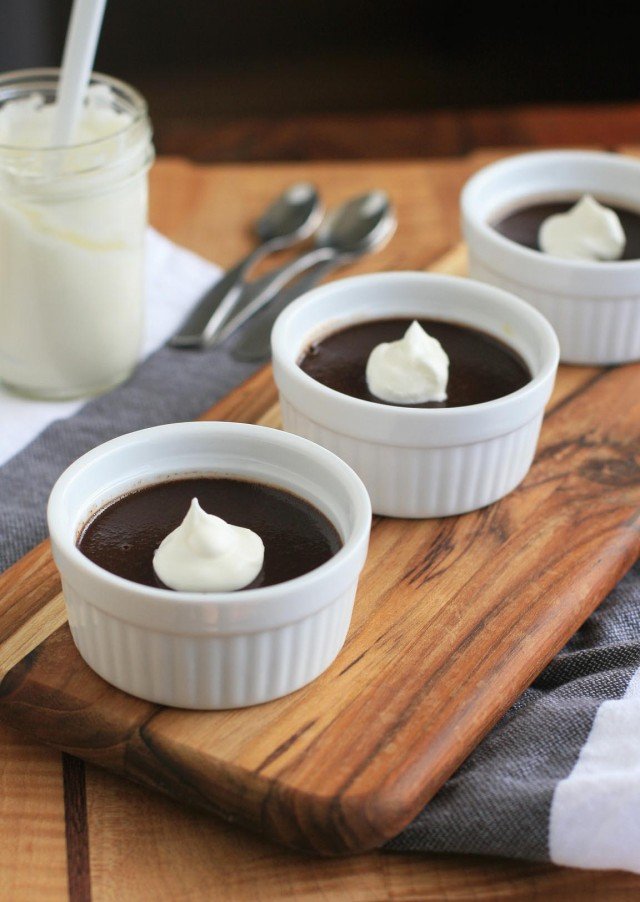
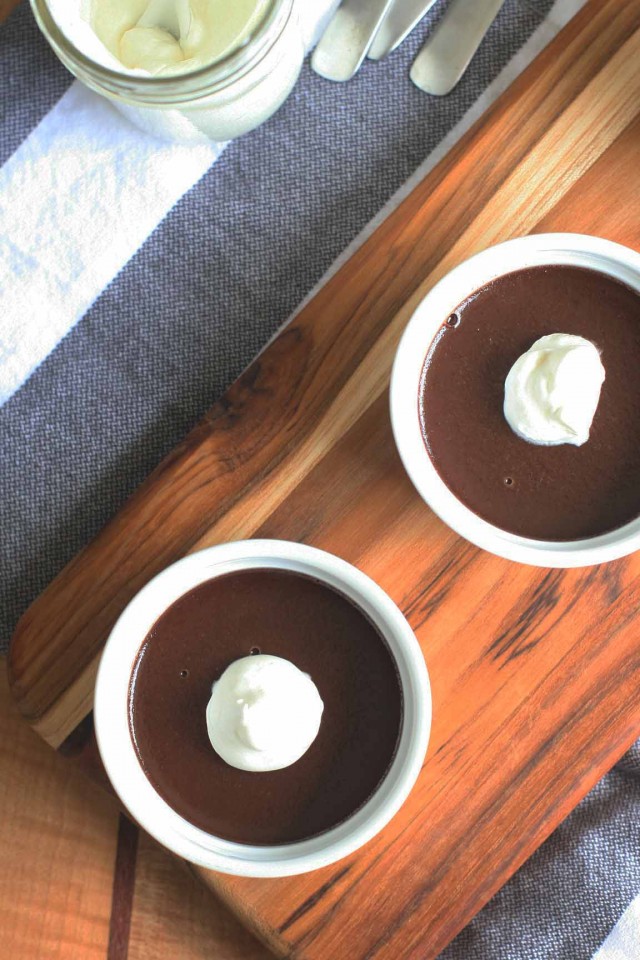
Chocolate Pots de Crème

One of the occupational hazards of being a food blogger?  You end up wanting a lot of highly specialized food items.  You know, like tortilla presses, crepe makers, Aebelskiver pans, etc., etc.

And since I’ve totally fallen for French pots de crème desserts (coffee version here), I now find myself longing for those miniature pots de crème cups that are impossibly cute but far from practical for a girl with a serious lack of storage space in the kitchen.
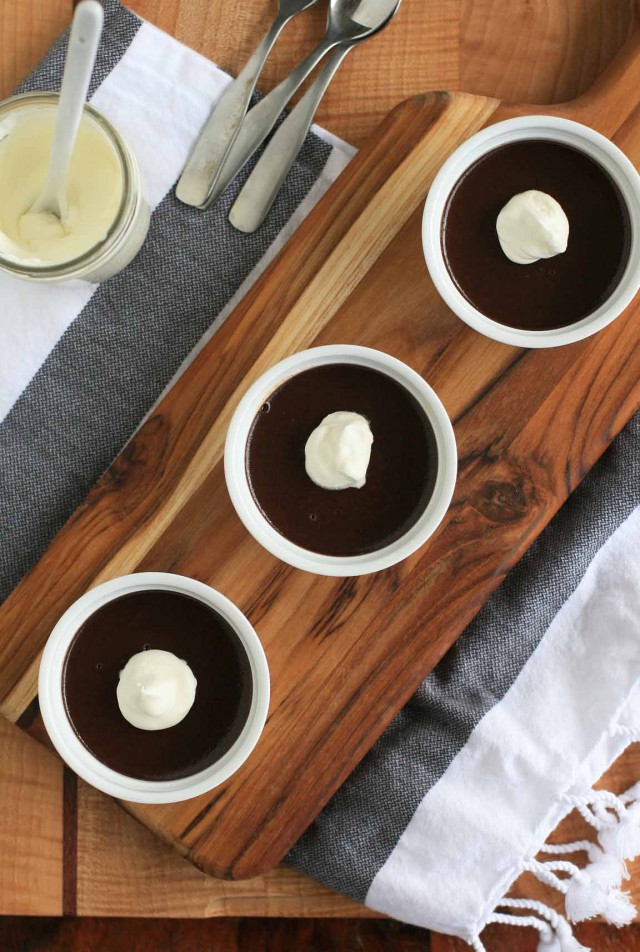
Thankfully these dark, rich and creamy French chocolate custards taste just as good in my infinitely more practical ramekins.

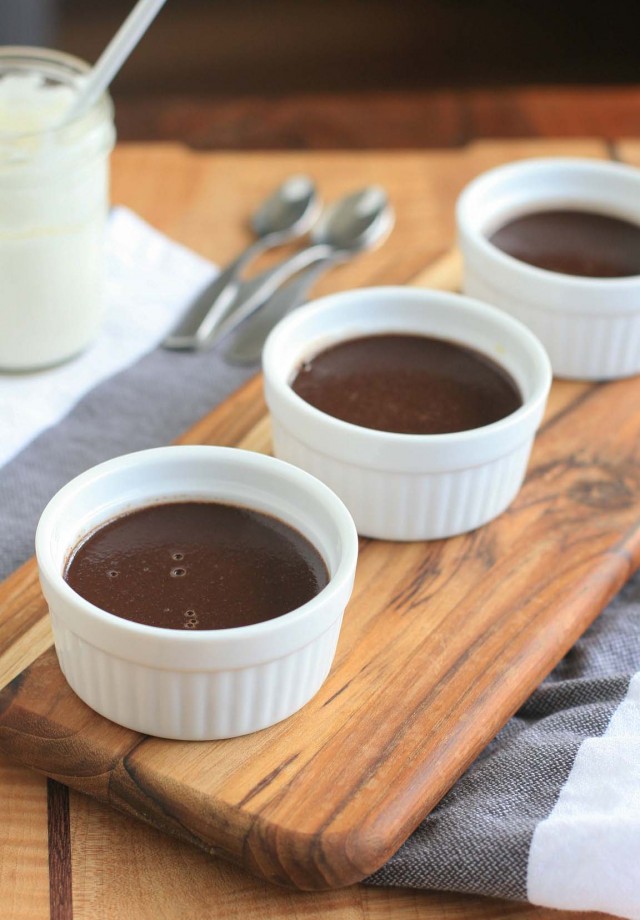
Some folks bake pots de crème with a foil covering to keep a skin from forming on the top, but I happily left the foil off.  The skin reminded me of the Royal cook-and-serve chocolate pudding that my mom always made when I was growing up.
And was I the only one fascinated by the fact that the skin would “re-grow” if you skimmed the top layer of pudding off while it was still cooling?  I was simultaneously appalled and thrilled at the whole thing as a youngster.

Chocolate Pots de Crème

Yield: 6 servings

Prep Time: 10 minutes

Cook Time: 50 minutes

Total Time: 2 hours

Ingredients:

* 2/3 cup dark or bittersweet chocolate chips (or use 4 ounces chopped chocolate)
* 1 cup heavy cream
* 1/2 cup whole milk
* 4 large egg yolks
* 1/4 cup sugar
* 1/2 Tablespoon Grand Marnier or any other dessert liqueur
* boiling water
* whipped cream

Directions:

Preheat oven to 350 degrees.

Line a baking dish with a double layer of paper towels and set six ramekins or pot de crème cups on top of the paper towels (the paper towels will help the ramekins/cups stay in place).

Place the chocolate chips in a large heatproof bowl. In a medium saucepan combine the heavy cream and milk over medium heat. Heat until the mixture is just about to come to a simmer and pour the mixture over the chocolate. Stir the mixture until the chocolate has melted.

In a separate bowl whisk together the eggs, yolks, and the sugar. Slowly whisk in the chocolate mixture (you don’t want to cook the eggs) until the mixture is well combined and smooth. Strain the mixture through a fine mesh sieve and then add the Grand Marnier. Divide the mixture among the ramekins/cups. Pour the boiling water so it reaches halfway up the ramekins/cups. Bake until the custards are set, about 35-40 minutes.

Remove from oven and set the baking dish on a wire rack to cool slightly. Remove the ramekins/cups from the baking dish and allow them to come to room temperature. Transfer to the refrigerator and chill thoroughly.

Top with whipped cream just before serving.

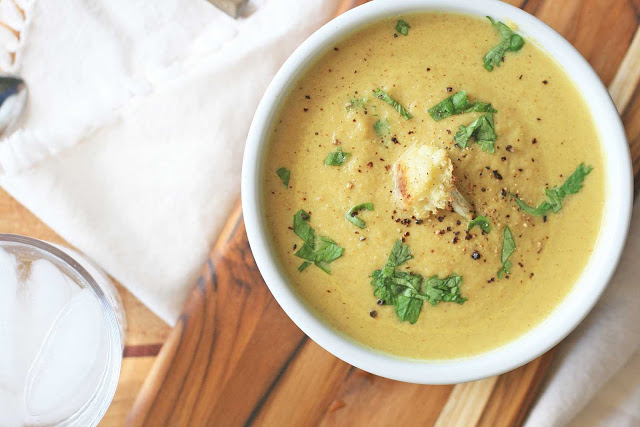
Curried Roasted Cauliflower Soup

Although the cultural make-up in Hawaii is very diverse, just about everybody follows the Japanese tradition of omiyage.  So when folks go on a trip, either for business or pleasure, they often bring back small souvenirs or gifts for friends, family and co-workers.

And since everybody knows I like to cook, I’m often the happy recipient of spices from around the globe (way better than a snow globe, right?).  At the moment I’ve got cinnamon from Saigon, ground chile powder from Mexico and Peru, a spice rub from Greece, and Cuban seasonings from Miami all keeping each other company in the pantry.

And fortunately or unfortunately, I also have a glut of curry powder.  Since I almost always make my own custom curry spice blends when cooking Indian food, the curry powder has been slowly accumulating.

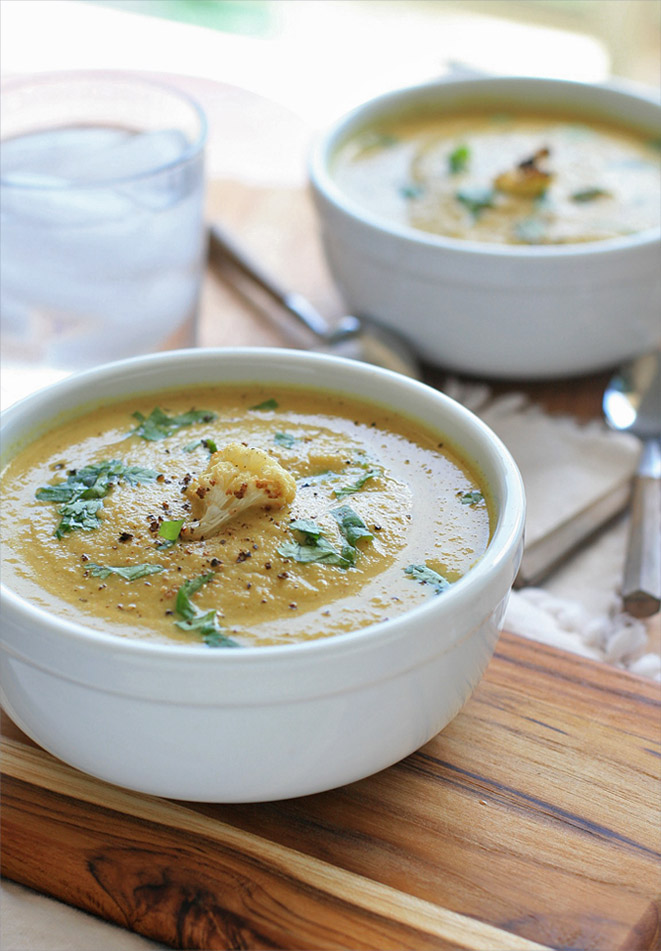
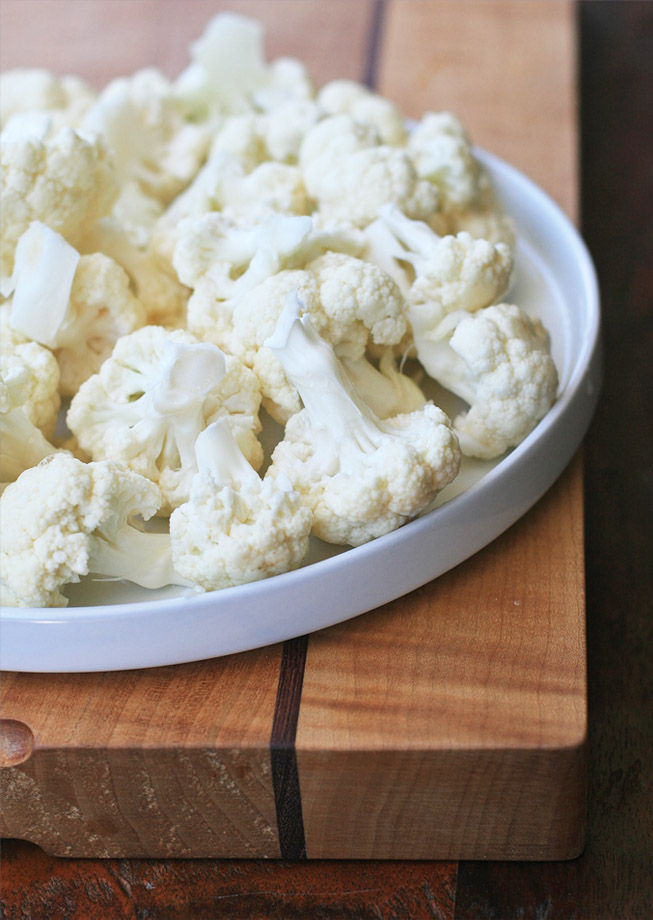
Since I’m not one to throw anything out, I decided to seek out some recipes that would help make a dent into my growing supply.  This week’s recipe?  Curried roasted cauliflower soup.  This silky smooth soup is dairy-free, but tastes rich and indulgent thanks to plenty of sautéed onions and roasted garlic and cauliflower.

With a recipe like this in my arsenal, I might work my way through the curry powder after all.  Especially because next time I’m making a double batch.

Curried Roasted Cauliflower Soup

If you’d like the soup with chunks of cauliflower, I suggest roasting two heads of cauliflower. In this case, use half of the cauliflower florets to make the recipe as stated above. Then add the desired amount of reserved, roasted cauliflower to each individual bowl.

Yield: 4 servings

Ingredients:

* 1 head cauliflower, cut into florets (see note below)
* 1 clove garlic, peeled and minced
* 2 tablespoons olive oil
* salt
* 2 Tablespoons butter (or olive oil if you’d like this to be vegan and/or dairy-free)
* 3 yellow onions, chopped
* 1 Tablespoon curry powder
* 1/4 teaspoon cayenne pepper
* 3 cups water
* 3 cups chicken or vegetable broth
* 1-1/2 teaspoons apple cider vinegar
* 1/4 cup chopped fresh cilantro leaves
* ground black pepper

Directions:

Preheat oven to 450 degrees. On a large, rimmed baking sheet, toss the cauliflower florets and garlic with the olive oil, then spread on a baking sheet. Sprinkle with salt. Roast cauliflower until it turns golden and the garlic is aromatic, about 25 minutes. Remove from oven and set aside. If you’d like to garnish the soup with cauliflower, reserve four very small florets.

Heat the butter or oil in a large saucepan over medium-high heat. Add the onions and cook until softened. Add curry powder, cayenne, cauliflower and garlic, water and broth to pan. Bring to a boil and then reduce heat and simmer for ten minutes. Remove from heat and use an immersion blender to process until smooth. Stir in the apple cider vinegar. Taste and add salt, if necessary.

Ladle into individual bowls and top with cilantro leaves, a sprinkle of freshly ground black pepper, and the reserved cauliflower florets, if using.

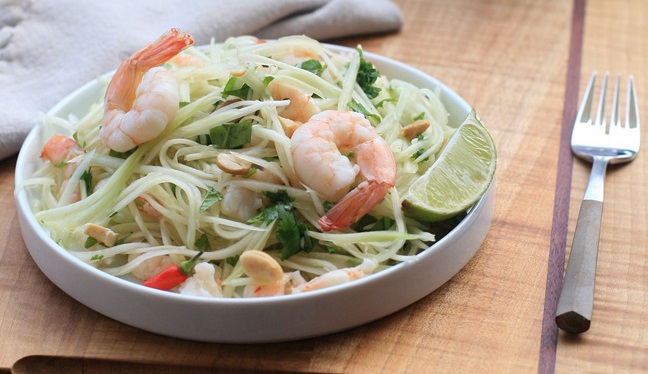
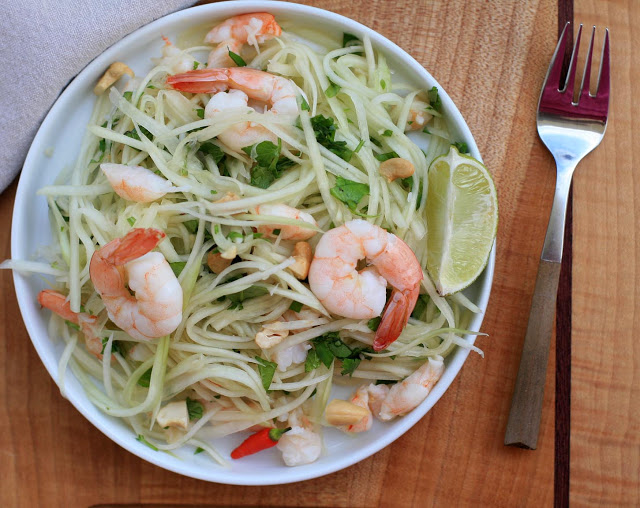
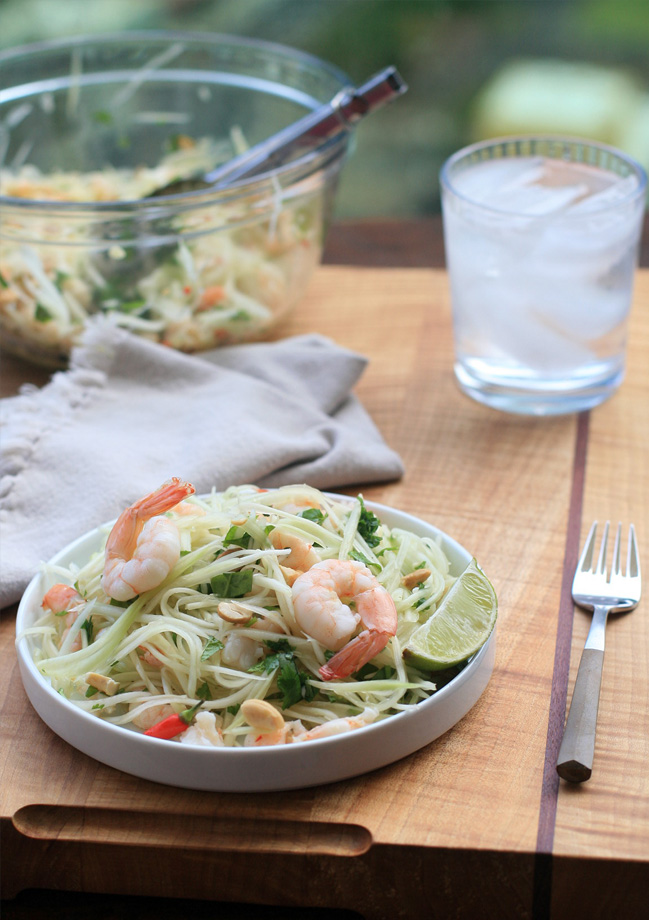
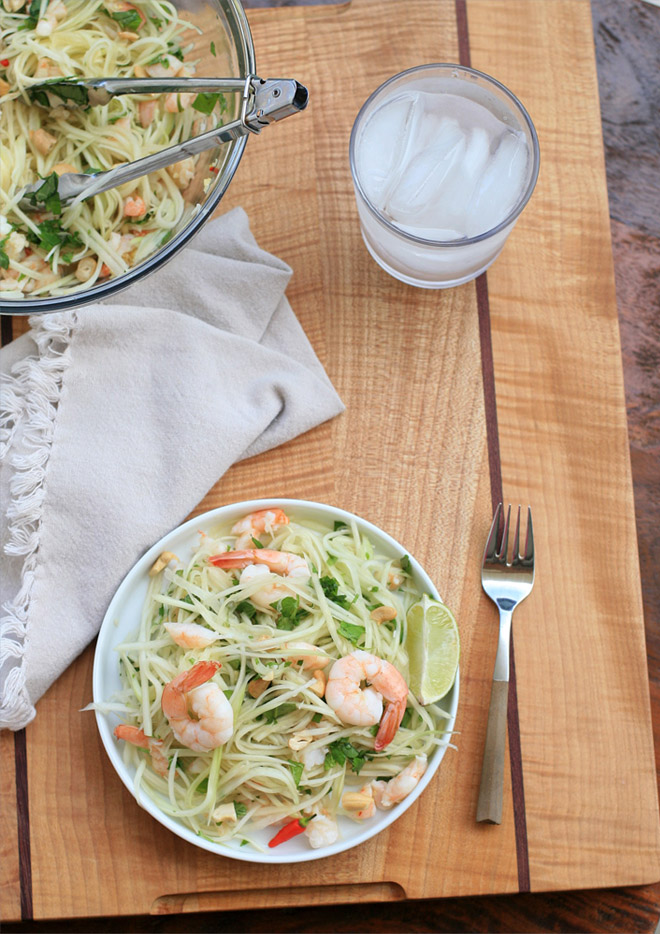
Gai Du Du- Vietnamese Green Papaya Salad with Shrimp

0

Note:  major fail on my part!  The Vietnamese name for this is Goi Du Du… I’m not sure how I let that typo slip through.  I made the correction below but didn’t want to mess up pre-existing links by correcting the title so sadly the error will live on…

Those of you who have been reading for awhile might remember that I made a green papaya salad with shrimp back when I was cooking Tahitian food.  I liked it just fine, but I had a sneaking suspicion that the Southeast Asian version, which incorporates my beloved fish sauce in the dressing, would be even better.

I try not to play favorites, but I liked this version even better.  If you haven’t experimented with fish sauce before, it’s about time you give it a shot.  At first the smell can be, shall I say, overwhelming?

I recently made some Ga Kho for my family and while they loved it, my mother (who is blessed/cursed with an excellent sense of smell) couldn’t get over the fish sauce aroma that permeated the kitchen.  After cooking with it for years I actually don’t even notice the smell anymore.

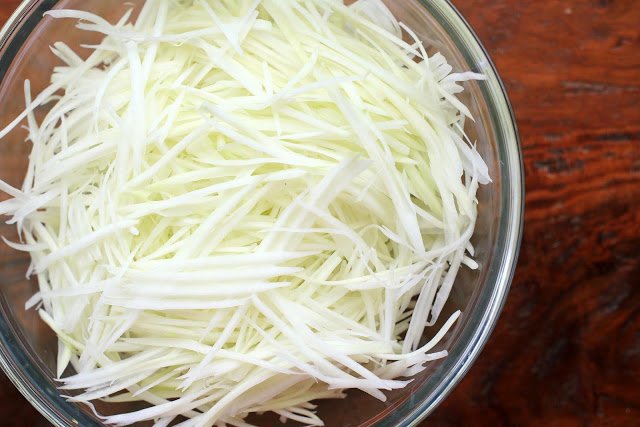
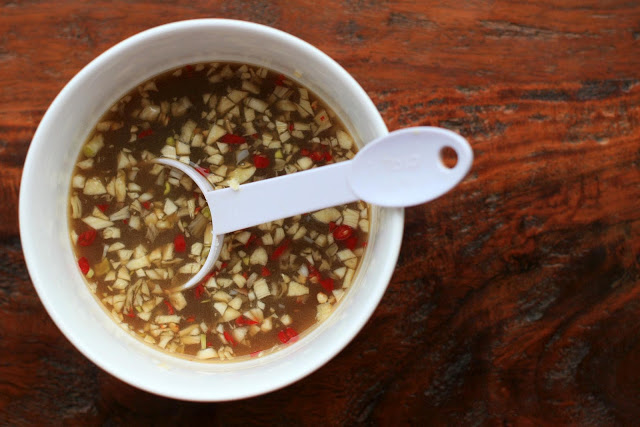
I’m lucky enough to be able to buy pre-shredded green papaya at my weekly farmer’s market, making this salad a snap to put together.  And as with many Vietnamese salads, this one doesn’t contain any oil- just a mix of lime, garlic, chile, fish sauce and chile pepper.

Also feel free to play around with the protein add-ins to make this a more substantial one-dish meal; I’ve seen variations of this salad with slices of grilled pork of beef mixed in with the shrimp.

Goi Du Du- Vietnamese Green Papaya Salad with Shrimp

Yield: 4 servings

Total Time: 30 minutes

Ingredients:

* 3 Tablespoons fish sauce
* 1/4 cup lime juice
* 1 clove garlic, minced
* 2 Tablespoons sugar
* 1 Thai chile, minced
* 6-8 cups shredded green papaya
* 3/4 pound cooked shrimp, peeled, deveined and roughly chopped (set aside a few whole shrimp for garnish, if desired)
* 1/4 cup chopped cilantro
* 1/4 cup chopped mint
* 1/4 cup chopped rau ram*
* 1/4 cup Thai basil
* 3 Tablespoons roasted, salted peanuts, roughly chopped

Directions:

In a small bowl combine the fish sauce, lime juice, garlic, sugar and chile. Stir well and set aside.

In a large bowl combine the green papaya, shrimp, cilantro, mint, rau ram, and Thai basil and toss. Pour on the dressing and toss again to coat. Sprinkle with the peanuts and serve immediately or let the flavors meld for 10-15 minutes, and then serve.

Note: if you aren’t able to find rau ram, you can just increase the amount of cilantro, mint or Thai basil so that you end up with one full cup of chopped herbs.

Dua Gia- Pickled Bean Sprouts

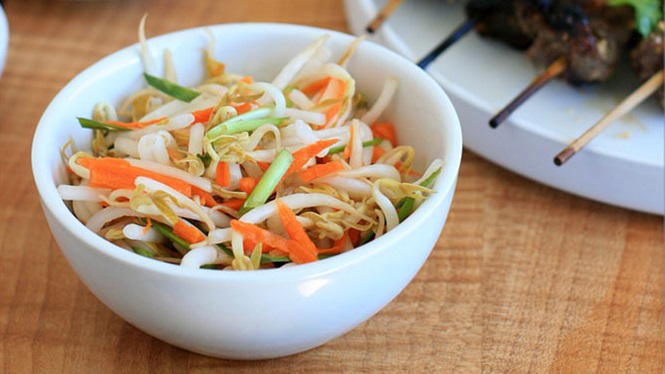
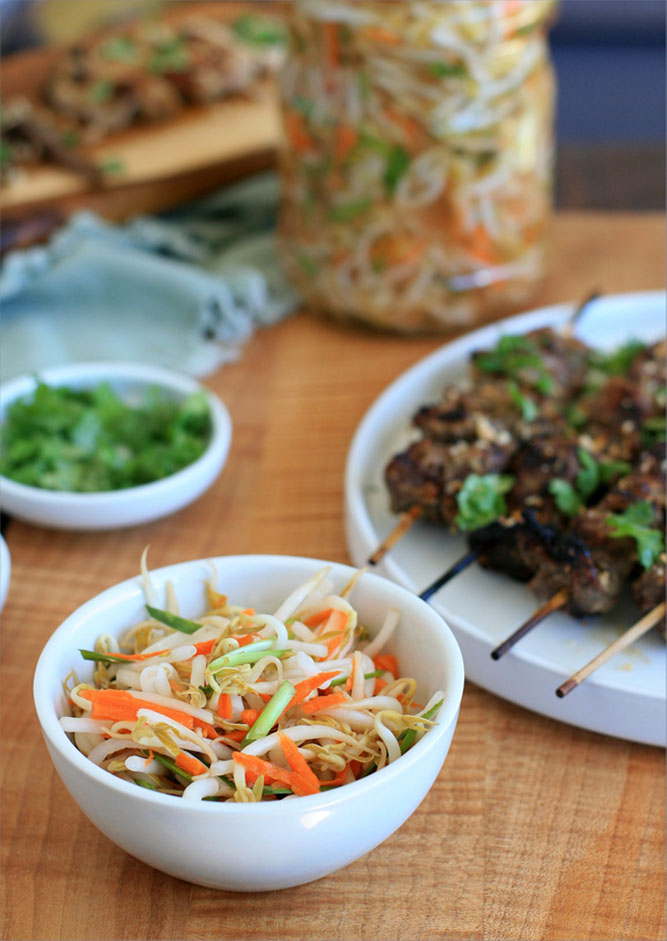
I fell in love with pickled bean sprouts back when I was cooking Korean food- it was these seasoned soybean sprouts that started the love affair.  If you’ve only ever eaten bean sprouts as a crunchy add-in to Asian noodle dishes like Pad Thai, I’d definitely encourage you to try them out in a recipe where they’re front and center.

I’m happy to announce that I’ve got another winner for you.  In this Southern Vietnamese dish, bean sprouts (I used mung bean sprouts), carrots and chives are pickled in a sweet and salty brine.  You can eat the sprouts in large quantities like a salad, enjoy them as a side to cut the richness of caramelized meat dishes (like this one and this one), or even toss some into your favorite lettuce wraps or Vietnamese noodles.

Dua Gia- Pickled Mung Bean Sprouts

Yield: 6-8 servings

Prep Time: 15

Cook Time: 5

Total Time: 2 hours

Ingredients:

1/2 cup sugar
1-1/2 teaspoons salt
1 cup white vinegar
1 cup water
1-1/4 pounds bean sprouts, rinsed under cool water
1 carrot, peeled and shredded
small bunch chives or green onions, cut on the diagonal into small pieces

Directions:

Combine the sugar, salt, vinegar and water in a small saucepan over medium heat. Stir to dissolve the salt and sugar. Set aside and let cool completely.

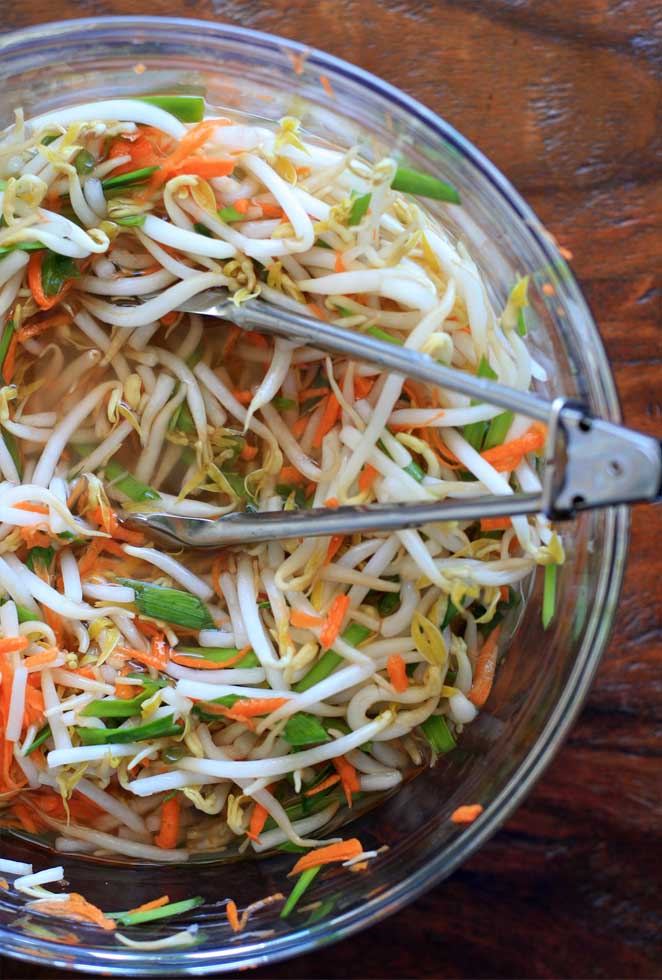
Combine the bean sprouts, carrot and chives or green onion in a large bowl. Pour the brine over the vegetables. Toss and let sit for at least one hour, tossing occasionally. The vegetables will shrink in volume, allowing the brine to cover all of the vegetables.

Serve immediately or cover and refrigerate. To serve use tongs or a slotted spoon to scoop up the bean sprouts from the brine. Enjoy your pickled bean sprouts!

*Will keep for several days in the refrigerator.

Shrimp and Egg Pancakes

0

If I’m lucky, the cooking I do for Girl Cooks World carries me though most of the week and there’s little or no need to do extra cooking on weeknights.

But there are those inevitable evenings when I come home late from work, shopping or working out and I want something quick but substantial.  A quick egg scramble often comes to the rescue.

But now I have another quick weeknight meal option that’s infinitely more fancy pants: Shrimp and Egg Pancakes from Andrea Nguyen’s Vietnamese Cookbook Into the Vietnamese Kitchen.

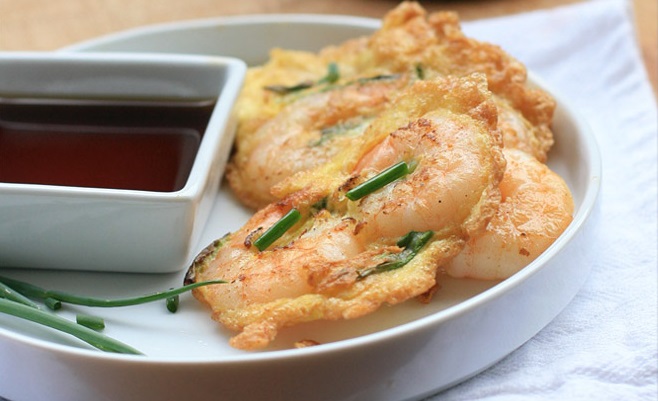
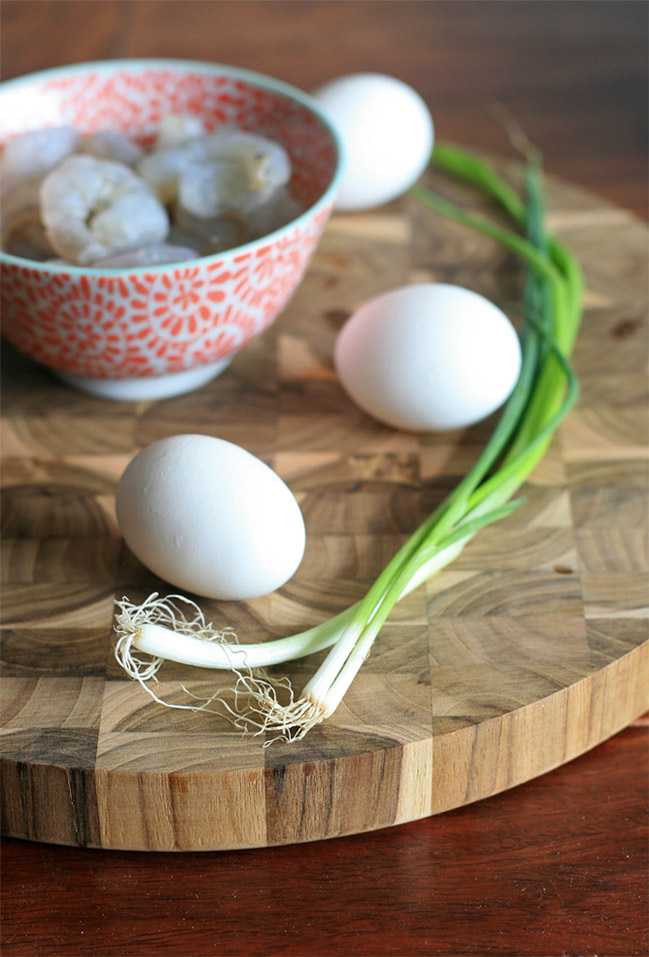
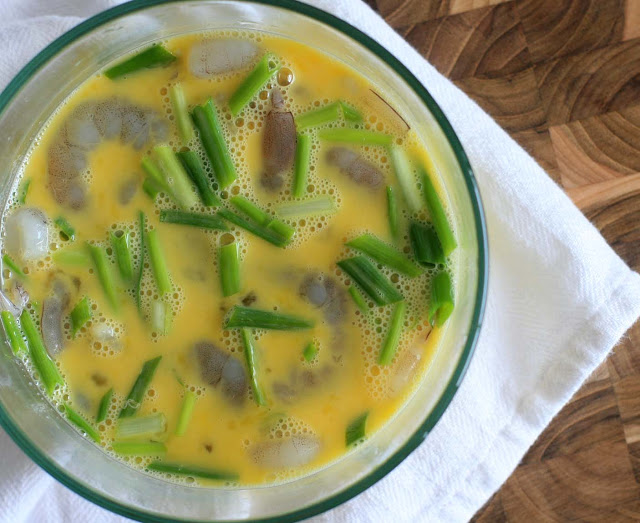
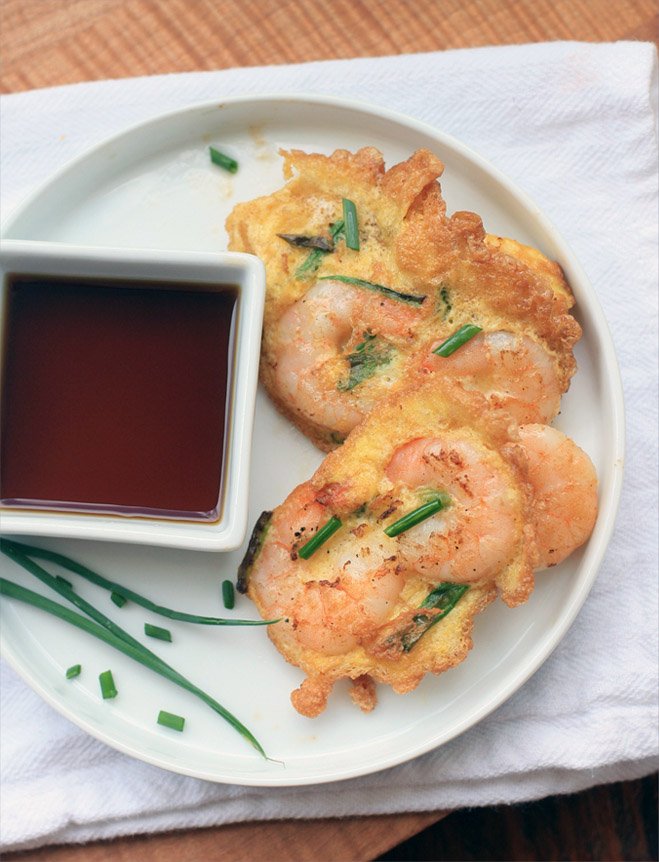
In this dish, shrimp, eggs and green onions combine to create little pancakes.  The difference between these and your standard fried eggs?  A liberal amount of cooking oil changes the texture, creating crispy, browned edges.

This dish works just as well for dinner as it does for brunch.  I loved them dipped into fish sauce, but  those of you who are less enamored with the funky, stinky sauce than I am could use soy sauce, sweet chili sauce or even ketchup spiked with Sriracha.

Shrimp and Egg Pancakes

Yield: 2 as a main dish, 4 as an appetizer

Prep Time: 10

Cook Time: 10

Total Time: 20 minutes

Ingredients:

* 1 pound large shrimp, peeled and deveined
* 1-2 Tablespoons salt
* 4 eggs, beaten
* 3-4 green onions, cut on the diagonal into 1-2 inch pieces
* canola or vegetable oil for frying
* fish sauce, gluten-free soy sauce, sweet chili sauce or Sriracha-spiked ketchup for dipping.

Directions:

Place the shrimp in a colander and toss with salt. Rinse under cold water and let drain. In a large bowl combine the shrimp, eggs, and green onion.

In a large skillet or frying pan heat a thin layer of oil over medium-high heat. Heat until the batter immediate sizzles when dropped into the oil.

Ladle about 2-3 Tablespoons of batter for each pancake, taking care to make sure that each pancake has at least two or three shrimp and some green onion. Do not crowd the pan or the pancakes will overflow into one another.

Fry for about 2 minutes, or until the bottom has browned and the pancakes have set. Carefully flip the pancakes and fry until the second side has browned. Transfer to a plate and repeat with the remaining batter, adding additional oil if necessary.

Serve on a plate with a small bowl of your desired dipping sauce(s).

Pollo con Salsa De Quinua a la Huancina- Peruvian Chicken with Quinoa, Cashew and Goat Cheese Sauce

0

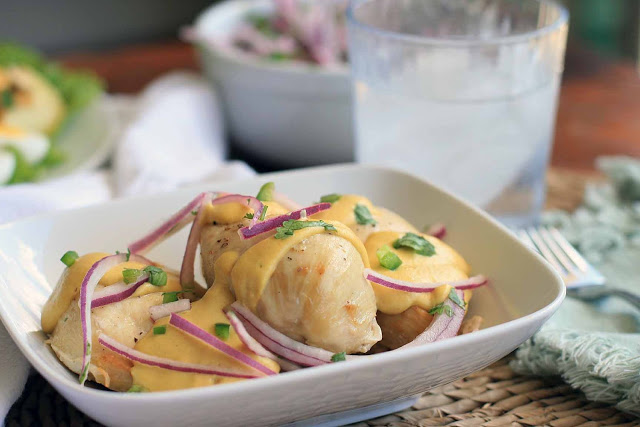
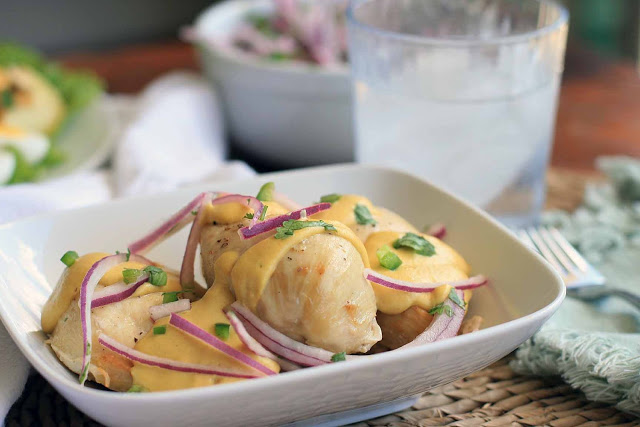
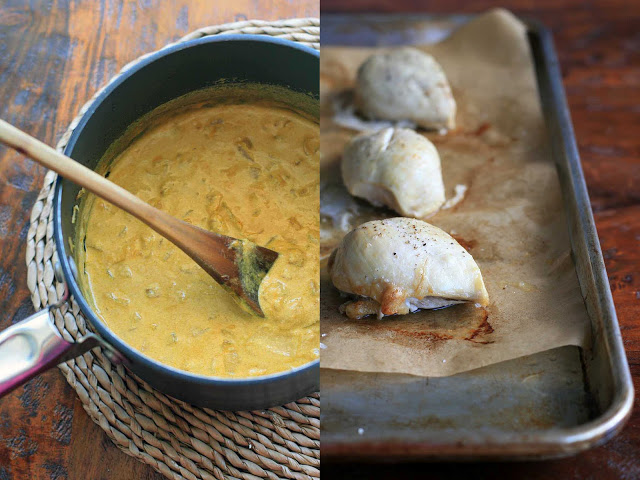
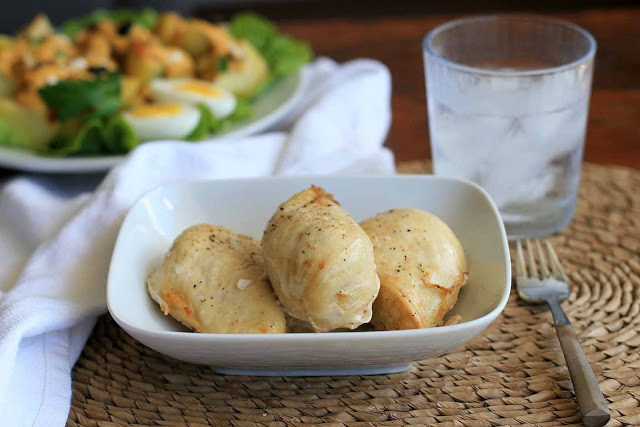
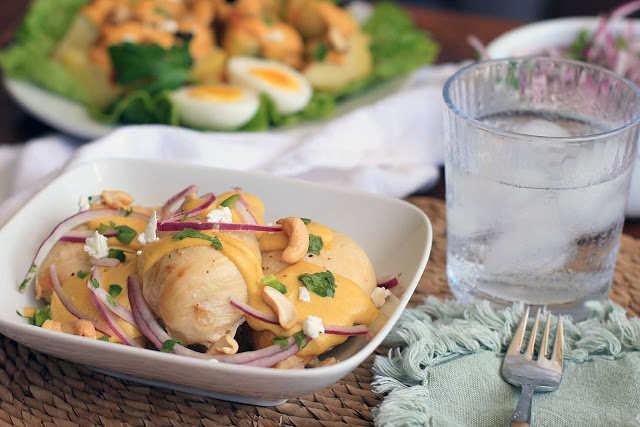
 If there’s one thing I’ve learned from my first week cooking in Peru, it’s that those Peruvians really kill it with their rich and flavorful sauces.  In this dish, sauteed onion, garlic, and yellow pepper paste combine with evaporated milk, crumbled goat cheese, cooked quinoa and roasted cashews to create a creamy, luscious sauce for baked chicken.

It’s another variation of the sauce I used last week for the Ocopa Arequipena.  The lesson here?  I’ll once again quote one of my favorite sayings, “use what you have to make what you want.”  Sub out the cashews and/or goat cheese for whatever nut or fresh, crumbly cheese you’ve already got in your pantry and fridge.  I have a feeling this is one of those instances where it’d be hard to mess things up.

And I’d be remiss not to mention the chicken; it gets a nice bath in a lime, salt and pepper marinade and then baked until just cooked through (and safe!  It’s recommended chicken gets to an internal temperature of 165 degrees).  I’d happily eat this plain or as a filling for tacos.  I find that most people over-bake chicken, which is the reason they end up with chicken breasts that are sad and dried out.

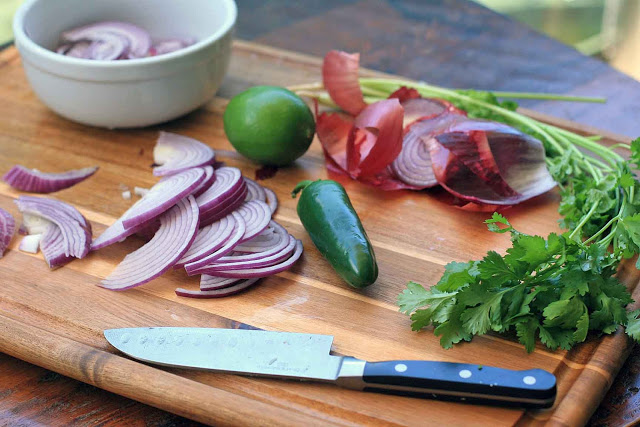
The sauce adds a rich, creaminess and the Salsa Criolla Peruana sprinkled on top adds some spicy heat and acidity.

Pollo con Salsa De Quinua a la Huancina- Peruvian Chicken with Quinoa, Cashew and Goat Cheese Sauce

Yield: 6 servings

Ingredients:

Chicken:
6 small boneless chicken breasts
juice of two limes (about 6 Tablespoons)
1-2 Tablespoons olive oil
salt and pepper

Sauce:
2 Tablespoons olive oil
1 onion, chopped
2 cloves garlic, minced
2-3 Tablespoons mirasol hot yellow pepper paste
15 ounce can evaporated milk
1/2 cup cooked quinoa
1/4 cup dry roasted cashews
2-3 ounces goat cheese (or substitute feta cheese or queso fresco)
salt and pepper

Salsa Criolla Peruana:
1 red onion, cut into thin half-moons
1-2 Jalapeno chile peppers, seeded and minced
1 clove garlic, minced
2 Tablespoons fresh cilantro leaves, chopped
3 Tablespoons fresh lime juice
salt and pepper

Directions:

Place the chicken breasts in a large bowl. Add the lime and olive oil and sprinkle with salt and pepper. Stir to coat. Cover and place in the refrigerator; let marinate for a couple of hours.

Preheat oven to 400 degrees. Line a rimmed baking sheet with parchment paper and place the chicken on the prepared sheet. Cook for approximately 20 minutes, or until no longer pink.

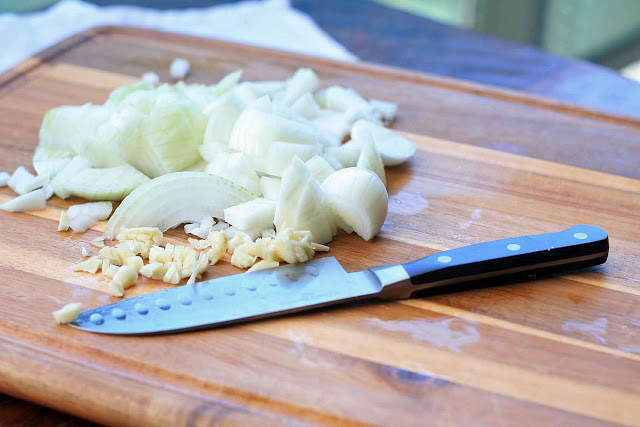
In a medium saucepan heat the olive oil over medium heat. Add the onion and garlic and cook, stirring, until the onion has softened. Next, add the yellow pepper paste and stir to coat the onion mixture. Add the evaporated milk and reduce heat. Simmer for about ten minutes. Remove from heat and let cool slightly.

Pour the onion mixture in the base of a blender. Add the quinoa, cashews and cheese and process until smooth. You can add some extra milk or olive oil to thin out the sauce, if necessary. Add salt and pepper to taste.

Place the chicken on a serving platter and pour some of the sauce over the top. Serve with Salsa Criolla Peruana.

To make the salsa, combine all of the ingredients in a medium sized bowl and toss to combine.

Hello Detox- Part Deux

0

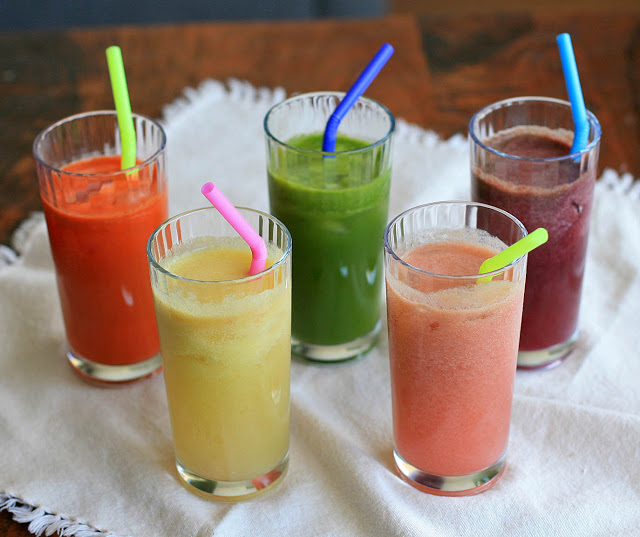
Yep, it’s that time of year again… time for me to get my semi-annual (more or less) cleanse/detox.  I just did some major closet and fridge spring cleaning and now it’s time to focus inward for a couple weeks.  And just like last time, I’ll be posting some detox-friendly recipes rather than taking a vacation from the blog.  Cleanse or not, a girl’s gotta eat… or at least drink.

Over the next couple weeks you’ll find some of my favorite healthy juices, smoothies, soups, meals, salads and, yes, even desserts.  To get you started, here’s some of my cleanse/detox-friendly recipes from the archives.

Cleanse/Detox:

Chocolate and Coconut Sherbet

0

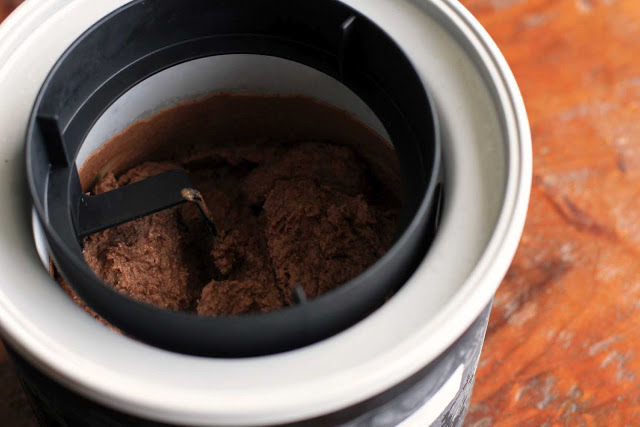
I never intended to buy an ice cream maker.  Living in Honolulu, apartments and kitchens tend to be spatially challenged and I do my best to avoid purchasing small appliances.  And I couldn’t say I had any complaints with the products that Haagen-Dazs and Ben and Jerry’s were pumping out, although there are a couple flavors in the Ben & Jerry’s graveyard that I wouldn’t mind seeing make a comeback.  White Russian much?  I’m sure The Dude and I weren’t the only ones sad to see that one go…

But soon after I found out I had Celiac I decided to find out whether I had other food allergies/sensitivities/intolerances as well.  An allergy skin test came back with a panic-inducing laundry list of possible suspects.  I scheduled a blood test and an elimination diet, but not before convincing myself that I’d never be able to have real ice cream again.

Later, I discovered that I don’t actually have any problems with dairy (or about 98% of the foods on that original list), but not before an ice cream maker had already found its way into my pantry.  I needed it, I rationalized, because the rice and coconut ice creams are so overpriced at the health food stores.

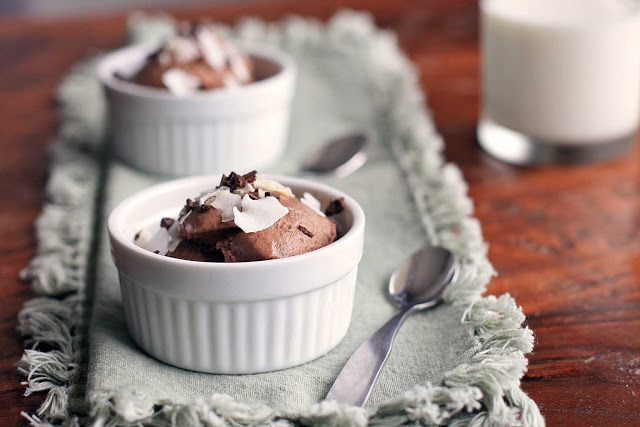
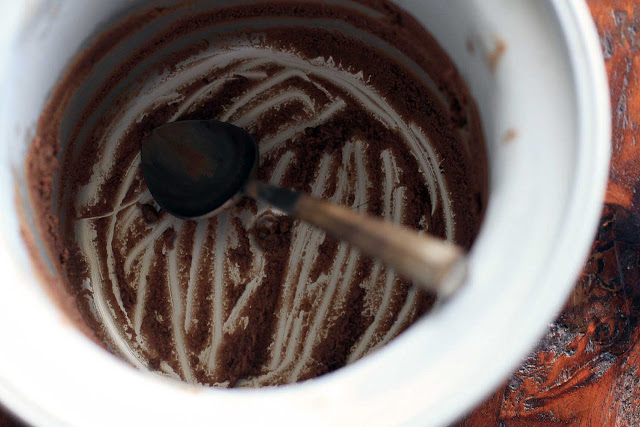
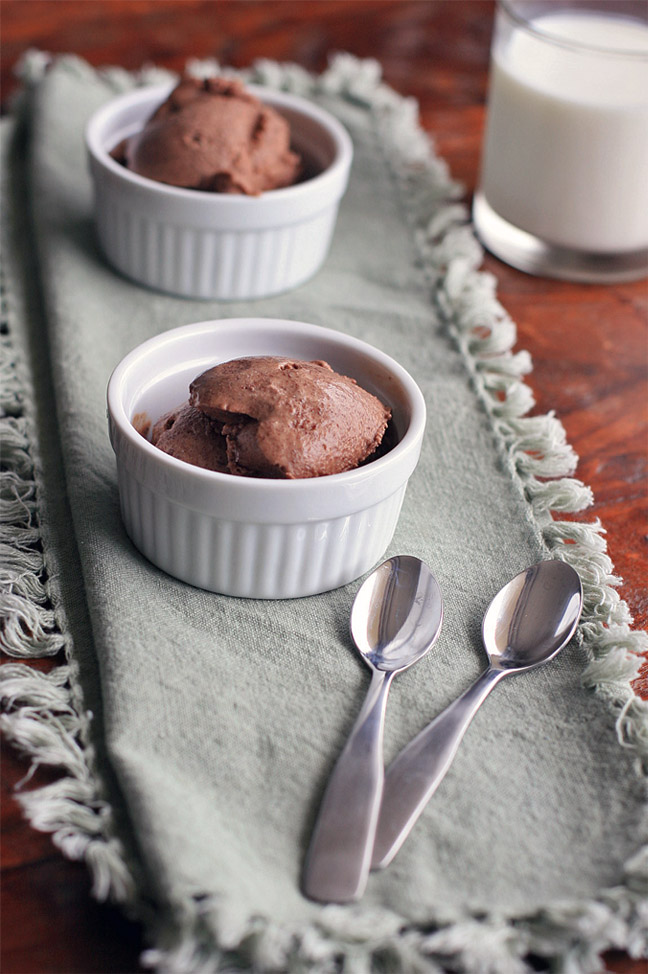
Had I been forced into a dairy-free existence, making this chocolate and coconut sherbet would probably be a weekly occurrence. Even now it’s a favorite.  It’s easier to make than custard-style ice creams and is surprisingly creamy, considering the lack of egg yolks.  Just don’t omit the alcohol, which keeps the sherbet from freezing into a hard, solid block.

Oh, and one final thing?  I don’t care how it’s spelled… I will pronounce it as “sherbert” until the day I die.

Chocolate and Coconut Sherbet

Yield: 6-8 servings

Ingredients:

 1 cup water
1 cup bittersweet chocolate chips
13.5 ounce can coconut milk
1 Tablespoon coconut rum
1 cup sugar
Chocolate shavings and unsweetened coconut for garnish (optional)

Directions:

In a medium saucepan combine the water and sugar over medium heat; cook until the sugar has dissolved. Add the chocolate chips and stir until the chocolate has melted. Remove from heat and add the coconut milk and coconut rum.

Let cool to room temperature and then chill in the refrigerator at least four hours. Freeze in an ice cream maker. Scoop into individual serving bowls and top with the shaved chocolate and unsweetened coconut.