I know I’ve mentioned my love for pizza before. So I thought it would be fitting to finally post my go-to pizza recipe on Valentine’s Day. Forget those fancy-pants, elegant meals… pizza’s the way to my heart.
 It took years to find a pizza dough that didn’t remind me of its gluten-free nature with each bite. Which is why I was so ecstatic to finally stumble on the pizza dough recipe in The 125 Best Gluten-Free Recipes. It wasn’t quite perfect, but it had major potential. After making some tweaks, I ended up with a thin crust pizza dough recipe with both the crunch and chew you remember from your gluten eating days. Just remember to pre-bake it for the full amount of time.
Pepperoni, veggie, margarita… there is no wrong way to top a pizza. Trouble deciding? The dough can easily be doubled. Everybody wins.
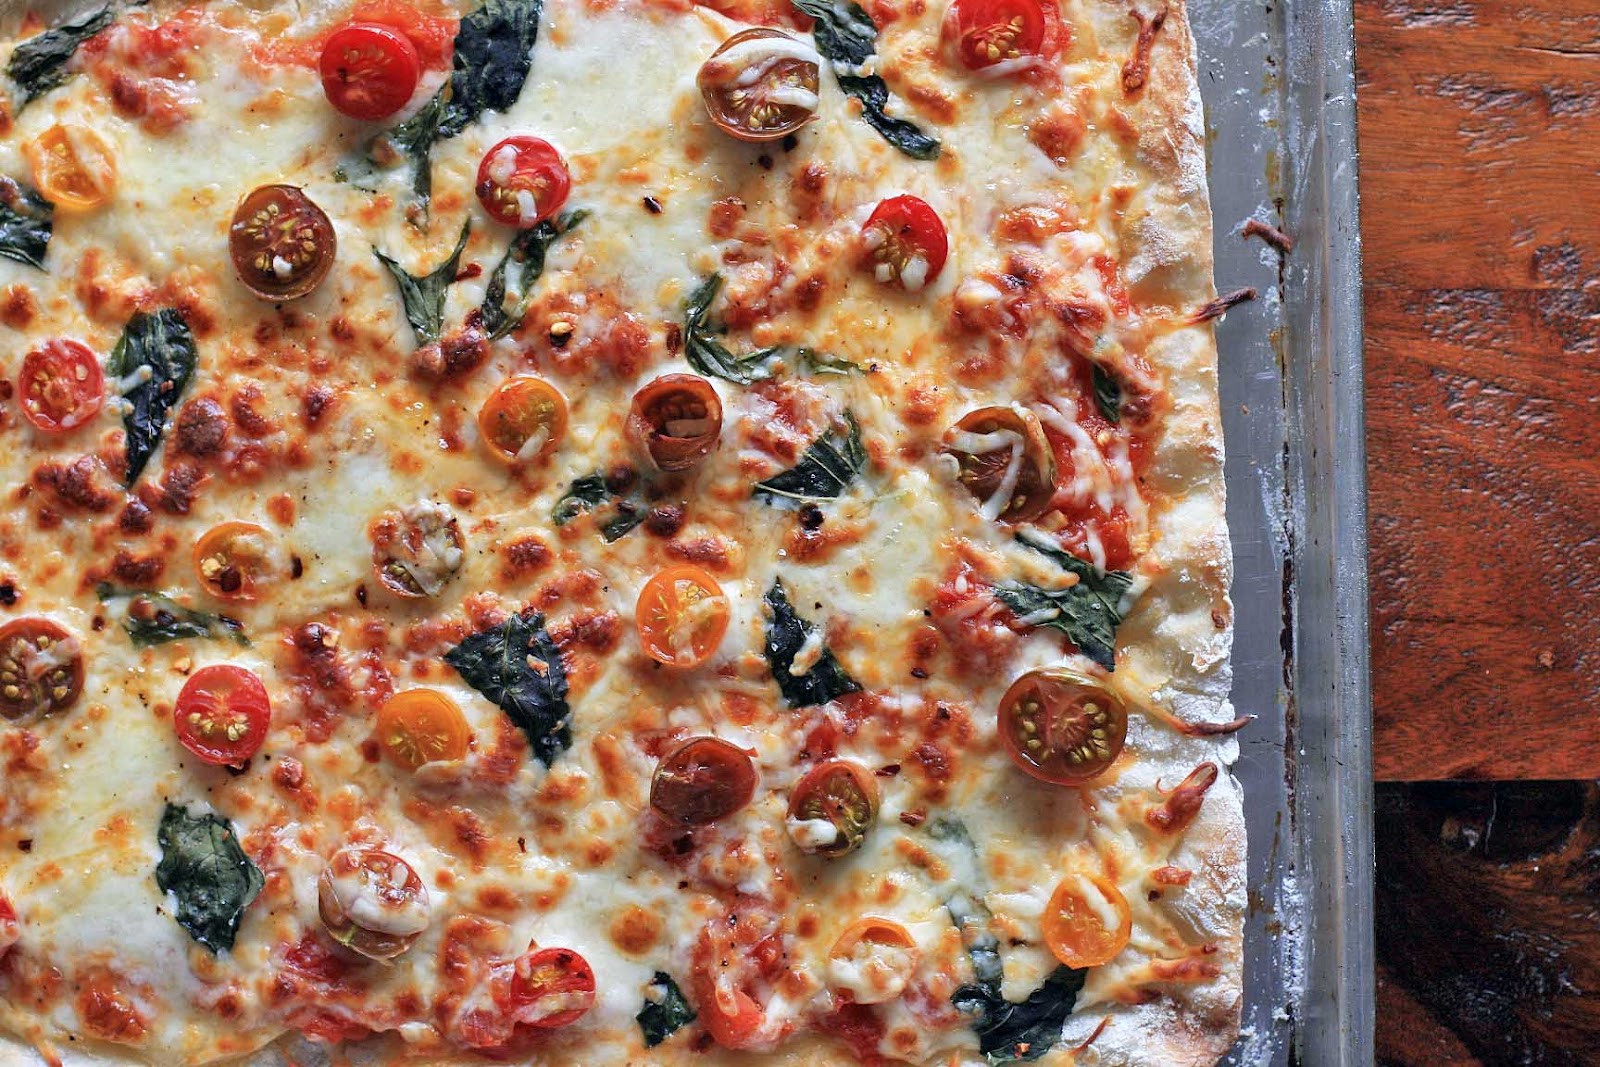
Infinitely Adaptable Gluten-Free Thin Crust Pizza
Yield: One 12-inch pizza
Ingredients:
Dough:
* vegetable or olive oil for greasing baking sheet
* 3/4 cup superfine rice flour
* 1/3 cup potato starch
* 1 teaspoon sugar
* 1 teaspoon xanthan gum
* 1-1/2 teaspoon instant yeast
* 1/2 teaspoon salt
* 3/4 cup warm water
* 1 teaspoon apple cider vinegar
* 1 Tablespoon olive oil
* sweet rice flour
* 1/2 cup prepared tomato sauce
* 1-1/4 cup shredded mozzarella cheese
* your choice of toppings (optional)
* 1/8 to 1/4 teaspoon crushed red pepper
* 1/8 teaspoon dried basil leaves
* salt
Directions:
Preheat oven to 400 degrees and generously grease a 12-inch or larger round baking sheet with your choice of oil.
In a medium bowl, combine the rice flour, potato starch, sugar, xanthan gum, yeast, and salt. Mix well and set aside.
In a large bowl (or in the bowl of your electric mixer), combine the water, vinegar and oil and mix on the lowest speed of your electric mixer. Slowly add the dry ingredients and mix for one minute.
Use a wet spoon to transfer dough to a baking sheet. Sprinkle generously with sweet rice flour and use your hands to press out into a 12-inch circle, adding more sweet rice flour as needed. Set aside in a warm area and let rise for 20 minutes.
Bake in the preheated oven for 18-20 minutes. Remove from oven and increase oven temperature to 450 degrees.
Top pizza with tomato sauce and cheese. Sprinkle with the crushed red pepper, basil and salt. Place in the oven and bake an additional 12-15 minutes, or until the crust is golden and the cheese has browned.